Navigation
Install the app
How to install the app on iOS
Follow along with the video below to see how to install our site as a web app on your home screen.
Note: This feature may not be available in some browsers.
More options
You are using an out of date browser. It may not display this or other websites correctly.
You should upgrade or use an alternative browser.
You should upgrade or use an alternative browser.
The Dry Reef - What's old is new! 96x36x25 Peninsula
- Monster Build
- Thread starter WhatCouldGoWrong71
- Start date
- Tagged users None
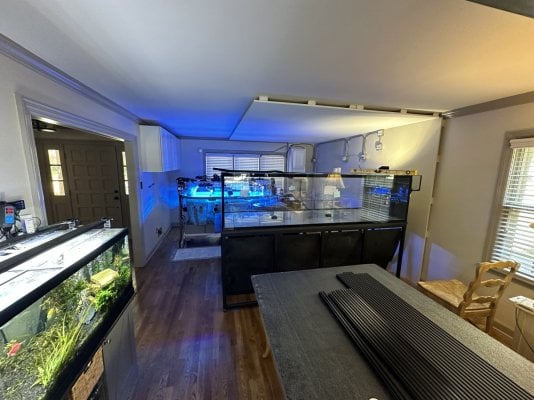
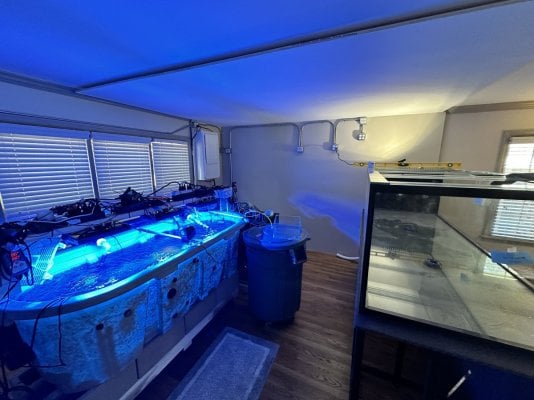
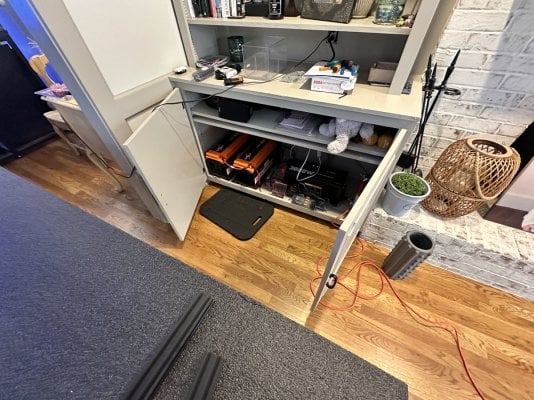
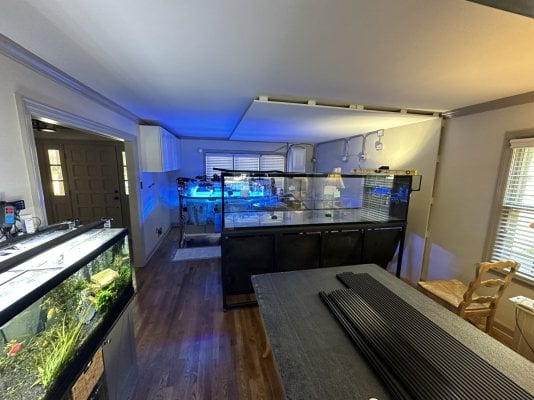
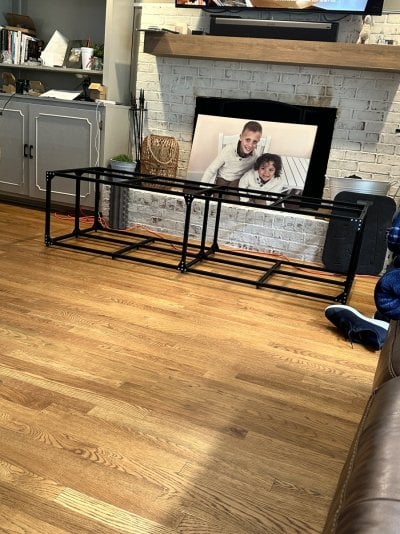
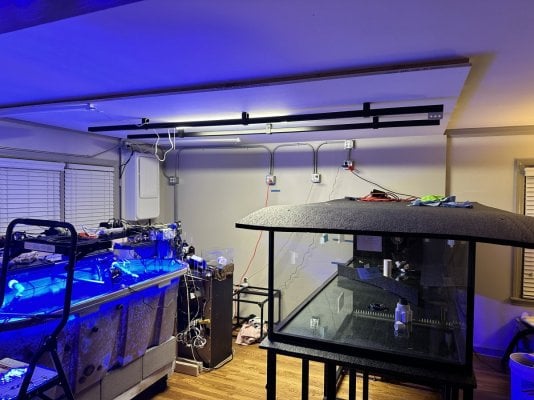
Room is coming together. Surface mounted “in wall” dehumidifier installed. 6 new dedicated circuits ready to go, with one of them on battery backup (LiFePO4). Built in and small wall should go up the week after Labor Day. I just need to get my lighting rack in place (working on that today).
Attachments
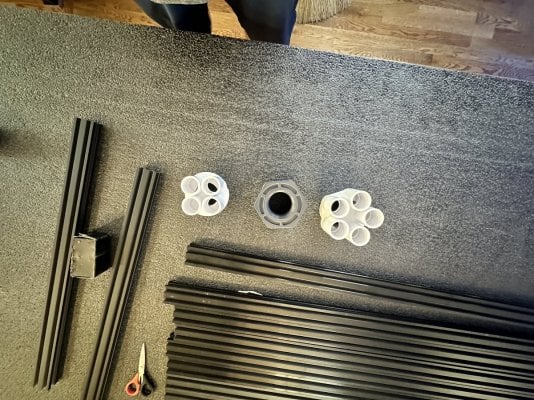
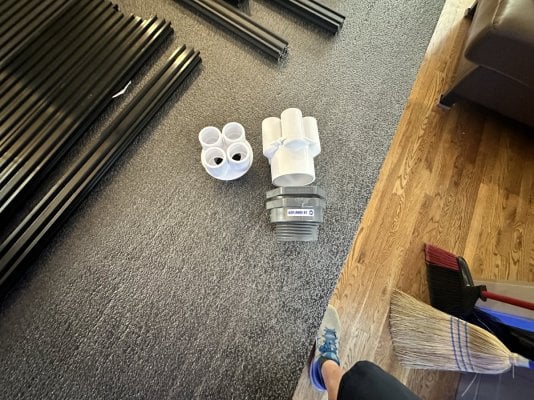
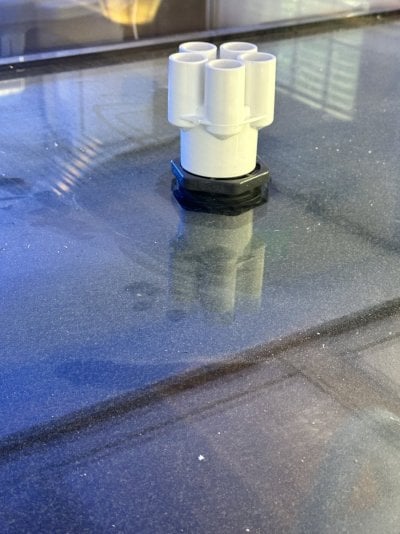
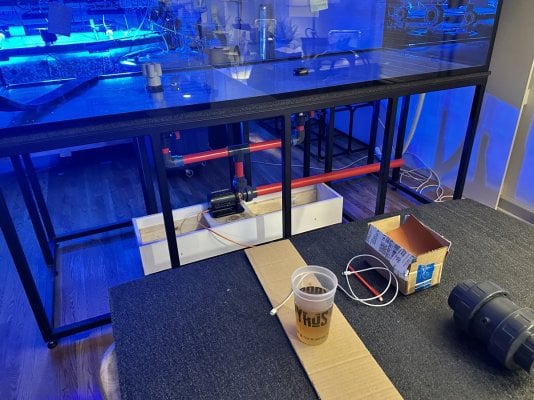
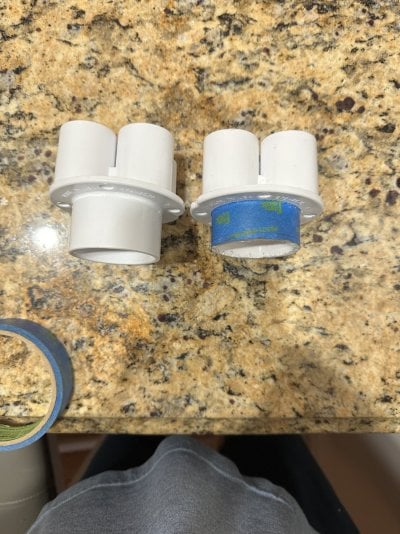
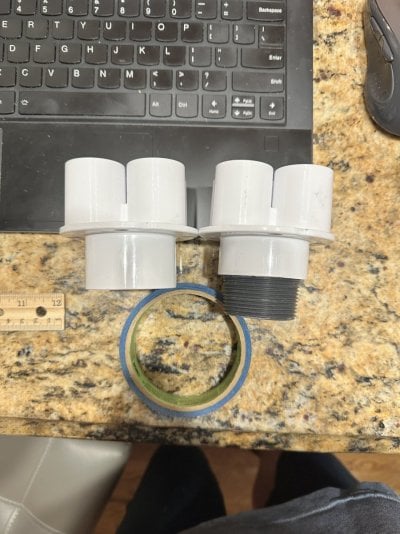
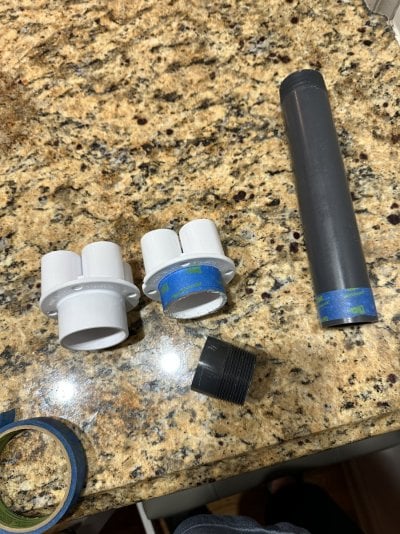
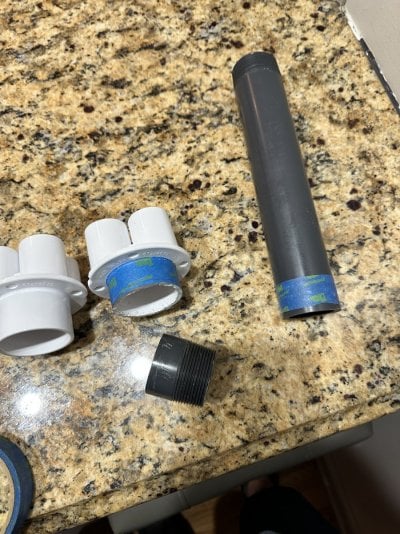
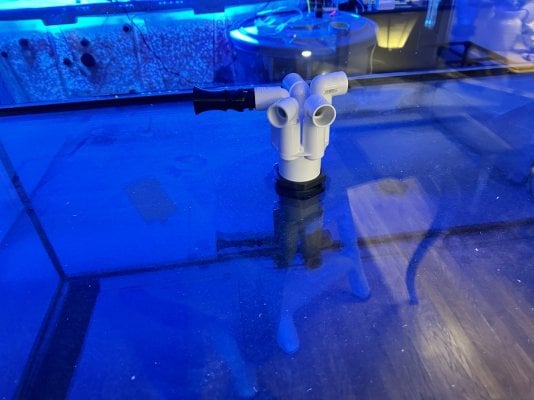
I’ll be using these for the bottom closed loop. I’ll plumb 9 - 3/4” RFGs powered by an Abyzz A400. Man that 2” Hayward bulkhead is huge! I am want to minimize the height some, I purchased an extra 4 way just in case. I’m going to cut the attachment in half. I want to try and take as much height out of this as possible. The Haywards are large to begin with. Thanks Antonio for this great design!! @Vivid Creative Aquatics
I am jealous I am not in Chattanooga. But I will be traveling for work Monday and wanted to get some stuff done with this build.
I am jealous I am not in Chattanooga. But I will be traveling for work Monday and wanted to get some stuff done with this build.
Attachments
2in bulkheads are huge. I remember when we did he 134 office tank, I was a little taken back by the size of the bulkheads we used on the closed loop - and those where just 1.5inI’ll be using these for the bottom closed loop. I’ll plumb 9 - 3/4” RFGs powered by an Abyzz A400. Man that 2” Hayward bulkhead is huge! I am want to minimize the height some, I purchased an extra 4 way just in case. I’m going to cut the attachment in half. I want to try and take as much height out of this as possible. The Haywards are large to begin with. Thanks Antonio for this great design!! @Vivid Creative Aquatics
I am jealous I am not in Chattanooga. But I will be traveling for work Monday and wanted to get some stuff done with this build.
Cant wait to see this thing flowing.
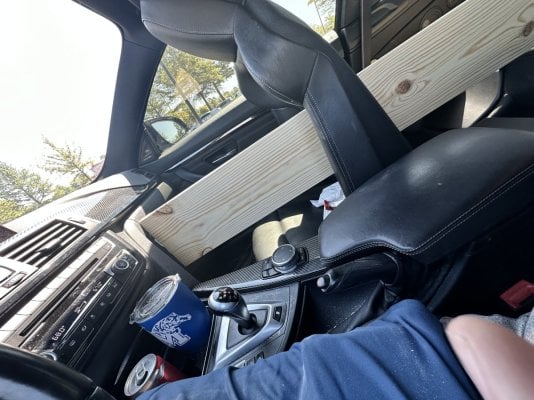
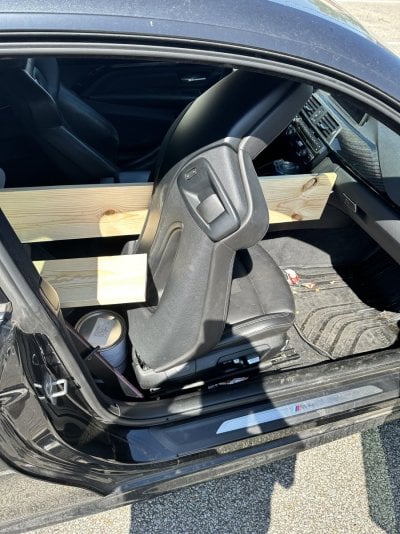
I was Lowe’s returning something and realized I needed a couple boards. Since I got this car people have always asked me “why are there holes in your seats”, well there you have it folks. How else am I going to get 8 foot boards in my car…
Attachments
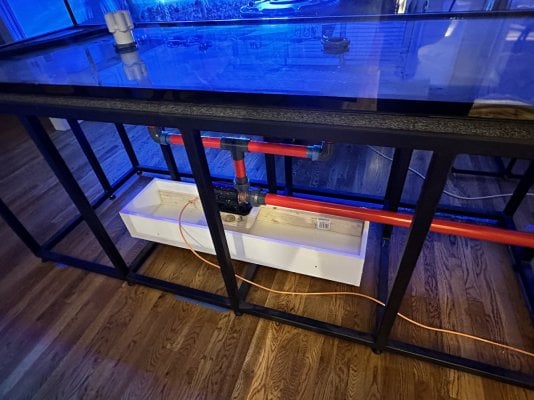
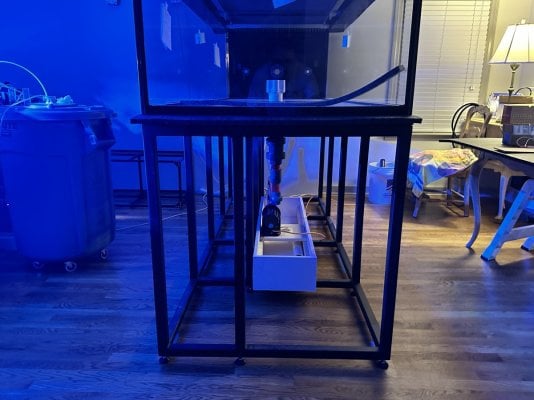
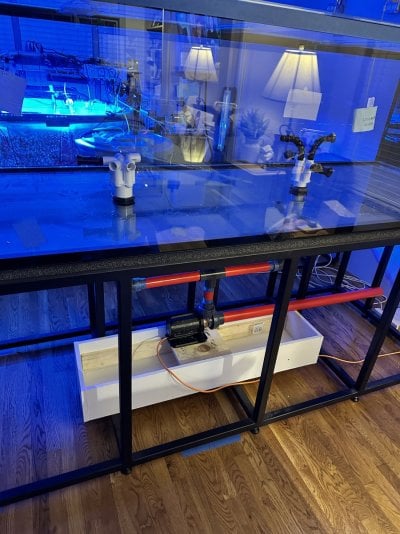
I decided to build a box that my Abyzz will either sit in or just in. I need the other area under the tank for storage of stuff, I guess stuff that will can get wet. I need to be about to have a gallon or two come out when I go to service the pump. This will serve as that. It’s 48x14x12.I was Lowe’s returning something and realized I needed a couple boards. Since I got this car people have always asked me “why are there holes in your seats”, well there you have it folks. How else am I going to get 8 foot boards in my car…
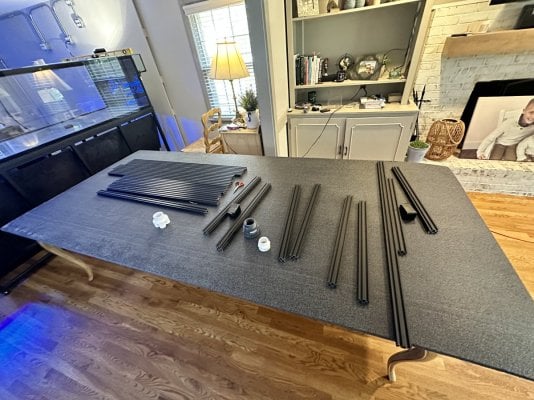
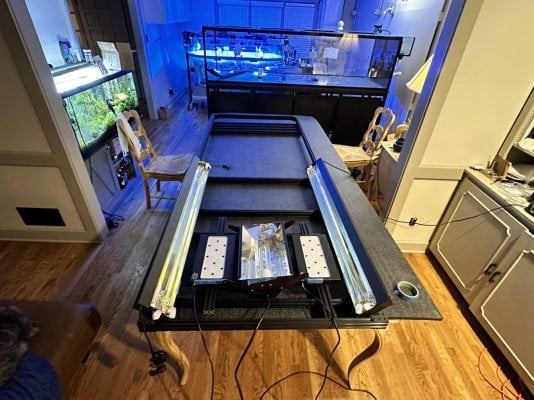
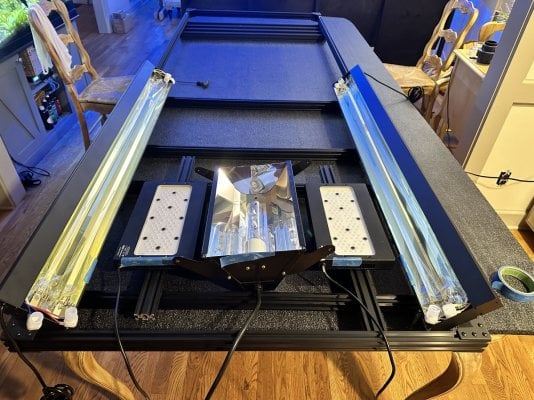
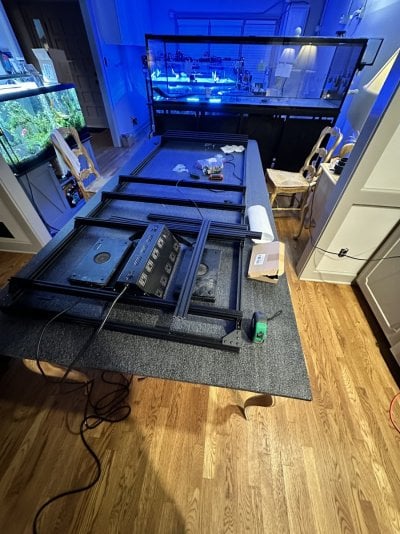
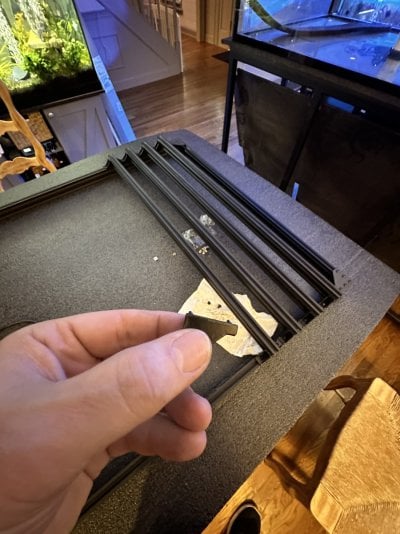
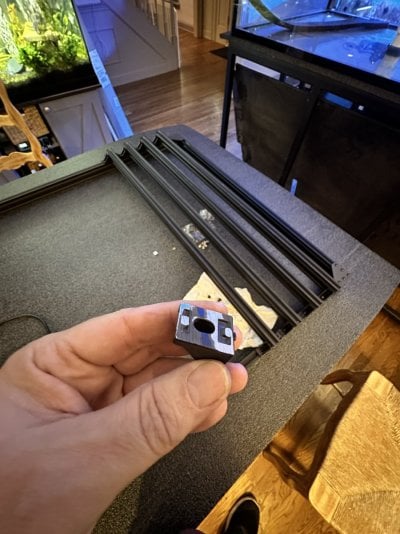
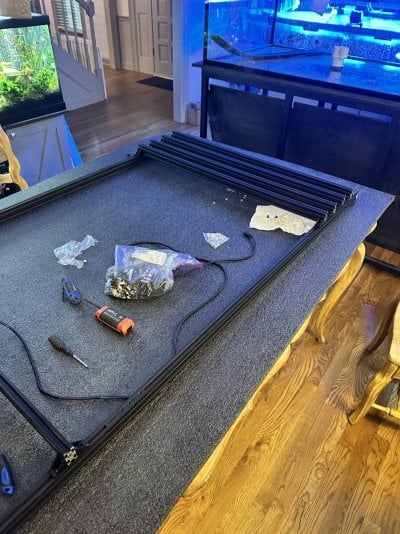
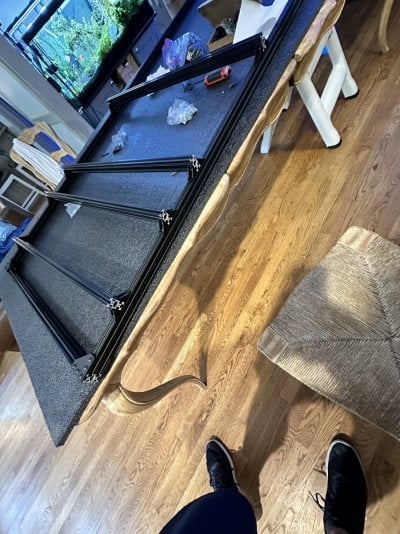
T5s, 8 - XR30s and 4 metal halides. I am waiting on some brackets for the XR30s to mount to 2040. Once the height is established, the metal halides will sit flush to the bottom of the XR30s. I like the position of the T5 bulbs, less fighting through the euro brace. I plan to have about 6 hours a day of MH (10k) with full spectrum. In total I am shooting for about 12-14 hours of light a day. Lights will be mounted 14” off the water. I am also using high intensity lenses for the XR30s at this height. But, my tank is also only 25 inches deep, so fingers crossed 
Attachments
-
 IMG_4622.jpeg223.5 KB · Views: 57
 -
 IMG_4621.jpeg276.9 KB · Views: 61
 -
 IMG_4617.jpeg263.7 KB · Views: 51
 -
 IMG_4620.jpeg258.7 KB · Views: 46
 -
 IMG_4614.jpeg283.2 KB · Views: 49
 -
 IMG_4618.jpeg190.3 KB · Views: 43
 -
 IMG_4619.jpeg185.7 KB · Views: 45
 -
 IMG_4616.jpeg325.9 KB · Views: 44
 -
 IMG_4615.jpeg289.9 KB · Views: 56
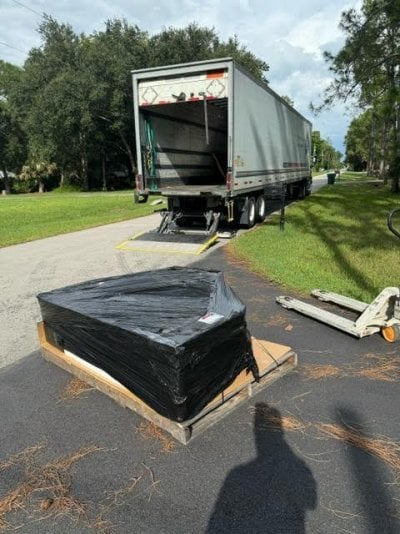
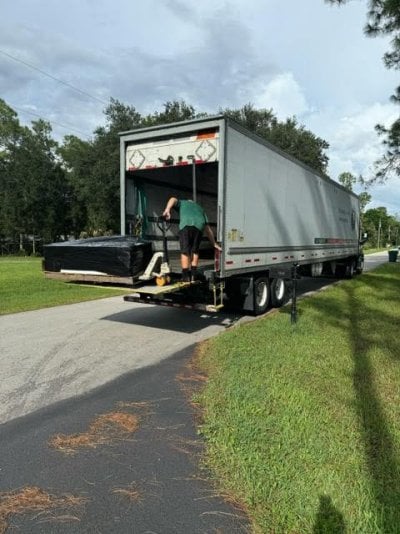
Extended leads are killing me. The custom brackets for my XR30s should have been here 2 weeks ago, still waiting. Sump was due to me in July, I am about 7 days out from receipt of it. These have forced me to back up my delivery of TBS sand and rock. Looks like 10/2 will be rock and sand day. Unless I drive there and pick it up. Which I am considering. It’s 15 boxes of stuff.
Man this sump stand kicked my butt. I thought I would save some cash and do it all myself. But man, I have about 6-8 hours in this thing somehow.
Now I just have to build the cryptic sump stand. I had planned to put my ATO reservoir under the sump, but clearance will be an issue. I have 16 inches as you see it. But I need to have some type of material as a deck on that first shelf. I plan to use 1/2 plywood with a 3/4 foam pad (on table) to put the sump on. ATO is 24x23x15. Sump is 72x23x15. Cryptic sump is 24x24x24.
I’m going to build a stand for the cryptic next. I’m going to make it so the ATO will easily fit under it.
I feel like I am getting some stuff accomplished. I need to plumb the lower closed loop today. It’s fed by a 2inch bulkhead. I need to get the tank 100% in position, level it, then I can also hang the rails for the lights.
Attachments
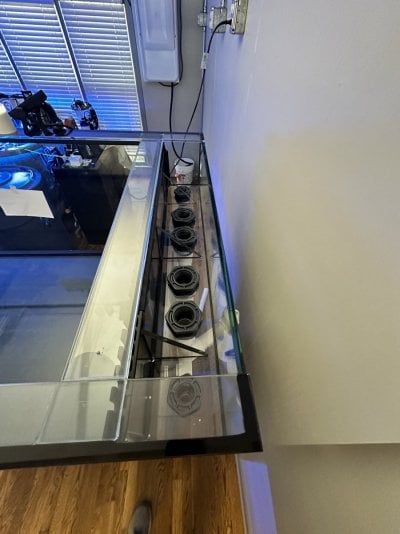
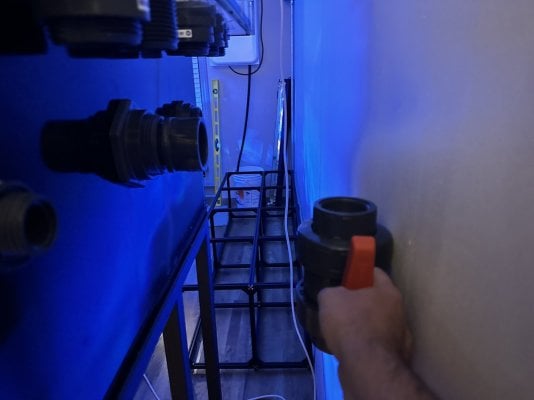
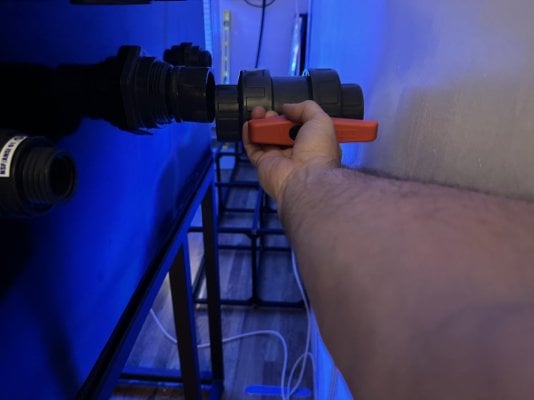
Started plumbing in the lower closed loop. The 2” true union ball valve is huge, and heavy. I have about 7 inches between the overflow box and my wall. I have about 15 inches between the back of the tank and my wall. I think I am going to have to go straight from the 2” bulkhead directly to the wall with a 90. From there I need tie the pipe to the wall in order to remove the downward force that will be on the 2” bulkhead. The 3 bulkheads on the back wall need to be supported so that the bulkhead isn’t holding the pipe up.
For the loop underneath, I am going to run plexiglass from the white spill catch I made up to the bottom of the tank. I plan to also cut a drain hole in the white box and plumb it to the drain, along with a sensor in the box. Got a lot done, just can’t complete many things as I am missing many things that are delayed getting to me.
For the loop underneath, I am going to run plexiglass from the white spill catch I made up to the bottom of the tank. I plan to also cut a drain hole in the white box and plumb it to the drain, along with a sensor in the box. Got a lot done, just can’t complete many things as I am missing many things that are delayed getting to me.
Attachments
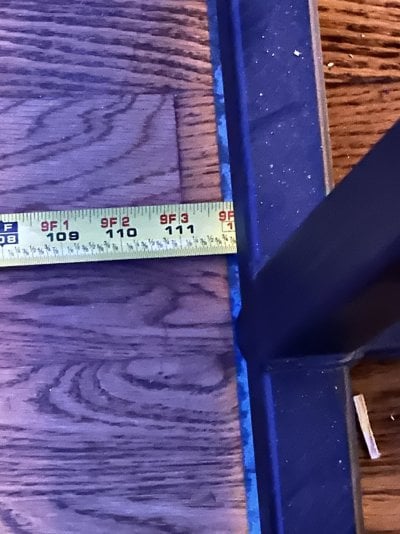
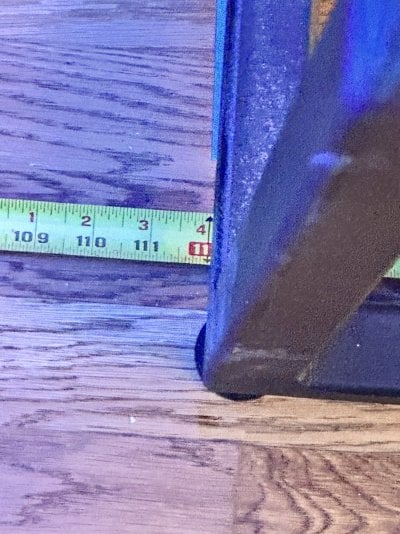
Finally decided on distance from overflow box and the wall, 8 inches. Which makes the distance to the back glass where the 3 bulkheads are 15”. Don’t forget I’ll have two L2’s mounted somewhere on that back wall behind the tank around 36” off the ground. These will send water up to the ceiling to come down to the 4 Sea Swirls. I also was able to square the tank up and level it for good. This tank was surprisingly easy to slide by myself.
Attachments
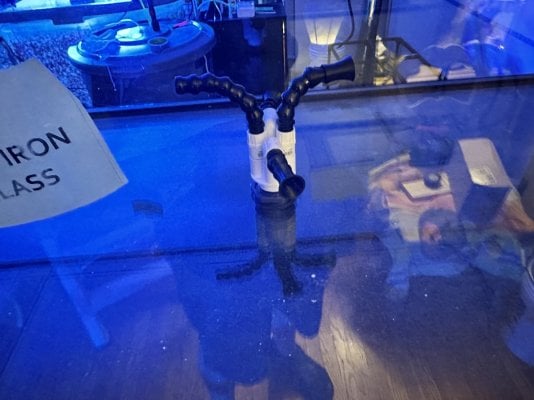
I started working on the 4 and 5 way adapters for the lower main closed loop. I was able to cut down the height on the one on the right. The 4 way adapter on the right is ready to go, the all the attachments for the 4 way are just mocked up. I have no clue how these will wind up. As for the 5 way on the left (front) I will easily be able to take about 1.25 inches out of the adapter alone. So much to do… I am going to have to hit pause on the plumbing until I get my sump and change something else out. I am told the delayed lighting brackets are enroute. I plan to try and get the overhead rails hung and get the trolley system up and running.
Attachments
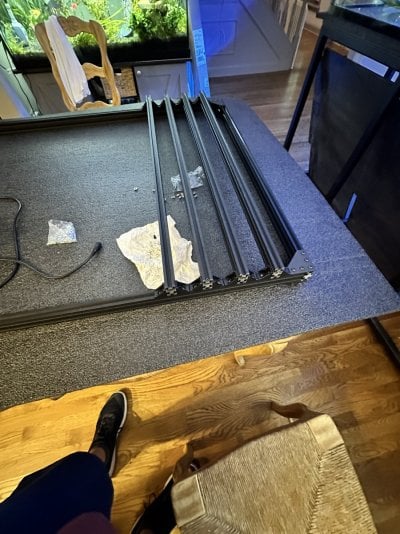
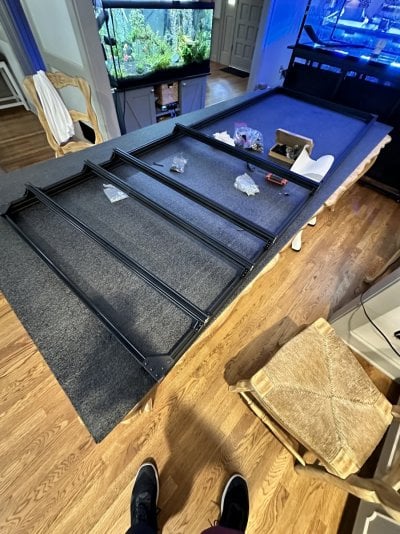
Still waiting on several meaningful components that are preventing me from making any further progress. I could guess at things but I don’t guess well. So, I will just wait. I do think my lighting brackets will be here in the next day or two, that means I can then finish the lighting rack and get it up in the air. That’s about 16-20 hours of work. I guessed at the main structure and guess what- I guessed wrong, lol. I need to cut a few inches off both ends. More on that in the next couple days… However - Today, I get the dumb butt of the week award. In testing my smaller acro tank last weekend, my PO4 jumped to .31. Now, it’s always been high at .18 ish. With my NO3 around 20-25. I only run an algae scrubber and do 20-25% weekly water changes via daily AWC. Well, I noticed I went through fish food pretty fast in my AFS. So over the weekend when I refilled it, I closed the opening 1 click. Tonight I accidentally looked at the AFS and noticed it appeared to be almost empty. So I inspected it and sure as poop, it’s like 50% empty. I go into my Apex and some how, no freaking clue how, it went from 4 feedings and 1 drum turn to 7 feedings and 6!!!! Drum turns. The tank is on the bedroom and it feeds every 2 hours starting at 8. So, I never heard this thing going crazy. Sigh…
Nice choice on the external overflow box, it’s the way to go with big tanks.
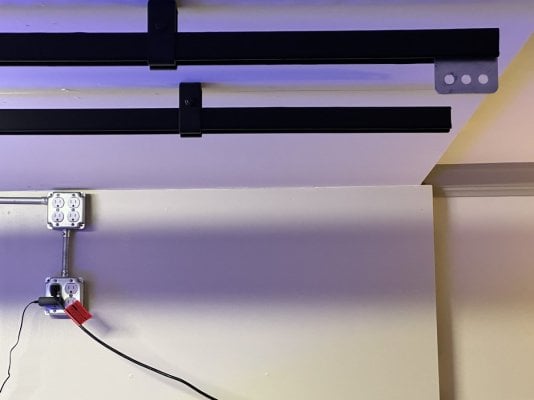
Today I was able to get the rails that will allow the trolley that will support the lighting rack. This was a galvanized unistrut from Home Depot (10’). I ordered matte black vinyl from Amazon and wrapped it to match the black hangers and the black Tslot I’ve been working with.
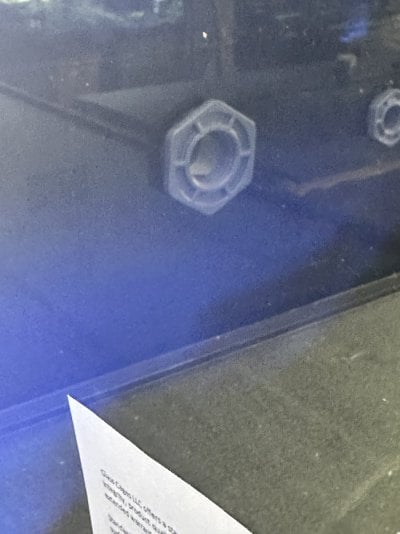
I also tightened 8 of the 10 Hayward bulkheads. dang they were a pita. Instructions say to tighten them by hand then go 1/2 turn more and you cannot use any tool that will compress on the bulkhead, instructions said to only use one of those rubber strap wrenches. The 2” didn’t compress like the 1.5” or the 1”. I was surprised at how much the gaskets compressed on those. I got about 3/4 of the half turn done on the 2”.
Over the next 7 days I will receive my sump, XR30 brackets and the 4 sea swirls. The only thing that will be owed to me is the 60g cryptic sump that Joe over at GC is making for me.
More tomorrow…
Attachments
Just so you know, I think you're a bit insane haha.
How much water do you plan to cycle out as change per week? It seems like you're gearing up for "shxtloads".
How much water do you plan to cycle out as change per week? It seems like you're gearing up for "shxtloads".
Similar threads
- Replies
- 8
- Views
- 156
- Replies
- 14
- Views
- 868
- Replies
- 2
- Views
- 227
- Replies
- 4
- Views
- 88
- Replies
- 1
- Views
- 49


