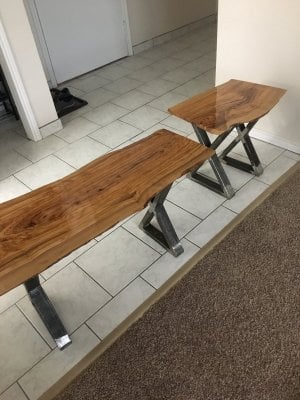
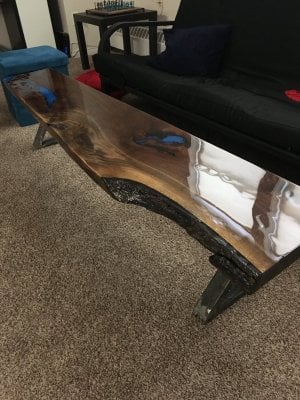
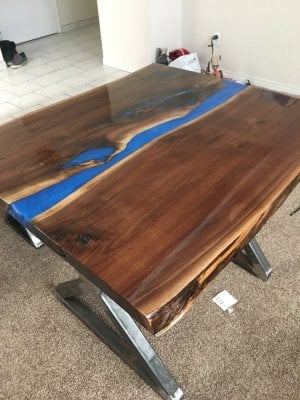
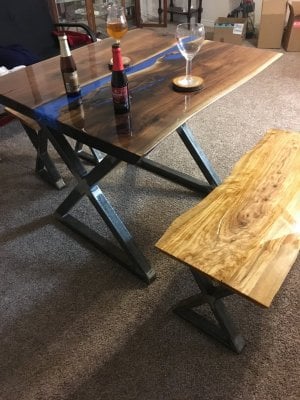
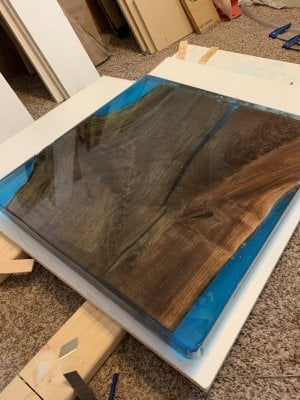
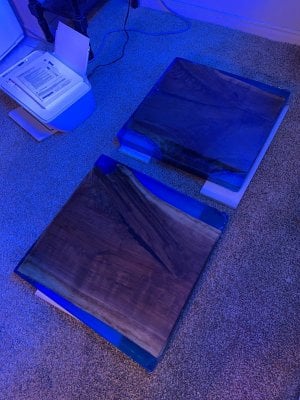
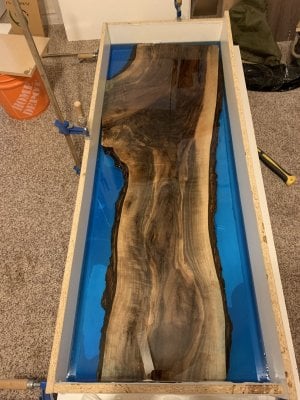
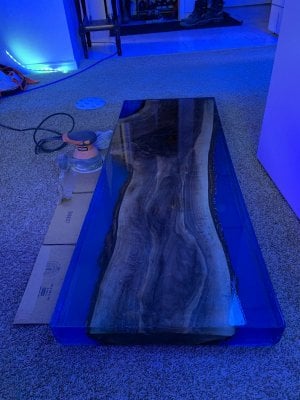
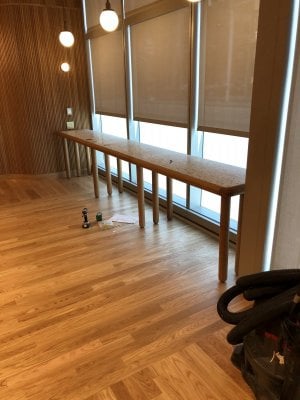
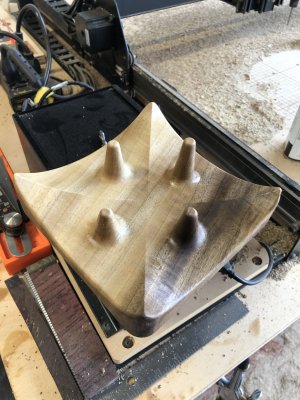
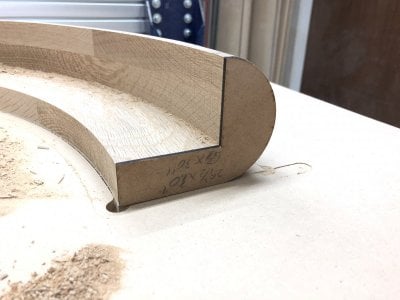
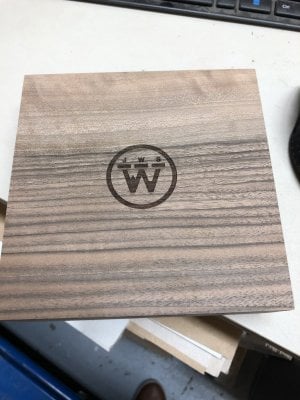
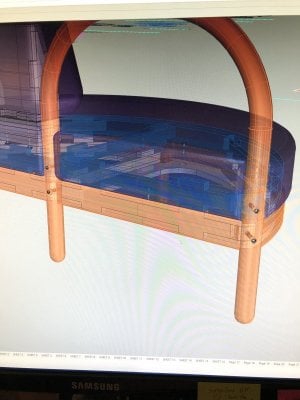
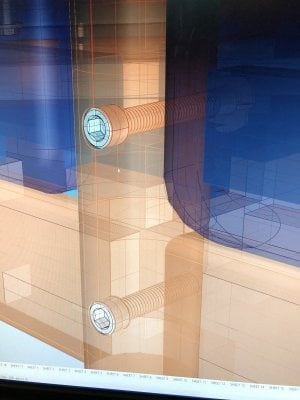
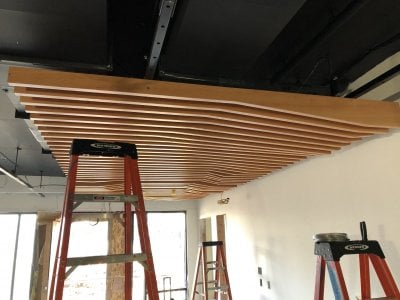
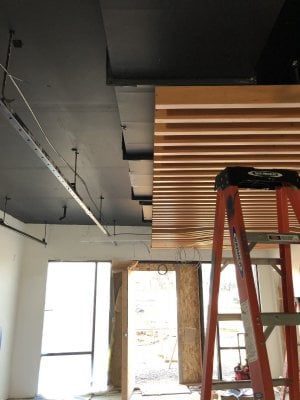
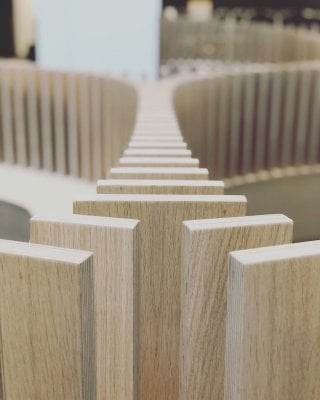
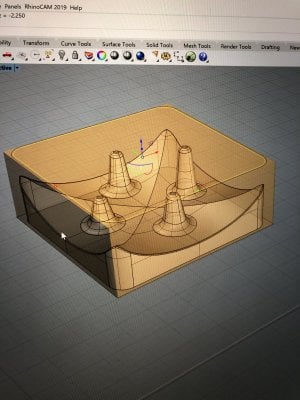
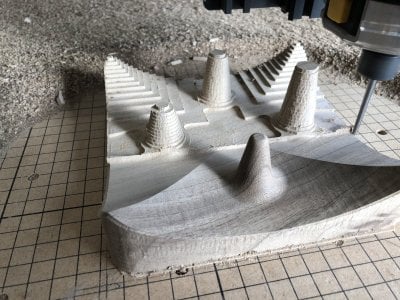
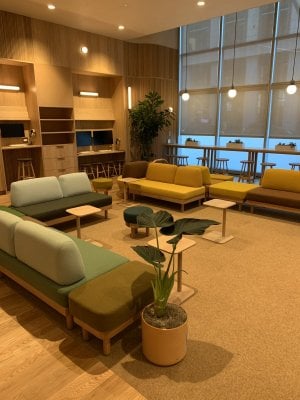
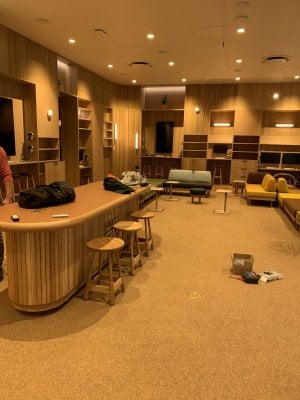
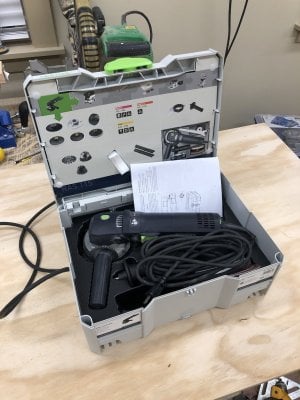
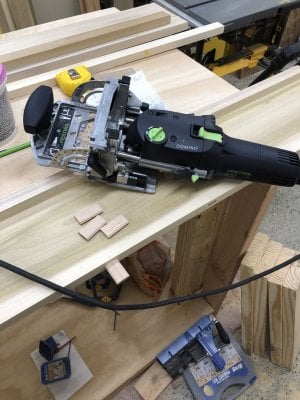
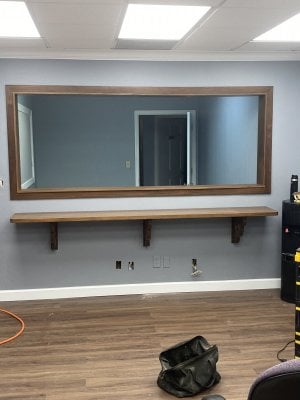
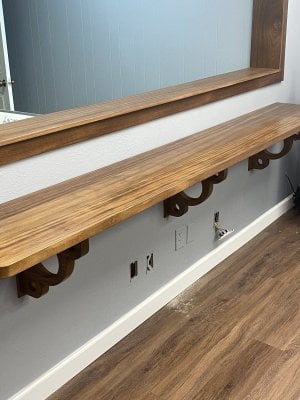
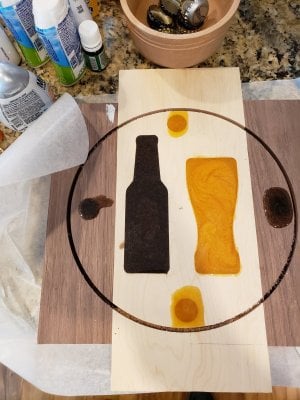
Thanks. I am liking knotty wood, and sometimes you can get it discounted!Beautiful inlay. I've never tried epoxy to fill in shapes or knots. They should love it!
Navigation
Install the app
How to install the app on iOS
Follow along with the video below to see how to install our site as a web app on your home screen.
Note: This feature may not be available in some browsers.
More options
You are using an out of date browser. It may not display this or other websites correctly.
You should upgrade or use an alternative browser.
You should upgrade or use an alternative browser.
Anyone enjoy woodworking?
- Thread starter kschweer
- Start date
- Tagged users None
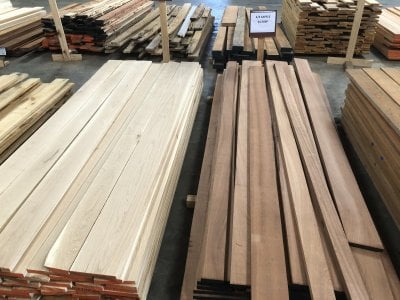
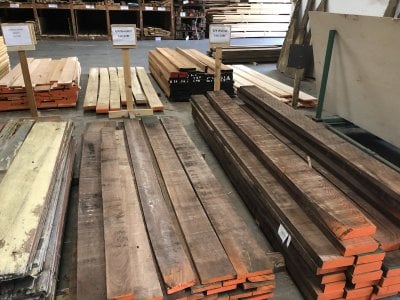
I live in a small town, but we have a wood supplier here in town. They have about any type of wood you can imagine and at reasonable prices. They ship all over the country, I feel so lucky to drive 5 minutes and pick up Cherry, Aspen, Ash, Hard Maple/Birdseye, Mahogany.
Here’s the latest project…..a Step Stool for my Grandchild, who insists on helping in the kitchen. The great thing about this plan is that it is adjustable as the kid grows.
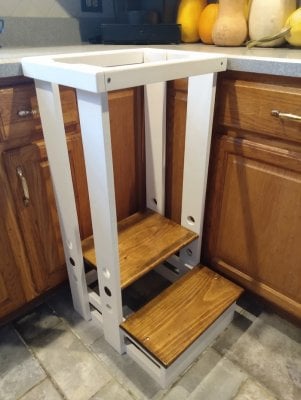
This was made a fun project by the excellent and easy to follow plans found HERE. Bravo Viktor! One of my biggest problems is spending too much time in planning and design, and when it’s done for you, easy peasy!!
That said, here are the modifications I made from the original plans:
With this being the first grandchild, I’m sure I’ll be checking back in here to make who knows how many of this step stools. I should probably start first thing tomorrow to make another.

This was made a fun project by the excellent and easy to follow plans found HERE. Bravo Viktor! One of my biggest problems is spending too much time in planning and design, and when it’s done for you, easy peasy!!
That said, here are the modifications I made from the original plans:
- My daughter’s request: Increase the overall width by 1 inch, and finish the body in white and the steps stained and varnished.
- End gluing is an extremely weak connection. Since I was screwing the first step, and not nailing all the way around, I used pocket screws on the side brace connection to the front board:
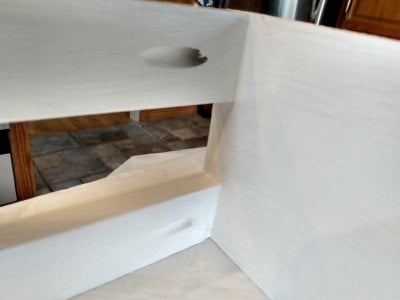
- The first step was increased by ¾ of an inch on both sides and front edge. I think a nicer finished look.
- Steps were rounded over on exposed edges, top and bottom. Pine is soft and chips easily, and rounding minimizes the chance of chipping.
- Top upper edges of the guard rails were rounded over on both inside and outside edges. More comfortable for the little hands, and leaning against the rail.
- He doesn’t mention in the plans, but the clamps you need are 1 inch rigid (metal) clamps. HD sells them in a four pack. Yes, they fit a 1 ¼ inch rod. Now they are still a hair too wide, so the inside of each clamp was lined with duct tape. I use a #8 x ⅝ Panhead screw to hold the clamps.
- The screws I used for the front top rail and the first step were Stainless Steel Oval Head #10 x 1 ½”, counter sunk.
With this being the first grandchild, I’m sure I’ll be checking back in here to make who knows how many of this step stools. I should probably start first thing tomorrow to make another.
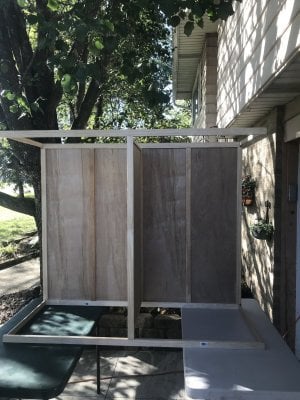
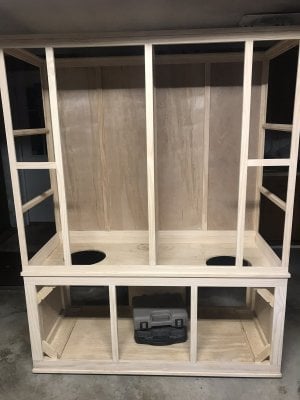
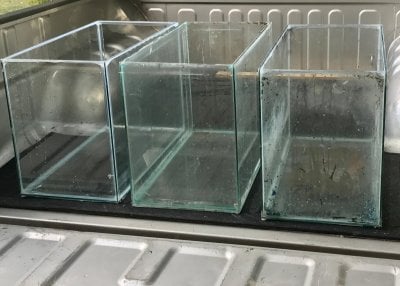
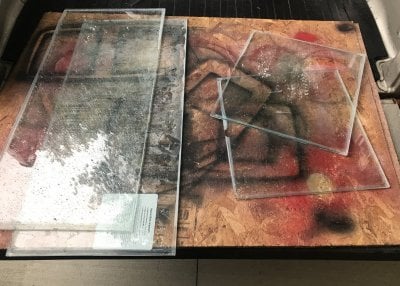
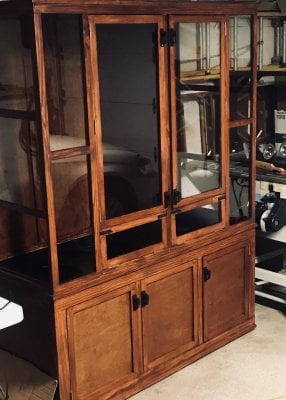
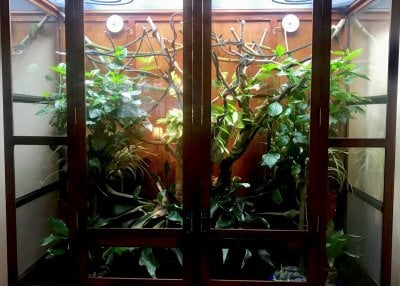
The last year hasn’t left me much free time to be creative. The wife and I have been tenovating our house we moved into last year. This is latest bigger project I completed. I built this Chameleon enclosure to house my Veiled and Panther chameleons. I Even found a use for old leaky aquariums. I disassembled them and cut the glass to fit.


kschweer
Moderator
View BadgesStaff member
Super Moderator
Partner Member 2024
Excellence Award
NJRC Member
Hospitality Award
My Tank Thread
My Aquarium Showcase
Awesome Paul! My son loves the one we got for him.Here’s the latest project…..a Step Stool for my Grandchild, who insists on helping in the kitchen. The great thing about this plan is that it is adjustable as the kid grows.

This was made a fun project by the excellent and easy to follow plans found HERE. Bravo Viktor! One of my biggest problems is spending too much time in planning and design, and when it’s done for you, easy peasy!!
That said, here are the modifications I made from the original plans:
- My daughter’s request: Increase the overall width by 1 inch, and finish the body in white and the steps stained and varnished.
- End gluing is an extremely weak connection. Since I was screwing the first step, and not nailing all the way around, I used pocket screws on the side brace connection to the front board:

- The first step was increased by ¾ of an inch on both sides and front edge. I think a nicer finished look.
- Steps were rounded over on exposed edges, top and bottom. Pine is soft and chips easily, and rounding minimizes the chance of chipping.
- Top upper edges of the guard rails were rounded over on both inside and outside edges. More comfortable for the little hands, and leaning against the rail.
- He doesn’t mention in the plans, but the clamps you need are 1 inch rigid (metal) clamps. HD sells them in a four pack. Yes, they fit a 1 ¼ inch rod. Now they are still a hair too wide, so the inside of each clamp was lined with duct tape. I use a #8 x ⅝ Panhead screw to hold the clamps.
- The screws I used for the front top rail and the first step were Stainless Steel Oval Head #10 x 1 ½”, counter sunk.
With this being the first grandchild, I’m sure I’ll be checking back in here to make who knows how many of this step stools. I should probably start first thing tomorrow to make another.
@kschweer I was thinking of your little guy when I was posting this, thinking you'd end up building one. We considered buying as well, and in the process of looking, found those simple plans. Can't wait to give this to him....mid to late October before we go to Virginia.
kschweer
Moderator
View BadgesStaff member
Super Moderator
Partner Member 2024
Excellence Award
NJRC Member
Hospitality Award
My Tank Thread
My Aquarium Showcase
That was the plan I just couldn’t find the time and he always wanted to “help” like your grandson. We found his on amazon and it’s surprisingly nice. Your grandsons going to love it!@kschweer I was thinking of your little guy when I was posting this, thinking you'd end up building one. We considered buying as well, and in the process of looking, found those simple plans. Can't wait to give this to him....mid to late October before we go to Virginia.
kenchilada that looks similar to the candy store I shop at! I feel so lucky to be close to a real lumber supplier.
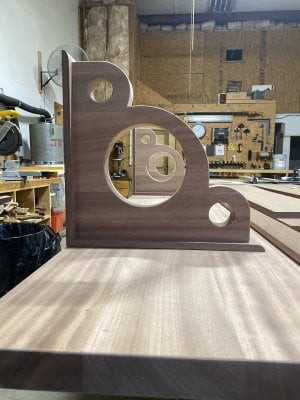
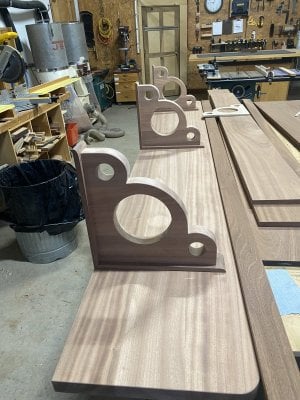
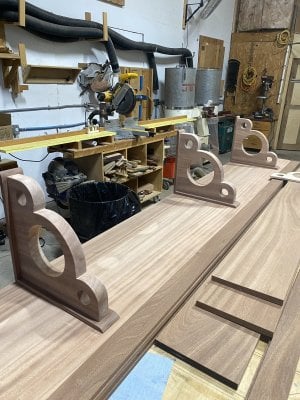
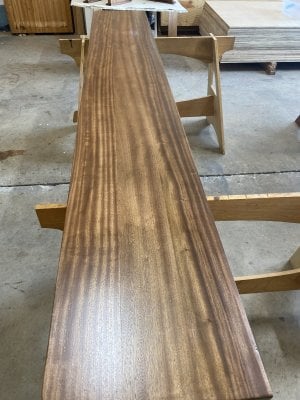
Here's a shot of a floating live edge shelf project my wife wanted....
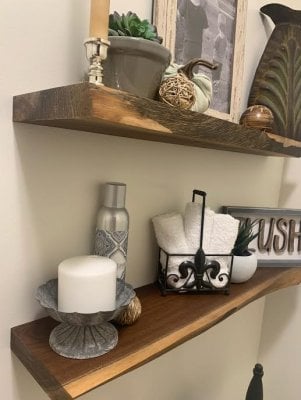
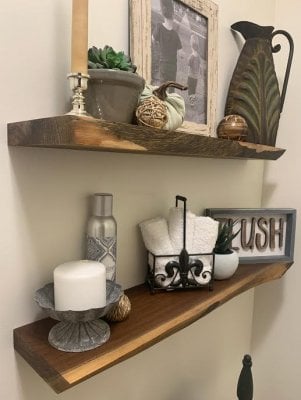
Here's a shot of a floating live edge shelf project my wife wanted....


jsker
Reefing is all about the adventure
View Badges
Staff member
Super Moderator
Partner Member 2024
Excellence Award
Reef Tank 365
Article Contributor
Hospitality Award
Ocala Reef Club Member
R2R Secret Santa 2023
My Tank Thread
Hello,
Wow is that in your home or (building home etc). Those are really nice. I can’t do wood working at all but I can throw good pottery
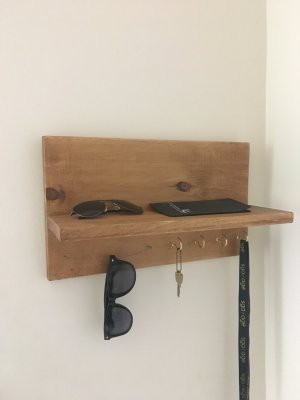
I have a friend who uses torch to give wood that aged look. Come out pretty good actuallyWith all the DIY and custom stands on here I figured a few if not a lot of you enjoy woodworking. When I have the time I like to make things. Built this today. A shelf for my bedroom.
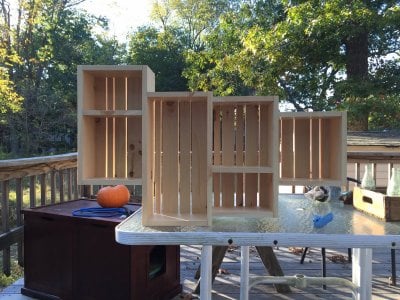
I'm trying a finish to look like aged barn wood on it. Never done it before but I like the look and it was easy to do. I figure if I don't like it I can just paint over it. It will darken as it dries.
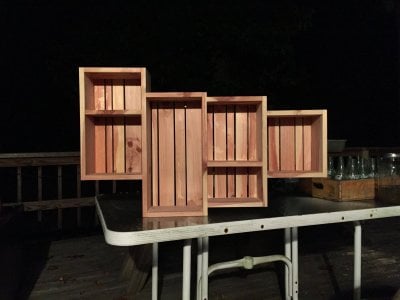
I would love to see some project you guys have done and maybe some ideas for future projects.
-Kevin
The wife and I have been watching the Great Pottery Throwdown on HBO Max. Lot more to pottery than we thought there wasHello,
Nope never tried but I do lots of pottery
jsker
Reefing is all about the adventure
View Badges
Staff member
Super Moderator
Partner Member 2024
Excellence Award
Reef Tank 365
Article Contributor
Hospitality Award
Ocala Reef Club Member
R2R Secret Santa 2023
My Tank Thread
Similar threads
- Replies
- 27
- Views
- 367
- Replies
- 8
- Views
- 148
- Replies
- 6
- Views
- 190
- Replies
- 8
- Views
- 143
- Replies
- 18
- Views
- 466


