- Joined
- May 27, 2019
- Messages
- 3
- Reaction score
- 2
Dang your’s looks like it fits so much better! Have the same tank and I can’t fit that insert plus my light plus my ATOQuick update and DIY REFUGIUM project.
I wanted to add a refugium to the IM 20 Nuvo Fusion so that I could grow macro algae and reduce some nutrients and generally stabilize things.
At the same time, I wanted to have a sleek, low profile setup.
I bought the inTank Aquatics fuge basket sized for this aquarium.
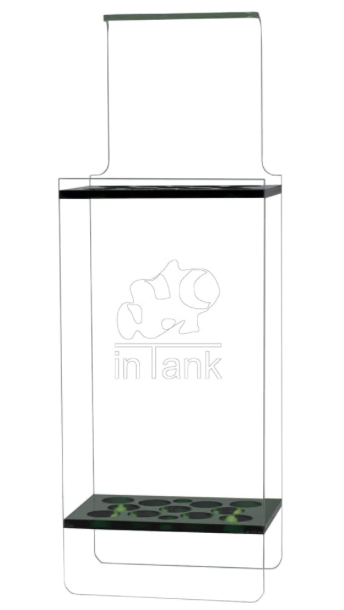
It is designed to go in one of the two '2nd chambers" of the AIO setup. Thanks to inTank Aquatics. I have a few of their items and I find them to work well.
filled with some chaeto.
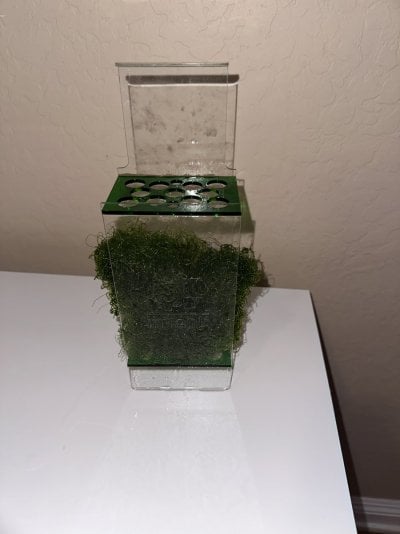
and going into the 2nd chamber.
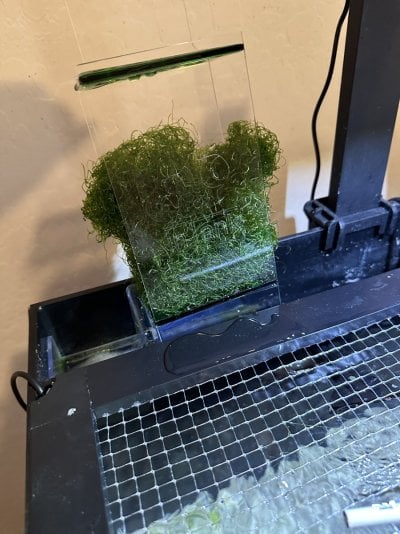
Next was to sort out a light source.
I found the typically available ones to be rather clunky and expensive. Just not what I wanted.
I thought I would create my own as I could be a lot more flexible with the design and placement.
So, I found these LED pucks on Amazon.
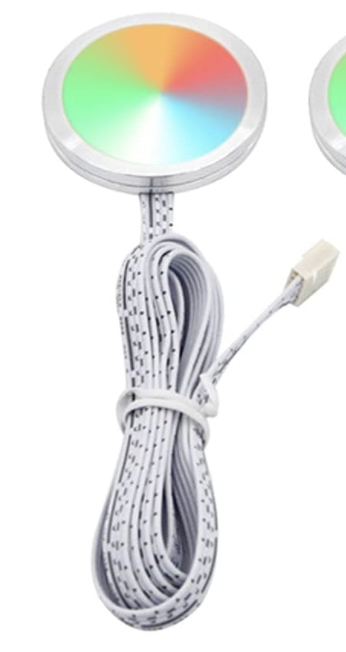
Very cost effective and I like how low profile they are. Also, they can switch from white light to red spectrum if that is desireable. And I figured I might also use them for lighting my cabinet of my stand in the future.
Each puck is rated at 3W of power and as a LED, wont add hardly any heat energy.
These will be fix to the back of the tank and shine into the 2nd chamber of the AIO setup.
I made this simple bracket out of cheap plexiglass from Home Depot.
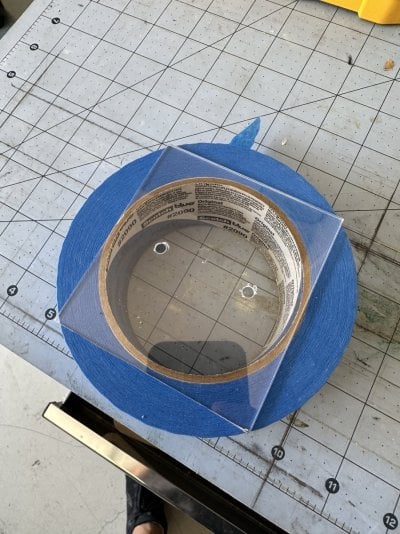
I took the face off the puck as it just unscrews like a jelly jar.
I used the mounting holes in the puck and some simple nylon screws and nuts.
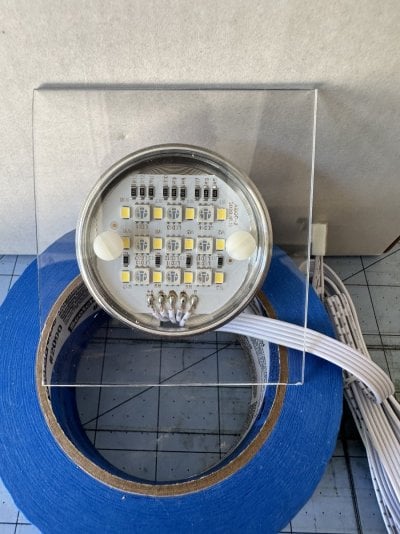
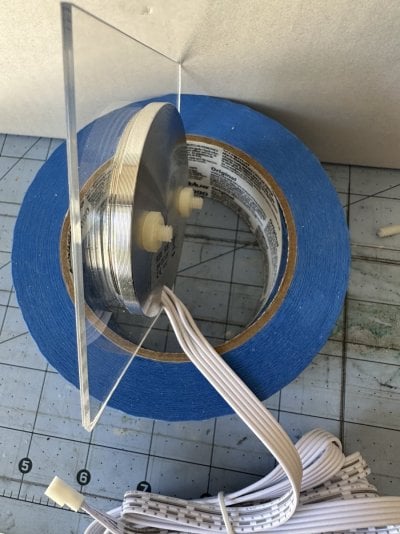
I then made a window on the black adhesive sheet that is on the back glass panel of the tank over the 2nd chamber to allow the light to come through. You can obviously see the macro algae on the other side of the glass in the 2nd chamber.
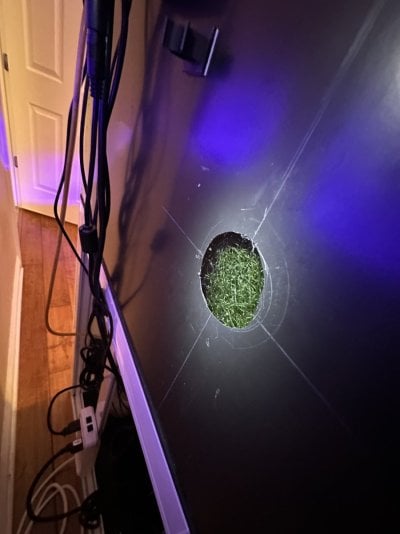
To 'fix it' to the tank's back panel, I used strong neodymium magnets that already have adhesive on one side to stick to the glass back panel. Once in place, the other magnets on the outside of the plexiglass are strong enough that it holds this light-wieght set up just fine. More than strong enough. And it is totally adjustable if I want to change it around.
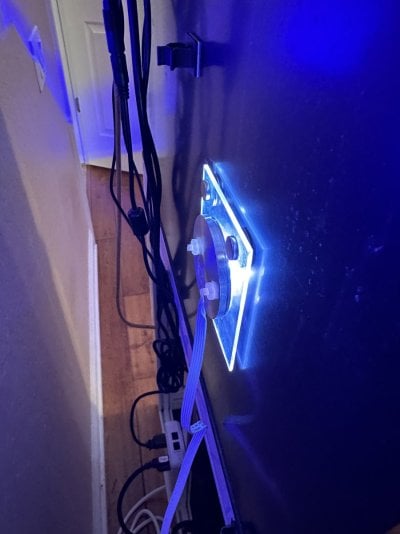
You can see the light shining through into the chamber without the fuse basket in place.
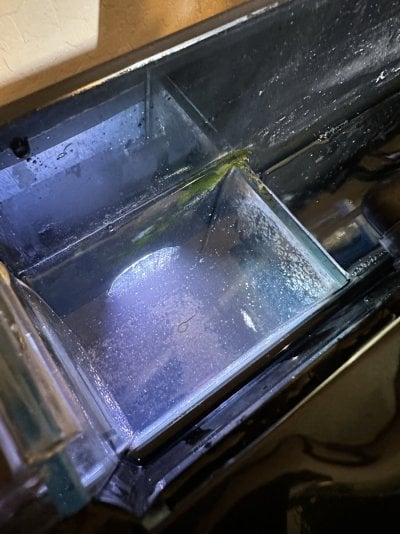
video link of the light filling the 2nd chamber.
CLICK HERE
and then with the fuge basket in place.
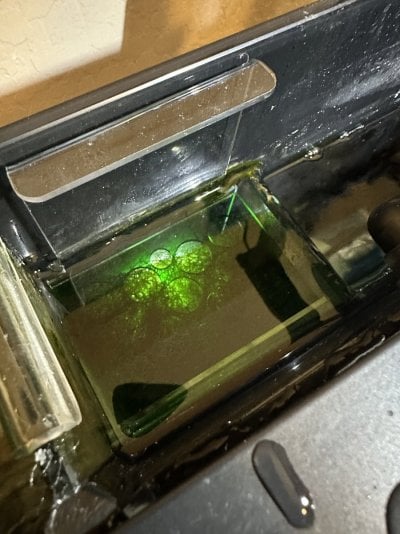
And its easy enough to change to red LEDs with the remote control.
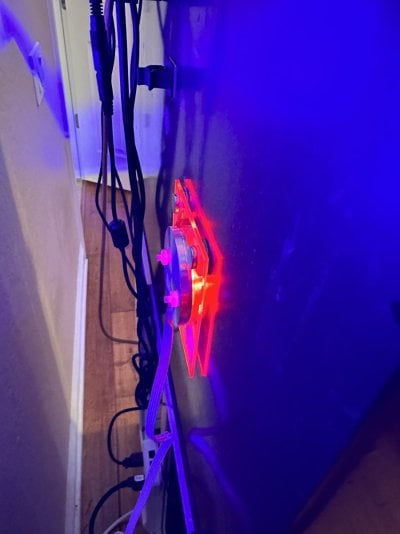
I also checked the PAR level of the white light at about 1.5 inches (the working distance in this set up) and it was about 150 with white lights. Red lights closer to 100. The light brightness is adjustable with the supplied remote control so I can adjust as needed.
It has been installed for about 30 min and I am already thinking of some ways to modify it for lower profile and less light 'leakage'. But this will be a good start and the modifications will be a variation on this theme. Should help export some nutrients.


