mike wright

New Member
View Badges
Joined
Dec 20, 2017
Messages
12
Reaction score
18
Rating - 0%
0   0   0
Hello, just thought it would be interesting to document my progress while setting up this NUVO INT 150 lagoon tank. This is my second tank. First one being an AIO IM NUVO 40. Bellow I'll post some of the specs of the tank and the equipment I plan to use. Some of my goals for this system are quite different from my first tank. My goal is to make this system heavily automated and extremely stable. This goal has driven many of my equipment selections. Additional, its my goal to have a very healthy stock of fun fish for this system. I'm really looking forward to the much larger selection of fish that can be homed in this tank over my first much smaller tank.

Tank specs:
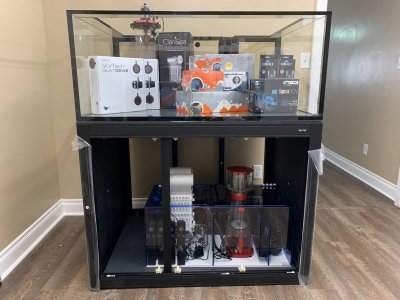
  • 150 Gallons
  • DIMS: 47.3” x 35.4” x 19.7”
Equipment:
  • Echotech MP4 x2
  • CariSea gen2 SK500
  • Kalkwasser reactor OCTO KS-150
  • Alkatronic
  • Full Apex system with DOS and auto feeder
  • Cobalt neo therm 150 watt x4
  • Sicce syncrea ADV 7 return pump
  • Red Sea RSK 300 skimmer
  • Kessil AP 700
  • Aquatic Life DX18 36" /w 2x ATI aqua blue specials, 2x ATI coral plus
  • Trigger systems triton 32 v2 sump

IMG_1596.JPEG
 
Last edited:
OP
OP
mike wright

mike wright

New Member
View Badges
Joined
Dec 20, 2017
Messages
12
Reaction score
18
Rating - 0%
0   0   0
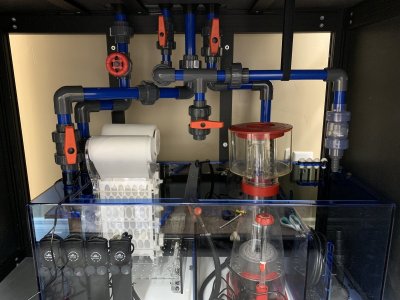
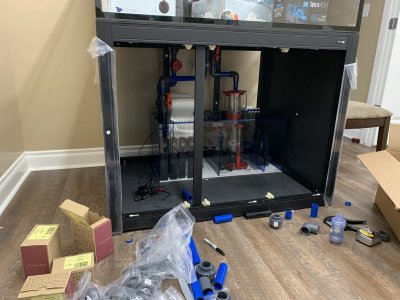
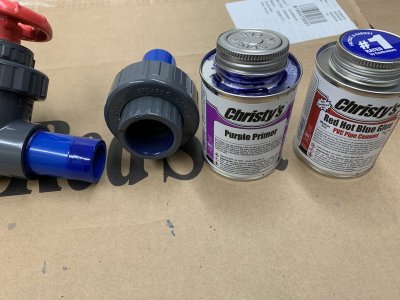
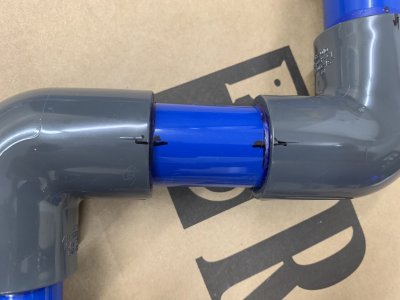
Its my first time plumbing a tank (or anything.) Please let me know if I'm making any big mistakes. I haven't glued it yet just a dry fit at the moment.
On a side note, I've gained a whole new respect for plumbers.

IMG_1598.JPEG
 
OP
OP
mike wright

mike wright

New Member
View Badges
Joined
Dec 20, 2017
Messages
12
Reaction score
18
Rating - 0%
0   0   0
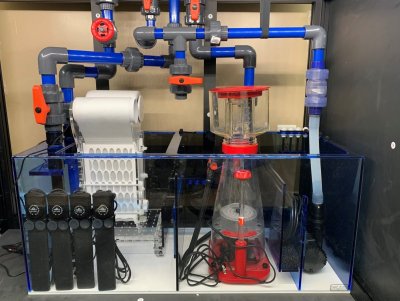
Finished plumbing the sump. This was much more time consuming and difficult than expected put pretty satisfying once complete.

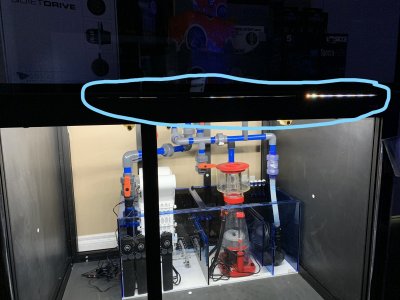
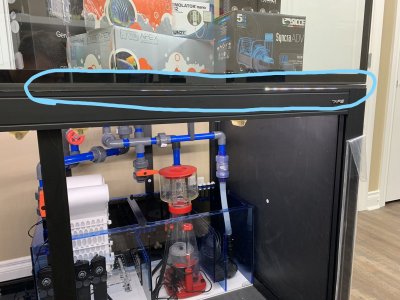
I've noticed that the tank does not appear to be sitting evenly on the stand. I have leveled the stand and tank. I'm at a total loss for what could be causing this. There is a visible gap at one of the corners of the tank where it does not sit evenly. Light can even be seen coming from the sump directly under the tank.

IMG_1597.JPEG IMG_1602.JPEG IMG_1603.JPEG IMG_1604.jpeg InkedIMG_1606_LI.jpg InkedIMG_1607_LI.jpg
 

juanrmattos

- Frag Plug Hater -
View Badges
Joined
Jun 13, 2014
Messages
590
Reaction score
982
Location
Miami - Florida
Rating - 0%
0   0   0
It looks like the stand top may be bowing, does it do the same on the back?; would you consider using a leveling mat?

The gap can be sealed, and more than likely once you add weight the wood will bend back up, but the mat will guarantee a better surface area support.
 
OP
OP
mike wright

mike wright

New Member
View Badges
Joined
Dec 20, 2017
Messages
12
Reaction score
18
Rating - 0%
0   0   0
It looks like the stand top may be bowing, does it do the same on the back?; would you consider using a leveling mat?

The gap can be sealed, and more than likely once you add weight the wood will bend back up, but the mat will guarantee a better surface area support.
When I place my level to the horizontal cross members there is no gap indicating bowing.

This tank/stand has two mats, one soft foam and a second firm PVC foam. The gap in the pictures is actually in between the two mats and below the second mat and the stand. The top soft foam mat is glued to the bottom of the tank, It comes this way from innovative marine.
 

juanrmattos

- Frag Plug Hater -
View Badges
Joined
Jun 13, 2014
Messages
590
Reaction score
982
Location
Miami - Florida
Rating - 0%
0   0   0
Okay, but there is a gap and is not even, do you think it may be the PVC?, the mat from IM is too thin to create one like that no?.

If your level shows par, the gap may possibly go away once you add the weight of seawater and rock.
 
OP
OP
mike wright

mike wright

New Member
View Badges
Joined
Dec 20, 2017
Messages
12
Reaction score
18
Rating - 0%
0   0   0
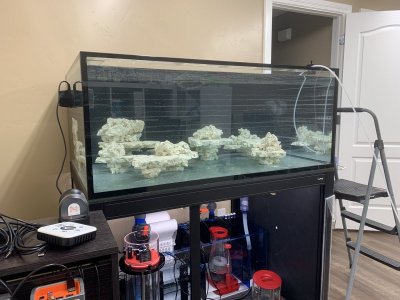
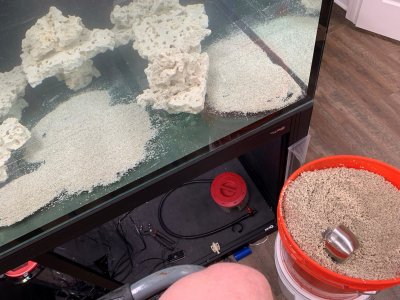
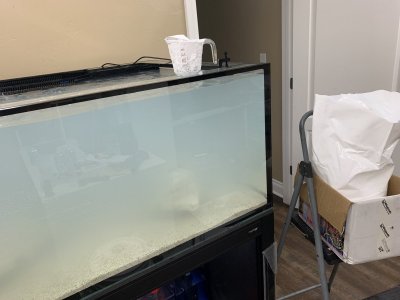
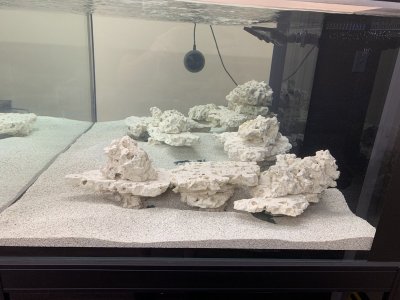
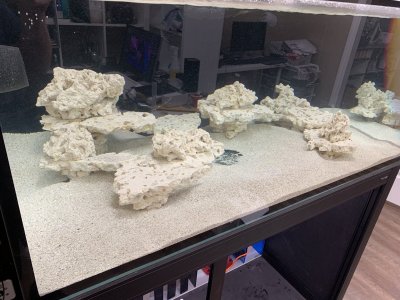
Making slow but steady progress. so far I've leak tested the tank added rock, sand and an entire box of salt.
The aquascape was done with stax rock. The salt I used is HW reefer. And I decided to use dry aragonite special grade sand this time that I washed before adding to the tank.

IMG_1617.JPEG IMG_1619.JPEG IMG_1620.JPEG
 
OP
OP
mike wright

mike wright

New Member
View Badges
Joined
Dec 20, 2017
Messages
12
Reaction score
18
Rating - 0%
0   0   0
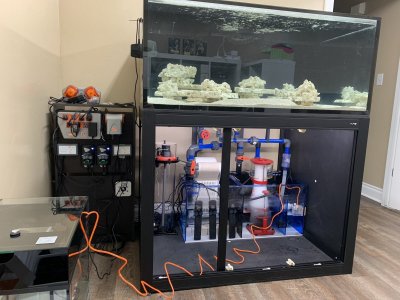
Making a bit more progress, trying to make sure the tank is as failure proof as possible. Added the M2 return pump with battery backup to support this goal. Also I ordered the first fish for the tank. I'm go to start by stocking the tank with tangs.
Here is the list of tangs I'm planning to add to the tank.

Desjardini Sailfin Tang
(Zebrasoma desjardini)

Cheveron Tang
(Ctenochaetus hawaiiensis)

Blue Tang
(paracanthurus hepatus)

Yellow Tang
(Zebrasoma flavescens)

Lots of cable management still to do, still a pretty long list of tasks needed to complete before this becomes a reef tank.

IMG_1629.JPEG IMG_1630.JPEG IMG_1631.JPEG
 

mcwhng

Active Member
View Badges
Joined
Jan 16, 2016
Messages
121
Reaction score
106
Rating - 0%
0   0   0
When I place my level to the horizontal cross members there is no gap indicating bowing.

This tank/stand has two mats, one soft foam and a second firm PVC foam. The gap in the pictures is actually in between the two mats and below the second mat and the stand. The top soft foam mat is glued to the bottom of the tank, It comes this way from innovative marine.
Is the gap still there or did you somehow level it out?
 

hobbyreefer

Active Member
View Badges
Joined
Aug 26, 2019
Messages
222
Reaction score
206
Rating - 0%
0   0   0
Hi Mike- I'm looking into a similar setup. I have a question about the coast to coast overflow. Is the overflow glass? I'm trying to determine if I can scrape coralline off without scratching?
 
Back
Top