Navigation
Install the app
How to install the app on iOS
Follow along with the video below to see how to install our site as a web app on your home screen.
Note: This feature may not be available in some browsers.
More options
You are using an out of date browser. It may not display this or other websites correctly.
You should upgrade or use an alternative browser.
You should upgrade or use an alternative browser.
iReefers 700 Gallon Peninsula
- Monster Build
- Thread starter iReefer12
- Start date
- Tagged users None
Wow! Thank you so much for the compliments @Devaji! Really appreciate it.WOW what an epic build! love love LOVE it so much. everything about this build is just perfect.
firstly it a peninsula
the BF, angels & other fish
the T slot stand
the LF sump from jeff.
the corals
the attention to deals on this build is so top shelf. man I need to learn that I am down in the basement with my wire management skills.
the fish room with the labeled QT tanks
like i said promo...top shelf man.
I want to build a 500-1000 gal in my basement for a FOWLR the way you got your tank in was so epic! I cant do that unless i start cutting the foundation...
keep on keeping on brother!
It’s been a fun build, it satisfies my OCD haha and the tidier I make it, the more likely I am to keep up with maintenance.
If there’s any specific questions on the build, fire away, would be happy to provide help.
The last few weeks I’ve been working on the cabinetry, and skinning the tank. It’s been a long process, but I’m liking the results so far.
Here are some pics of that process. Just a photo dump as it’s been a few week process.
I used HDPE Simona Boat Board. It doesn’t absorb water, is waterproof, won’t rot, won’t mold. It’s designed for use on boats or outdoor cabinets, so it should be perfect for this application.
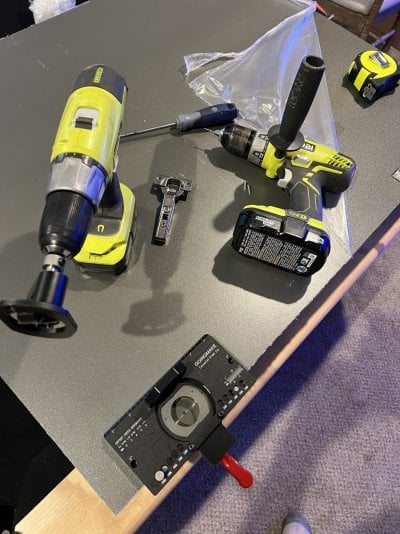
I used Blum hardware, and mounted the hinges directly to the T Slot, just needed a few extra holes drilled, but it was quite easy to attach in the end.
Anyway, any questions, feel free to ask away.
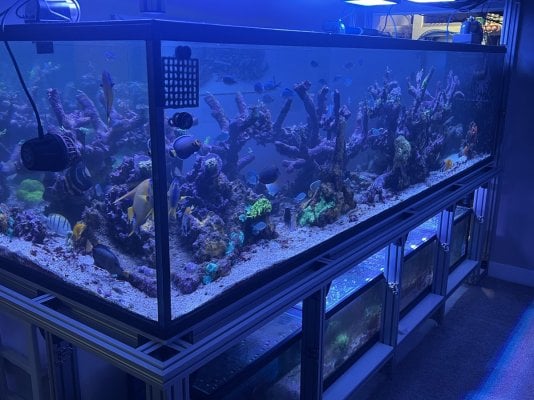
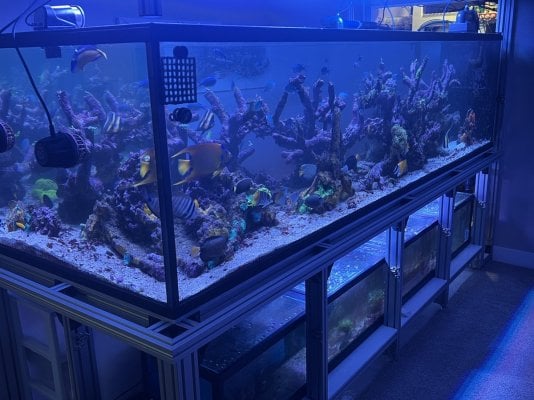
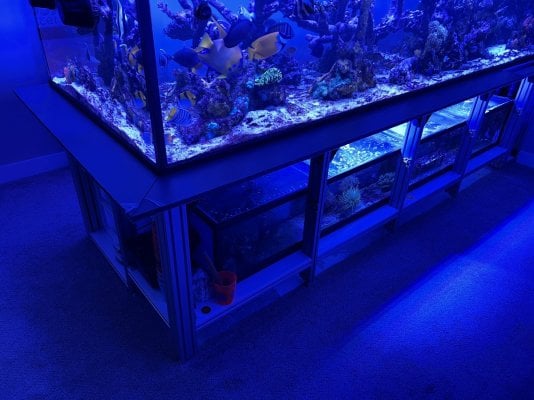
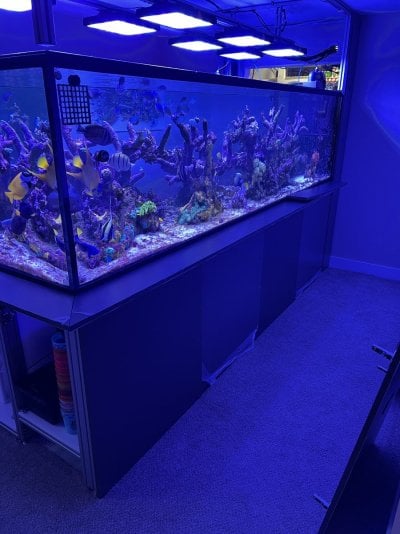
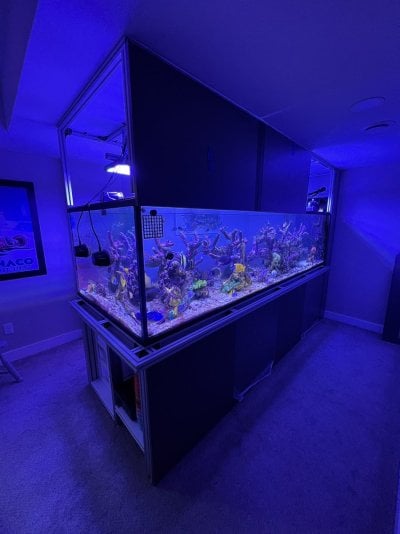
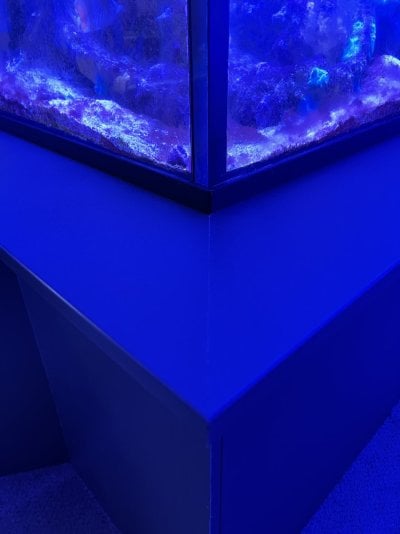
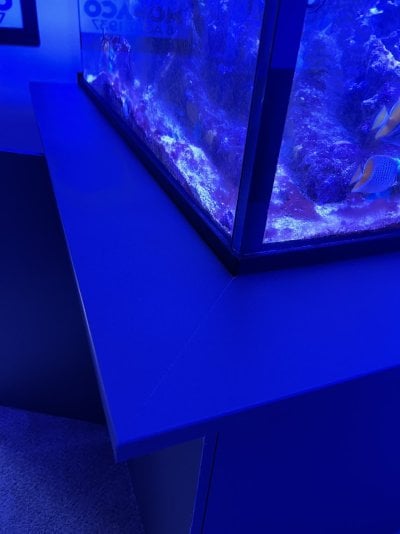
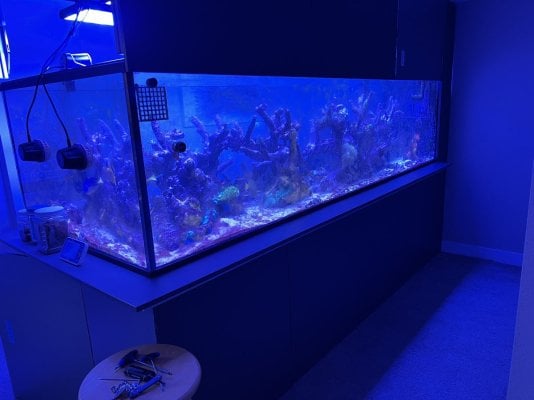
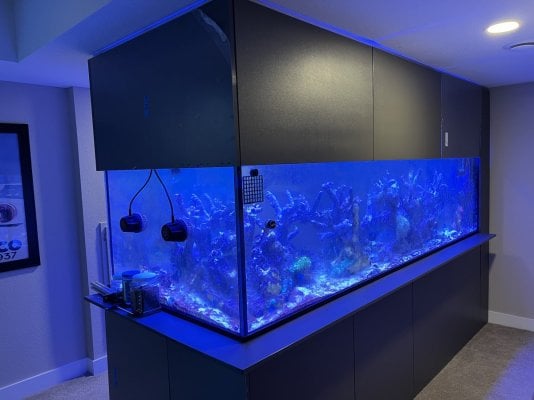
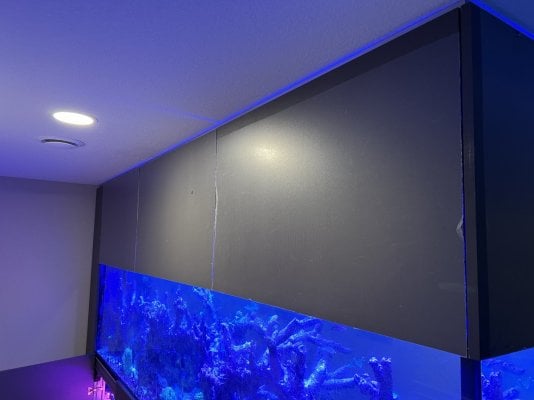
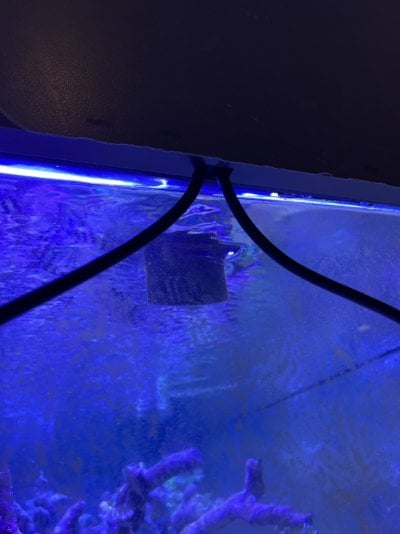
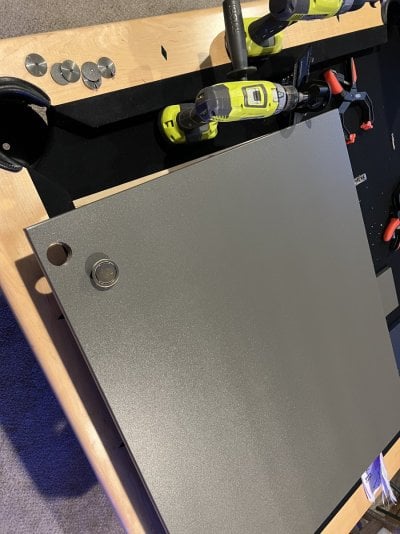
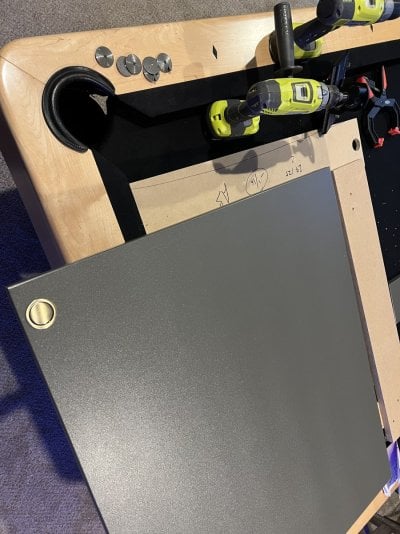
Massive thanks to @flagg37! He cut all the material down to size for me! And did an amazing job! Thank you again.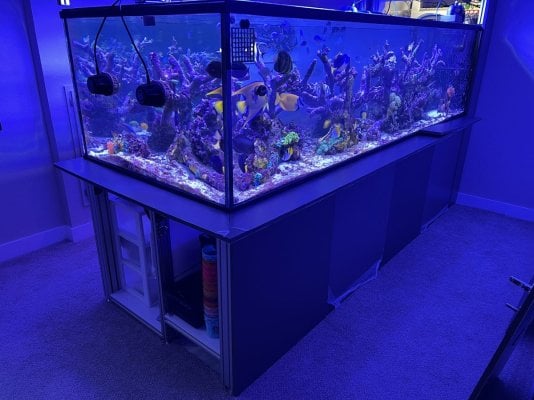
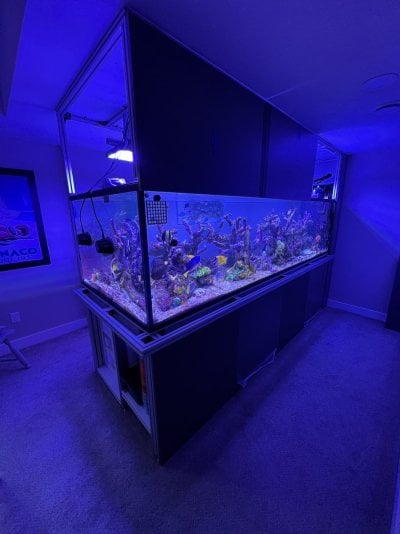
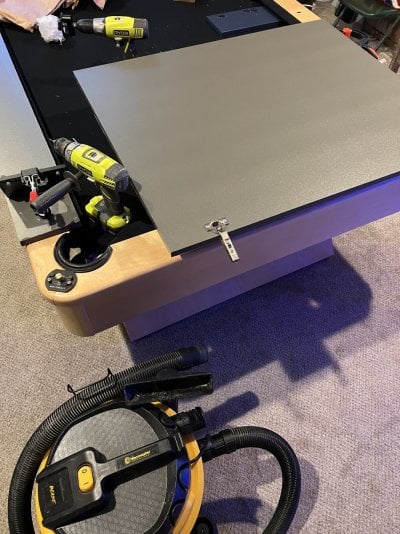
Here are some pics of that process. Just a photo dump as it’s been a few week process.
I used HDPE Simona Boat Board. It doesn’t absorb water, is waterproof, won’t rot, won’t mold. It’s designed for use on boats or outdoor cabinets, so it should be perfect for this application.
I used Blum hardware, and mounted the hinges directly to the T Slot, just needed a few extra holes drilled, but it was quite easy to attach in the end.
Anyway, any questions, feel free to ask away.


Massive thanks to @flagg37! He cut all the material down to size for me! And did an amazing job! Thank you again.


Everything’s doing well at the moment. I need to snap some pics of the actual inside of the tank…How is everything looking?
The progress is impressive! It's nice when you get the canopy on isn't it? It took me a couple years before I finally finished my own and it made a huge difference. Looks great.
I am gonna have to look in to that stuff. I bet it ant cheap tho. with the t slot stand that this its a great choose for SW tanks!.The last few weeks I’ve been working on the cabinetry, and skinning the tank. It’s been a long process, but I’m liking the results so far.
Here are some pics of that process. Just a photo dump as it’s been a few week process.
I used HDPE Simona Boat Board. It doesn’t absorb water, is waterproof, won’t rot, won’t mold. It’s designed for use on boats or outdoor cabinets, so it should be perfect for this application.
I used Blum hardware, and mounted the hinges directly to the T Slot, just needed a few extra holes drilled, but it was quite easy to attach in the end.
Anyway, any questions, feel free to ask away.


Massive thanks to @flagg37! He cut all the material down to size for me! And did an amazing job! Thank you again.


I like the tank with out the canopy. personal option from some guy on the web. haha
but i do understand em'.
anyway great job on skinning the tank!
A photo dump from the past week.
Finally completed all the cabinetry. I installed gas struts to keep the upper doors open so to be able to work in the tank. There cheap ones off Amazon, but so far so good, they are working well.
Then just a bunch of pictures of fish and a few coral pics, the @Battlecorals F’ing Die Na Myte is taking off. The captive bred Regal & Multibars are growing bit by bit, Queen Angel and Emperor are doing well - the king & Queen of the tank, a few nice shots of some of the butterfly’s, and Morris the Moorish Idol has now been with me 11 months, I count that as a victory, fingers crossed for his continued good health.
A few new additions you may spot:
Orange Shoulder Tang
Pearlscale Butterfly
Tiny Vlamingi Tang
Moyeri Leopard Wrasse
Yellow Coris Wrasse
Leopard Wrasse
Thanks for the shout out but my part in this is minimal. You deserve all the credit. Your tank is looking awesome.The last few weeks I’ve been working on the cabinetry, and skinning the tank. It’s been a long process, but I’m liking the results so far.
Here are some pics of that process. Just a photo dump as it’s been a few week process.
I used HDPE Simona Boat Board. It doesn’t absorb water, is waterproof, won’t rot, won’t mold. It’s designed for use on boats or outdoor cabinets, so it should be perfect for this application.
I used Blum hardware, and mounted the hinges directly to the T Slot, just needed a few extra holes drilled, but it was quite easy to attach in the end.
Anyway, any questions, feel free to ask away.


Massive thanks to @flagg37! He cut all the material down to size for me! And did an amazing job! Thank you again.


Appreciate you @flagg37!!Thanks for the shout out but my part in this is minimal. You deserve all the credit. Your tank is looking awesome.
Wild caught are very difficult fish, but the captive bred can be a success. They eat all types of food - pellets, frozen, flake, bbs… they are good eaters.The multibars look really good. Don't see them too often in a tank.
How does the top rail slide inside the 4x4 with the bridging between them? I was trying to dream up something very similar. This is way more simple than what I was thinking .... KISS is where its at.It was tank move in day.
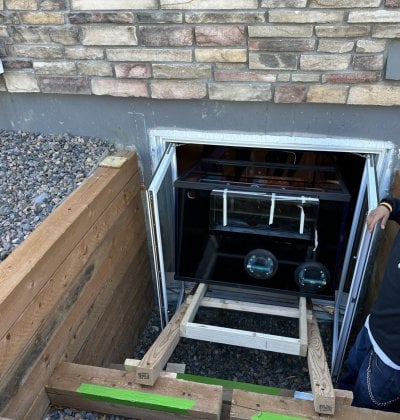
This is the ramp that I built to help slide the tank into the basement.
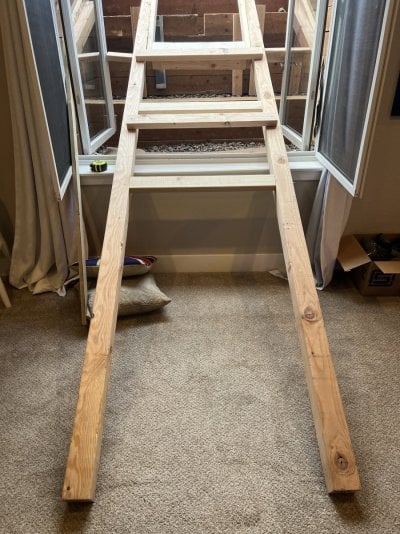
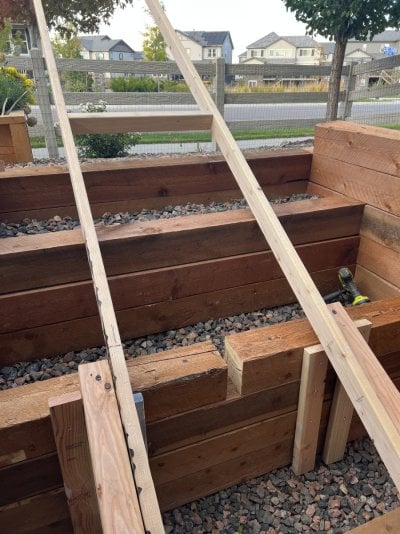
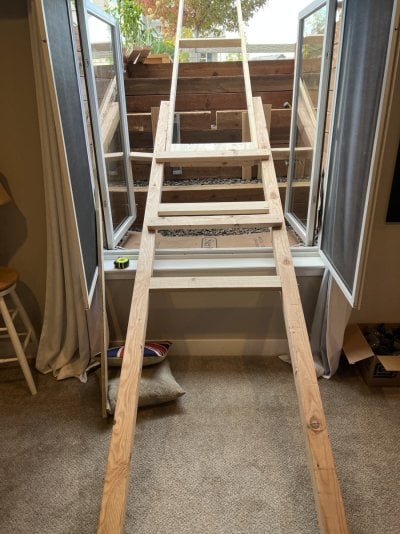
The top 2x4 frame sits inside the 4x4 rails and acts like a pivot, the tank sits flat up top, then pivots down to slide down the ramp. I wasn’t exactly sure how this was going to work in theory… but, it worked.
It took 2 heavy duty lift carts, and 8 guys, but we got it off the truck, over a fence and down into the basement.
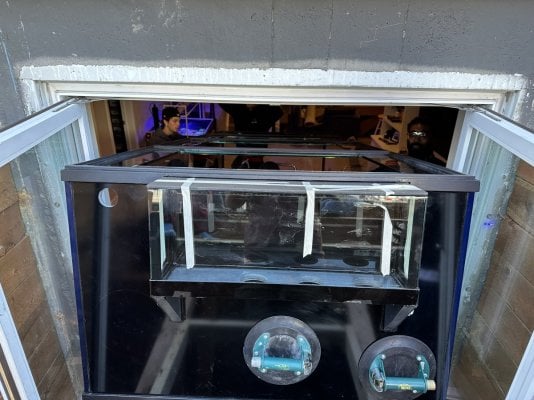
And onto the stand, I was stressed.
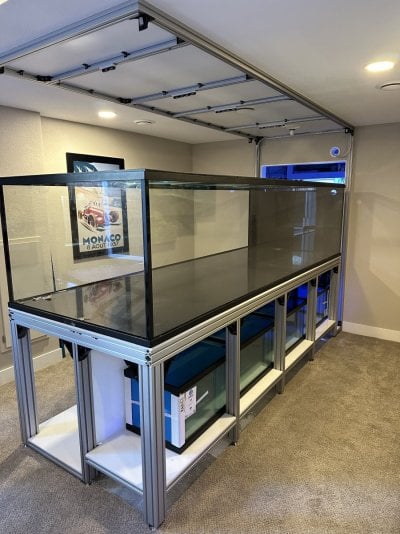
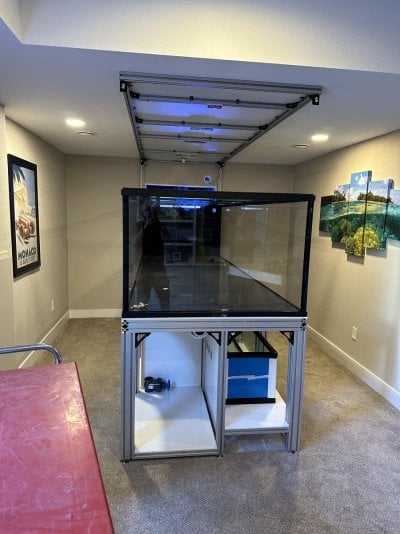
Was able to transport the rock into the tank and that was about all for today.
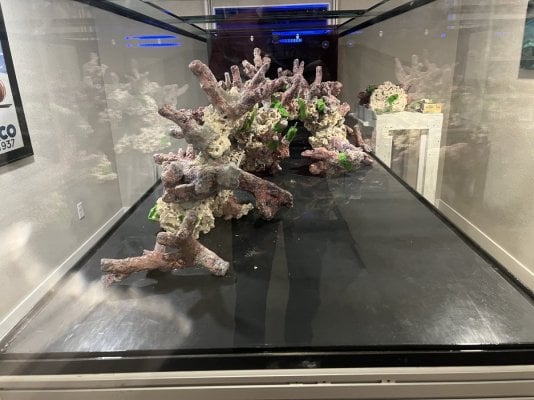
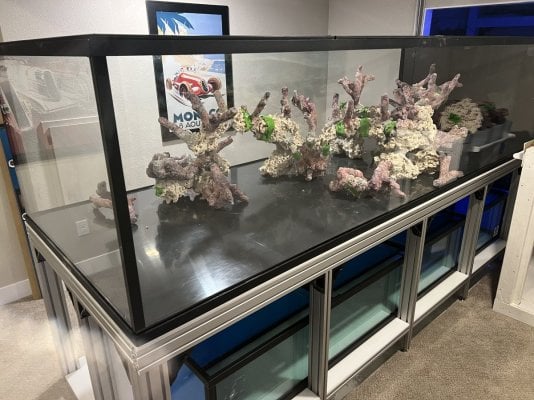
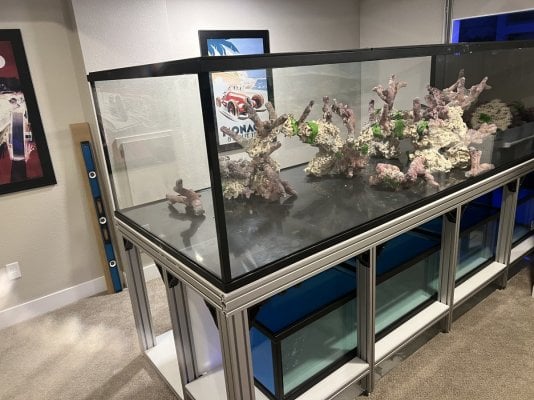
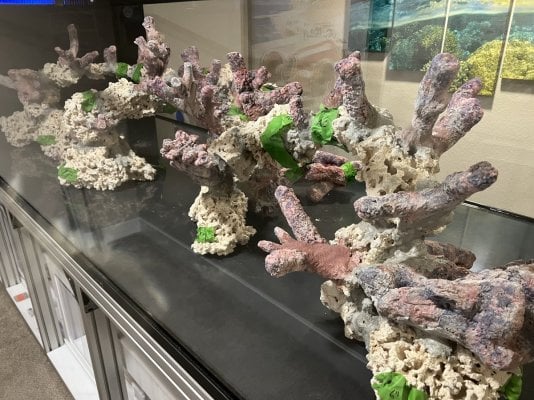
Do you mean the wood beams I used to move the tank in?How does the top rail slide inside the 4x4 with the bridging between them? I was trying to dream up something very similar. This is way more simple than what I was thinking .... KISS is where its at.
If so, that was kind of a mistake. The top 2x4 frame was just supposed to support the tank evenly rather than resting it on the top of the window well and placing all that weight on a small footprint at the pivot point. It was supposed to then lift and then for the tank to slide and transfer to the 4x4.. instead the 2x4s acted as a sled, and just slid down the ramp… nothing to make it slide, just gravity doing its thing.
The 2x4 frame was completely disconnected from the 4x4s, I mounted the 4x4s into place and that ramp was really solid. That 2x4 frame snugly fit in between the two 4x4 rails, if that makes sense.
Last edited:
Similar threads
- Replies
- 4
- Views
- 298
- Replies
- 4
- Views
- 151
- Replies
- 17
- Views
- 429
- Replies
- 1
- Views
- 177


