- Joined
- Sep 11, 2017
- Messages
- 326
- Reaction score
- 370
Your water reservoir set up is great
Follow along with the video below to see how to install our site as a web app on your home screen.
Note: This feature may not be available in some browsers.
I set up my water changing/RO station, which has been an absolute luxury compared to the free standing trash can and flooding the basement when I forget to turn off the water. Here's the finished result.

The tanks are 55 gallon Ace Roto Mold Utility Tanks from Rural King. I ordered online and received free shipping, so I would highly recommend that. I am also using a Vectra M1 pump, which is overkill, but it will also serve as my backup return pump if my main ever goes out. The RO/DI system is the BRS 150 GPD 6 stage. For an extra tip, I used Oatey clear primer instead of purple primer to keep the glue joints clean. Where I live, you can only get the clear primer from a specialty plumbing store (versus HD or Lowes), but it was well worth the trip.
If someone wants a plumbing part list for the setup, here you go:
- Adapter - Male threaded-slip x2 (will need to shop at Lowes for exact size)
- Union - slip-slip_1" x 3
- Cepex Ball Valve_1" x 2
- 90 degree - slip-slip_1" x 2
- Tee_1" x 1
- Tee_3/4" x 1
- Cepex Ball Valve_3/4" x 2
- 90 degree_3/4" x 2
- 45 degree_3/4" x 1
- Uniseal_3/4" x 2 (one is extra to run a heater wire but not required)

@Indy Reef, so glad Glass Cages could be part of your journey. Yes, this is a journey. Enjoy all the victories, even the small ones. We are here if you need us again! That Reef Savvy tank looks beautiful. They do a wonderful job!Sorry for the hiatus, but life has been very busy. It's taken two years, but things are starting to get rolling. They say nothing good happens quickly in a reef tank, but even I will admit two years is a little ridiculous. This tank build has been a lot of fits and starts. . . but mostly fits.
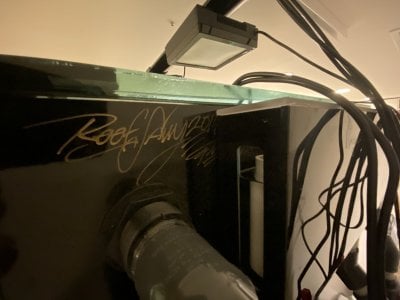
For a quick update, after I returned the Planet Aquarium tank for poor build quality (major setback #2), I ponied up for a custom 68L x 30W x 26H Reef Savvy peninsula tank (low iron glass, armored seams, phantom bottom, and ghost overflow). No more messing around! It looks amazing, and working with Felix was great. It's no secret that Reef Savvy has a long lead time, so that added 9 months to the timeline. However, I am very happy with the result and have great peace of mind that the tank is built for longevity.
While I waited for the tank I set up a temporary 65G tank from Glass Cages to start maturing my previously dry Pukani rock. Things were going very well until my sump from Advanced Acrylics spring a leak - no beuno (major setback #3)! The sump was PVC sump with acrylic windows, which looked amazing but in hind sight, these windows introduce an unnecessary point of failure into the system. From now on, I am only buying all acrylic sumps. I bought an IceCap 36XL sump, so now I am back in business.
I really like the sump layout (big room for skimmer, built in refugium, 24' width, and return section large enough for L1), but it did require me to redo all my hard plumbing, which I have now completed.
In my early 20s, the setbacks above would have been addressed in a weekend. With work and family, these were two-year obstacles. So after all the trial and tribulations, we are finally getting to a place where I can start really cycling the tank and prepping for fish! Stay tuned! Pics coming.

