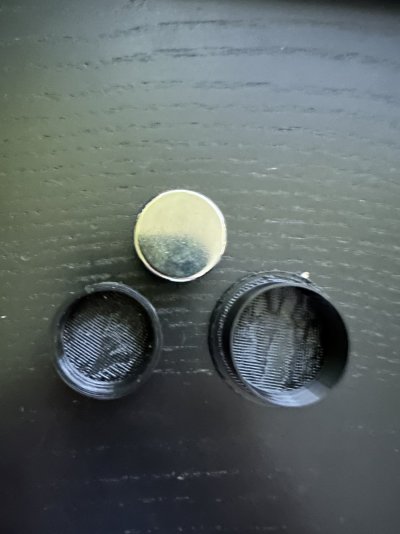
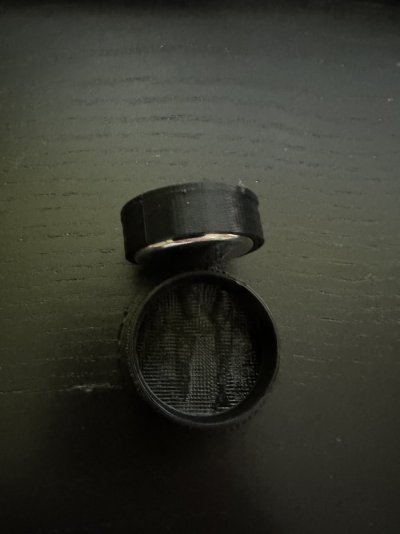
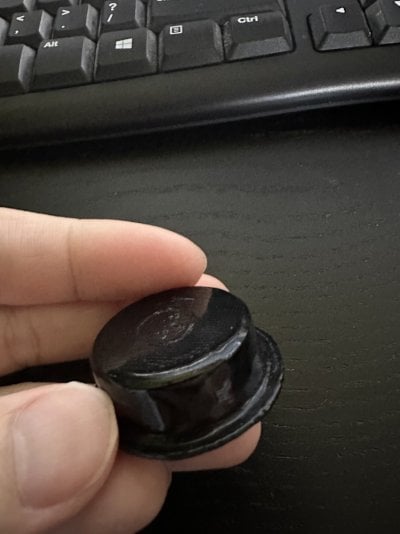
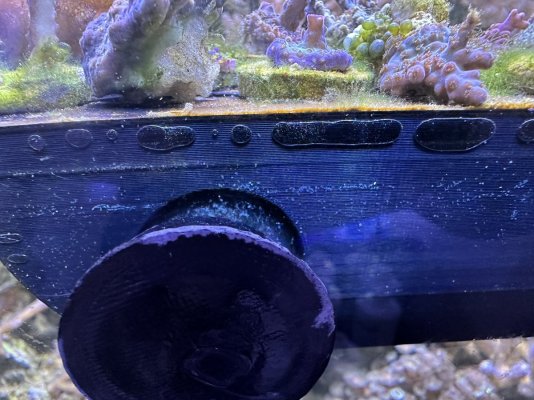
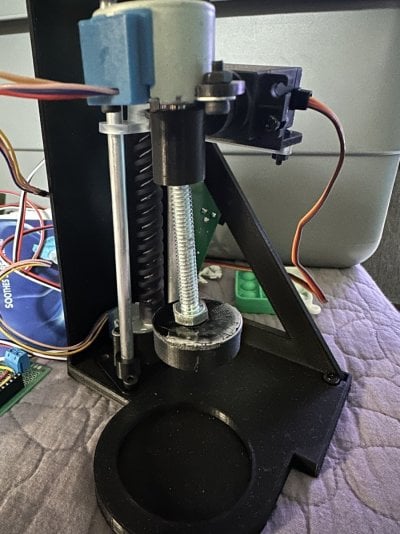
Here is what I do to keep it simple, use clear epoxy. 98% problems solved before they happen. You, anyone, your neighbor looking through your window can sit and inspect the $1 magnets and if/when they would ever rust, pop that sucker out throw a new one in and move on. Print a housing for the magnet. Elevate the magnet 1-2 mm so epoxy goes under the magnet. You will be able to see air pockets if the epoxy has set for too long as it will lose the viscosity. Use clear plastic for your first few, because that will be the easiest way to document and correct the flaws you will go through and overcome. You need to see them to beat them. You need fresh mixed epoxy to really get in those creases. Dremel off anything bad. Super Glue Gel Gorilla with Green Lid works well for me to attach the housings in the printed model. If you really want to get crazy, do all of this on a metal surface, with a silicone mat in between magnets and metal. You will accomplish two things - it will not make a large mess, and . The biggest draw back is for the first 48 hours it will dry and leave white crust. This white crust will wipe off surfaces with 91% alcohol, but not very well if it really gets on there.
60 strong as crap magnets for $60.96 , I literally can not make this up. 69 right in the price. The black ones hold a tiny bit less strong than the shiny ones. The shiny ones are shiny though. Choose accordingly.
these will range from 15 to 20 cents a piece. These are reef safe , from my understanding. However, if you were to print this and stick one of these magnets in there and put it in your tank all your friends will look at you like you're crazy. Make your hands rough with work, and put epoxy in them so they stay where they're supposed to more than anything.
Then go forth and you can find any and all design of frag you rack, decide how you will accomplish the required strength for your application. I have all of that information, it's just too many variables so I would rather help with a single "i can't figure this out" vs. trying to tell you what magnets to put where to get this to hold on 3/4" because his friends holds just fine . these magnets will work in many other designs, do not think you will be limited to frag racks, i will be honest they are just the most fun
Again not wanting to carve out any kind of gain for myself, but rather hoping to leave a nice chunk of informational text for those who decide they bought a printer and "now what" well you can at least start printing stuff and seeing how it fits YOLO

 www.thingiverse.com
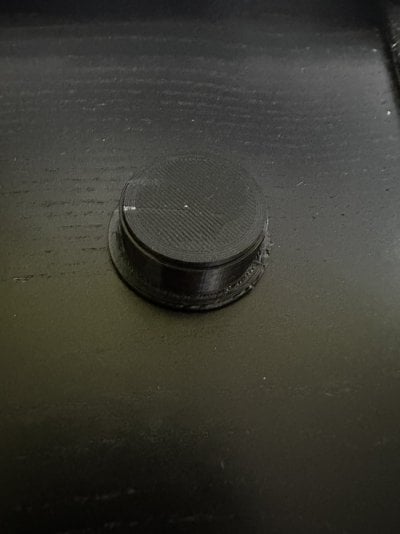
For this specific frag rack you do not need to set neodymium magnets in epoxy, but you are encouaraged to print black plate and glue over your messy work, it finishes your work and takes 12 minutes to print.
60 strong as crap magnets for $60.96 , I literally can not make this up. 69 right in the price. The black ones hold a tiny bit less strong than the shiny ones. The shiny ones are shiny though. Choose accordingly.
these will range from 15 to 20 cents a piece. These are reef safe , from my understanding. However, if you were to print this and stick one of these magnets in there and put it in your tank all your friends will look at you like you're crazy. Make your hands rough with work, and put epoxy in them so they stay where they're supposed to more than anything.
Then go forth and you can find any and all design of frag you rack, decide how you will accomplish the required strength for your application. I have all of that information, it's just too many variables so I would rather help with a single "i can't figure this out" vs. trying to tell you what magnets to put where to get this to hold on 3/4" because his friends holds just fine . these magnets will work in many other designs, do not think you will be limited to frag racks, i will be honest they are just the most fun
Again not wanting to carve out any kind of gain for myself, but rather hoping to leave a nice chunk of informational text for those who decide they bought a printer and "now what" well you can at least start printing stuff and seeing how it fits YOLO

Bi Color D3DPT Frag Rack - Super Fun - Super Involved by D3DPT
17x5 ceramic magnets on the inside. The frag racks with magnets on both sides hold much better than the magnets in the middle, but both work. The frag rack can be printed flat, or up and down, and you can switch the plastic colors whenever you want for some really neat looks. Please do not sell...
For this specific frag rack you do not need to set neodymium magnets in epoxy, but you are encouaraged to print black plate and glue over your messy work, it finishes your work and takes 12 minutes to print.


