External Refugium Plumbing Query

deutchriffer

Community Member
View Badges
Joined
Jul 15, 2024
Messages
53
Reaction score
9
Location
Germany
Rating - 0%
0   0   0
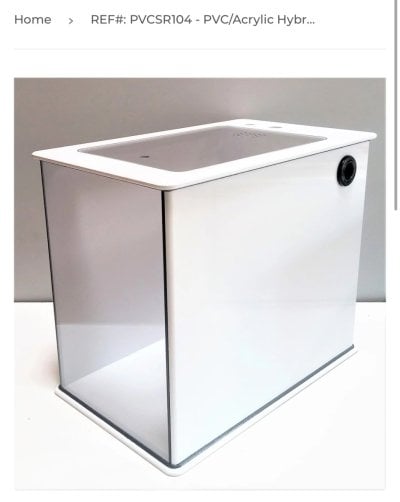
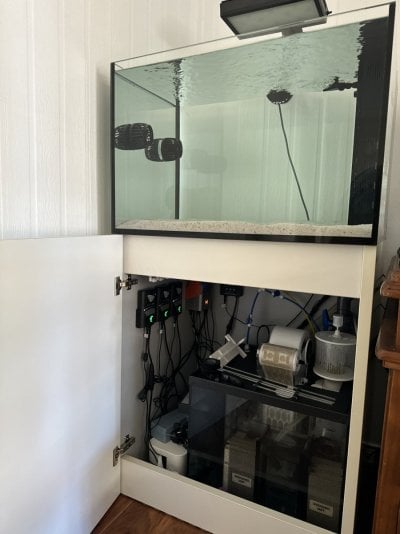
Hi, so I’m planning to get a custom external refugium made out of acrylic it’ll be 19cm x 45cm x 50cm to sit on the side of my sump.

I’m planning to feed it via a AI AXIS20 or AXIS40 which has a 12mm or 16mm hose fitting, wondering what size bulkheads I should choose for both the feed and return, the return I was hoping to use 15mm or 20mm schedule 80, and whilst it might seem counter intuitive, I was planning to put the overflow inline with my aquarium overflow which goes directly into my filter roller, as mentioned above I know this may be counter intuitive but I’m trying my best to have a clean/sterile sump (sterile in the way of detritus etc).

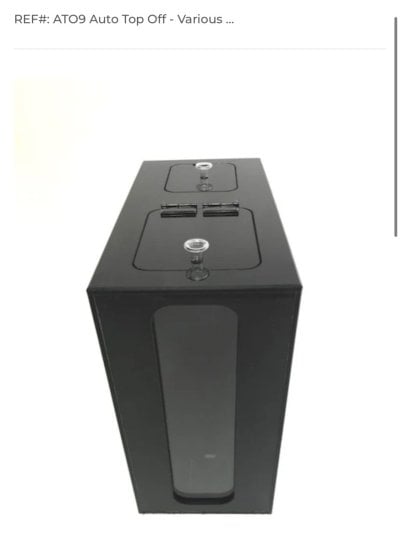
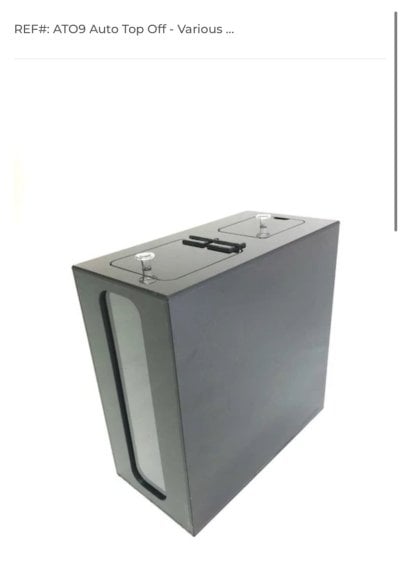
Extra info, I’m planning to have this made completely out of black acrylic with a clear front panel, with a eurobrace-style frame around that front panel, so I can put the inner cutout back over the clear acrylic to block out any light spill into the sump and take it off as I see fit, original plan is to put just chaeto in there or something and lit by a Tunze EcoChic, I guess it’s an overpriced bucket but I am very limited with space and chaeto reactors have been a PITA in the past, doing it this way I feel as though I could re-use this for an ATO reservoir, saltwater mixing tub, or even a quasi frag tank

Keen to know everyone’s thoughts.
IMG_6350.jpeg
 

Formulator

Valuable Member
View Badges
Joined
Apr 14, 2024
Messages
2,481
Reaction score
2,585
Location
Saint Louis, MO, USA
Rating - 0%
0   0   0
I’m trying my best to have a clean/sterile sump (sterile in the way of detritus etc).
This is counterintuitive to the purpose of a sump. You want your sump to collect all the crud so it stays out of your display. It won’t hurt anything and will create a nice cryptic zone for filter feeders and pods.

I have my fuge plumbed similar to what you are describing except it bypasses my reef mat roller. I did this on purpose so that the pods in my fuge have a chance to make it up to the display and feed my wrasse and mandarin. My display drains to a tee with about 80% going to the roller mat and 20% going to the fuge which then drains to the sump under the roller mat.

I think your plan in general is great, but I would suggest considering my point and maybe bypassing your roller.

Here is my setup. Red arrow shows DT drain flow to fuge and green arrow to roller mat. Obviously I don’t have any space constraints, but you get the idea for flow.
IMG_4942.jpeg


And regarding your “clean sump” - here is 6 years worth of detritus in mine… I have a very healthy mixed reef and nutrients are stable at 0.1 ppm PO4 and 10 ppm NO3.
IMG_4879.jpeg
 
OP
OP
D

deutchriffer

Community Member
View Badges
Joined
Jul 15, 2024
Messages
53
Reaction score
9
Location
Germany
Rating - 0%
0   0   0
Thanks for sharing this would be a dream to have this much room to have several larger setups, it’s crazy how your sump has more detritus than your fuge I would never have guess that!

That fuge looks really cool by the way.

It kind of helps me to not plumb the fuge overflow back into the roller anyway as it would be a bit of a PITA to try perfect the plumbing, but would’ve looked realllly cool haha.

Might mean I’ll be able to use all soft plumbing then, just need to find some tidy bulkheads as I plan to use a 12-16mm barb for the feed to the fuge, wonder if that means my overflow should be larger than that to handle the flow successfully, I don’t anticipate extremely high flow and will put an apex level sensor to switch the pump off when if the water level rises to a stupid level.

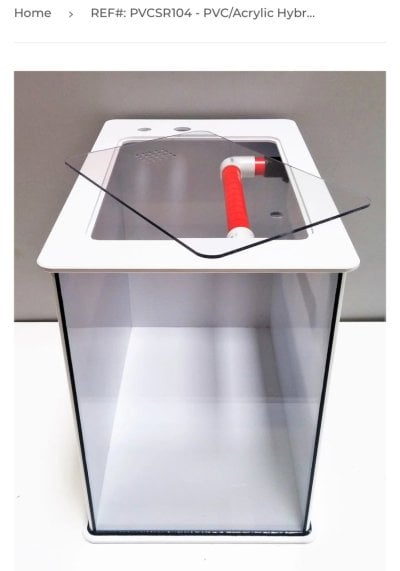
Having a look at this from advanced acrylics I can’t see how they are feeding or overflowing, I assume the spray bar is the feed, but not sure then how it overflows? Assumption was maybe feeds from the top and overflows through the strainer.

I’ll try share my drawings here later to get an opinion, then I want to use their design of their ATO reservoir for my fuge, considering the front laser cut will leave a left over piece of acrylic that will fit exactly where it was cut from, I will keep that piece and use it as a light shield so I can cover/uncover as I see fit, preventing light spill into other things in the cabinet.
 

Attachments

  • IMG_6529.jpeg
    IMG_6529.jpeg
    72.1 KB · Views: 17
  • IMG_6528.jpeg
    IMG_6528.jpeg
    78.7 KB · Views: 19
  • IMG_6531.jpeg
    IMG_6531.jpeg
    41.3 KB · Views: 15
  • IMG_6530.jpeg
    IMG_6530.jpeg
    42.6 KB · Views: 17

Formulator

Valuable Member
View Badges
Joined
Apr 14, 2024
Messages
2,481
Reaction score
2,585
Location
Saint Louis, MO, USA
Rating - 0%
0   0   0
Sounds like a solid plan!

it’s crazy how your sump has more detritus than your fuge I would never have guess that!
I don’t know if this is true, just can’t see the layer of detritus in the fuge :beaming-face-with-smiling-eyes:

will put an apex level sensor to switch the pump off when if the water level rises to a stupid level.
Great idea and I do the same thing.
 

Formulator

Valuable Member
View Badges
Joined
Apr 14, 2024
Messages
2,481
Reaction score
2,585
Location
Saint Louis, MO, USA
Rating - 0%
0   0   0
Interesting how low your five waterline is? Got some more pics of it?
I deleted my first chamber when I installed the roller mat. The main purpose of the higher water level in a first sump chamber is for noise reduction and bubbles, but with the roller mat neither of those things is an issue.

What do you want to see pictures of? I can take a few if it helps.
 

Formulator

Valuable Member
View Badges
Joined
Apr 14, 2024
Messages
2,481
Reaction score
2,585
Location
Saint Louis, MO, USA
Rating - 0%
0   0   0
This was meant to say fuge* lol autocorrect
Sorry for the delay! How’s your project coming along? Regarding my fuge water level, I probably should have made it higher in hindsight, but I used prefabricated baffles designed for a sump and that was the set water level. Still seems to work great and I have some breathing room in case of a clogged drain. Here are some more pics. I call it the swamp :beaming-face-with-smiling-eyes:
IMG_5186.jpeg

IMG_5188.jpeg

IMG_5206.jpeg
 
OP
OP
D

deutchriffer

Community Member
View Badges
Joined
Jul 15, 2024
Messages
53
Reaction score
9
Location
Germany
Rating - 0%
0   0   0
I’m glad you asked it’s been a journey lol.

First got it in and then realised there was a leak, the apprentice at the store got tasked with my job and missed a seam…..

Now I’m finally back installed and trying to get this thing going but I think I have some kind of physics problem I haven’t planned for.

You see in these photos the return and overflow lines are the same height, the return elbows down with siphon break holes drilled, the overflow originally had the spray bar installed and I’ve since removed thinking that was the issue but even with no obstruction it still seems to only trickle down the overflow and no matter the speed of the feed pump, it still fills the reservoir faster than it drains

If it were a hole size issue I would presume I would just see it not being able to keep up, but it’s just a slow trickle..absolutely baffled.

IMG_6974.jpeg

IMG_6975.jpeg

IMG_6976.jpeg

IMG_6977.jpeg

IMG_6978.jpeg
 
OP
OP
D

deutchriffer

Community Member
View Badges
Joined
Jul 15, 2024
Messages
53
Reaction score
9
Location
Germany
Rating - 0%
0   0   0
Things I have tried

I tried orientating the overflow elbow down, and toward the front

I tried to stick 1/4 RO rube into the fitting to see if it is some kind of air pocket and it seems to help a little but then when increasing the flow it seems to hinder the overflows ability given that it is consuming space in the bulkhead

I tried to feed the same pump that feeds the fuge, into the overflow line where it enters back into the tank (assumed this might work like those python hoses) but still just doesn't seem to be making much difference

ill record a short video as it may help explain it better
 
Back
Top