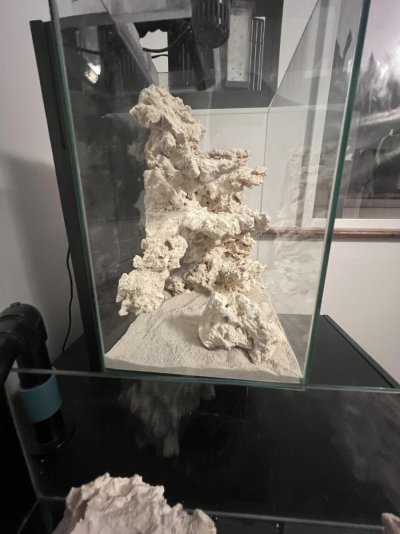
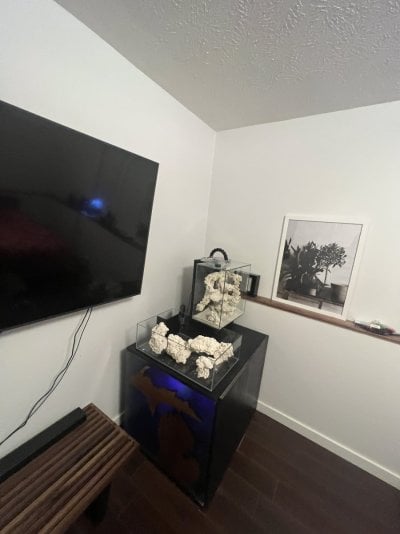
I should start with saying THANK YOU, reef2reef users, this forum is most vast wealth of knowledge on everything reefing. I've been in the freshwater side of things for about 4 years now, (say hello to my discus pair, they spawn like regularly but always eat the eggs)
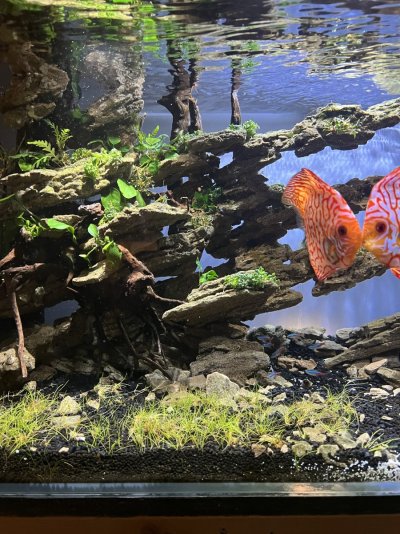
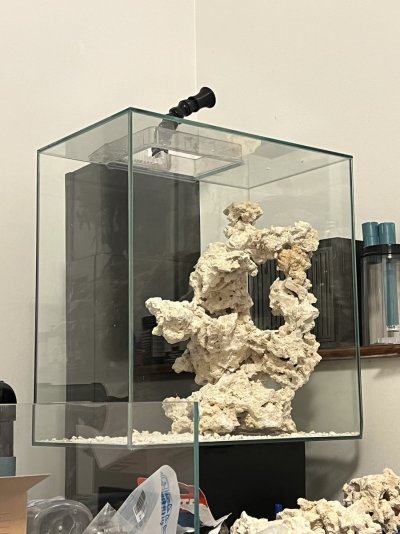
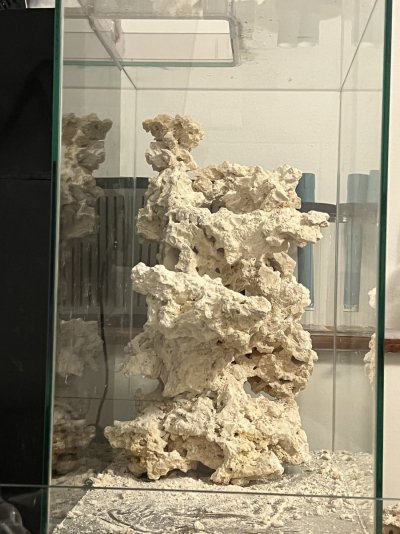
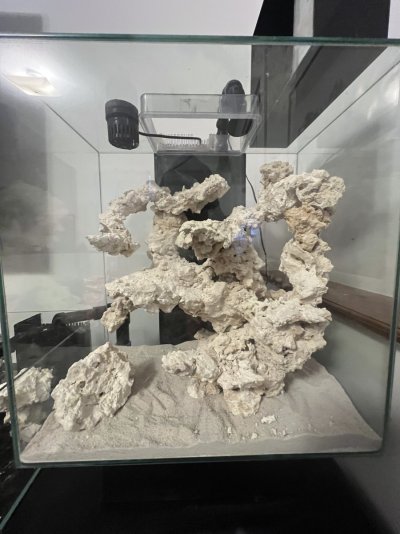
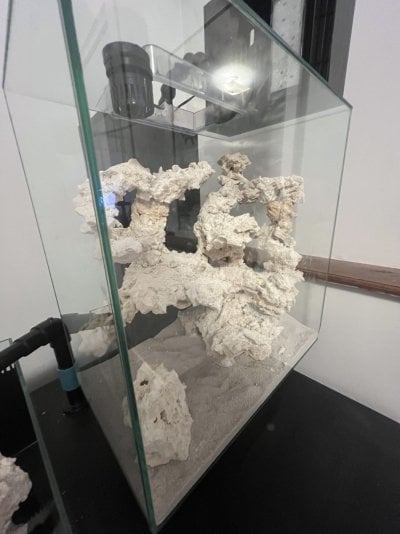
and have acquired several tanks now, a 12g fluval edge is one to note. Corals have captivated me and my interest in keeping a reef. This whole build started with being inspired by several posts on this forum which people converted the well designed fluval edge 12 gallon aquarium into beautiful nano reefs. The top down viewing being the real attraction. I wanted to emulated these amazing builds. so I started by modifying the plastic stand to have an acrylic overflow box with 3- 1" bulkheads. Once this was complete I began to move my focus on a stand to house an old 20 gallon tall to be used as a sump. Years prior I had made an epoxy table top that had dark oak in the shape of Michigan. I never had a good spot for it, until now. I picked up 3/4" plywood with a high rating, it was expensive but also the best sheets of ply I have ever seen and still much cheaper than buying a self assemble particle board stand for hundreds of dollars. After a few weeks it was done
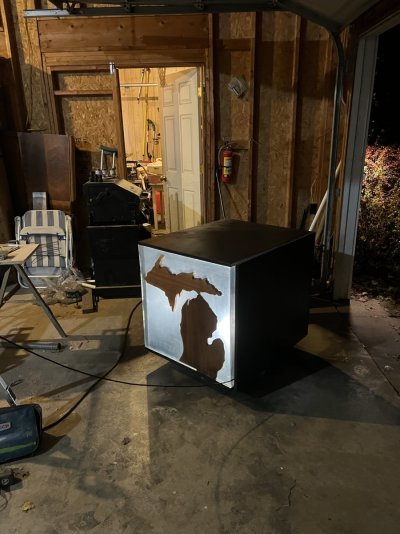
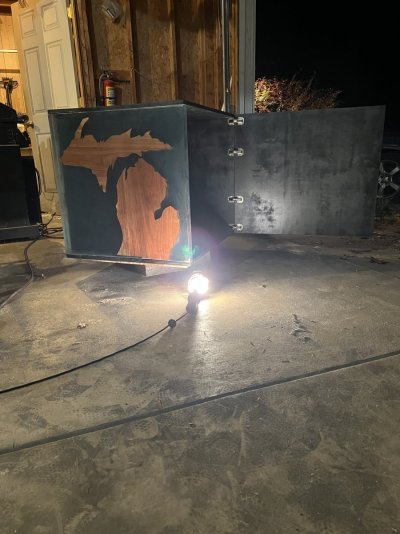
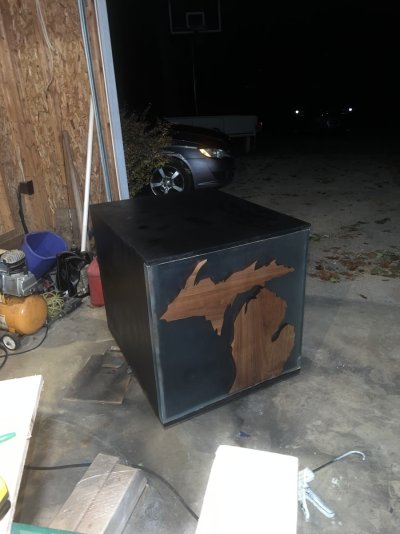
but there was a problem. I put the fluval edge on top of the stand it hit me immediately, the display is way too small for this stand. I was conscious of this potential problem during the build but seeing it all together really hit me that this would not work visually. So I decided to change the whole plan and add a second nano to the system. This decision was made just as I began to plumb so I was able to still change this system. The UNS 60S. (24"x14x7) it's a shallow tank that i felt would contrast well with the edge and fill out the empty space on the top. The tank arrived and I immediately drilled 2 drains as I had been practicing on a junk piece of glass. Problem again, I was too excited on the 2nd cut and must have applied pressure towards the end of the cut and chipped a piece out all the way too the edge of the aquarium. I was quick to remember that this section would be closed off to the eye by the weir, so after installing the bulkheads I decided to repair the bad cut with epoxy which will bond to glass and cure rock hard.
so this overflow is messy but functional. Now I was ready to begin the painful process of learning plumbing. Although I am handy in most trades, I had very little experience with plumbing and this was the most frustrating part of the build. I must have been to the store a dozen times and even had to order several parts online. while I waited for the parts I converted a 20 gallon tall into a 4 chamber square style sump.
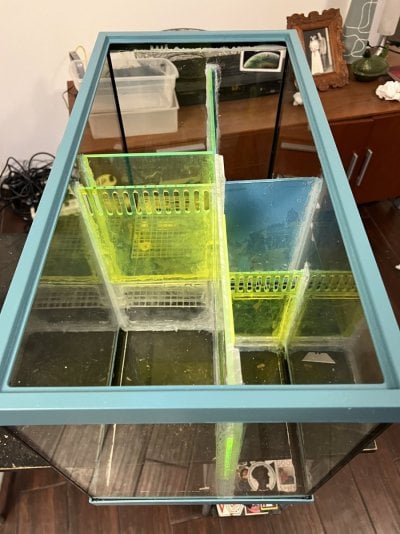
Now I had a stand with drains and a sump. The Bubble Magus roller mat has been modified to take a second drain. a 90 degree street elbow fitting was the perfect size. this sits on a stand in the first chamber, then skimmer Bubble magus curve 5, then fuge, then return.
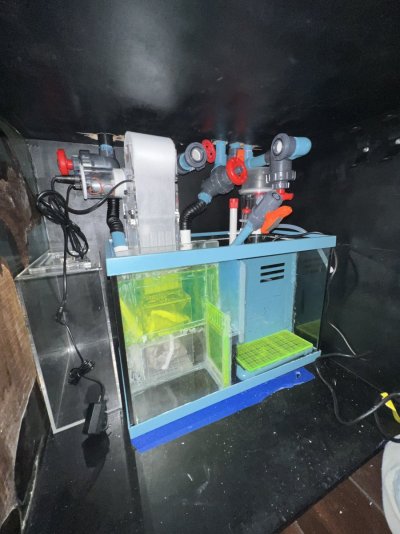
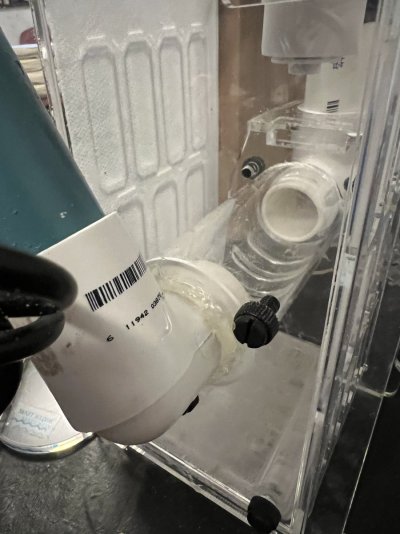
The is the top the Fluval edge. heavily customized but this model actually had to be scrapped later on as the overflow box was leaking and i couldnt seal it after several attempts.
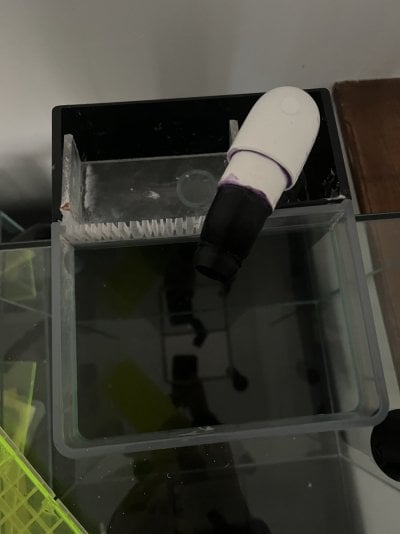
So I made a new one with better materials
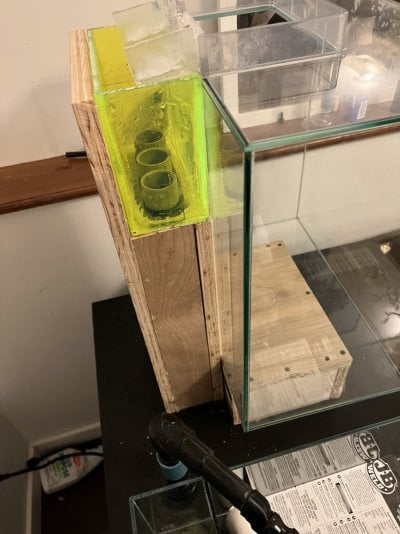
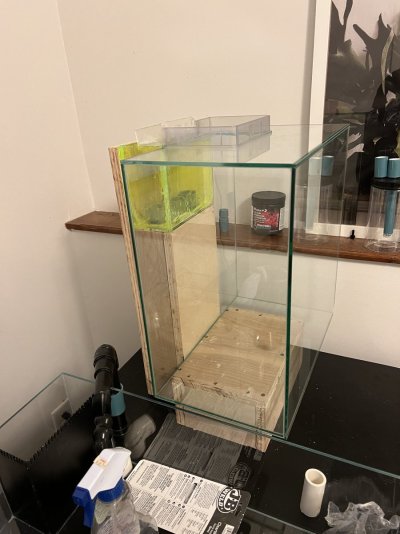
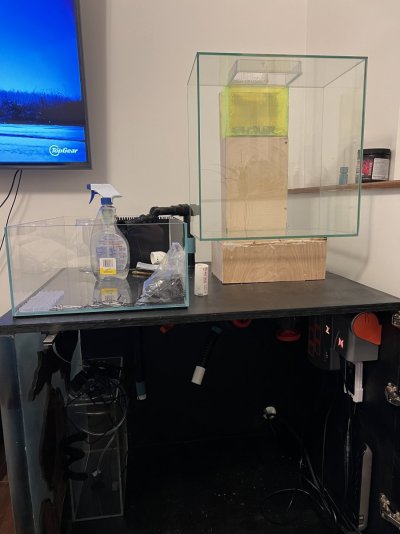
So now I am very close to adding rock and water just setting up the equipment in the sump and programing the apex.
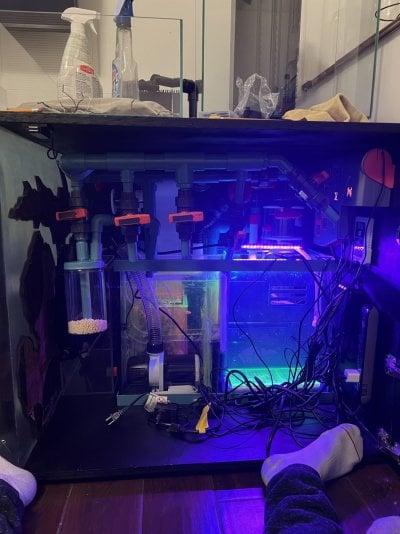
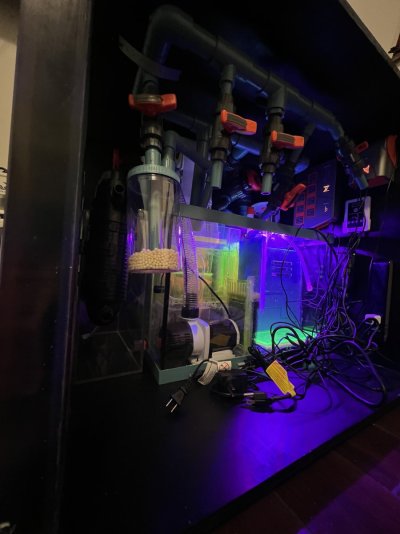
I still need a lighting solution for both tanks and wave makers for both, suggestions would be appreciated but im leaning toward kessil a160's.
Ill be back with more updates and pictures! please ask questions and be critical!
Thanks everyone, God bless!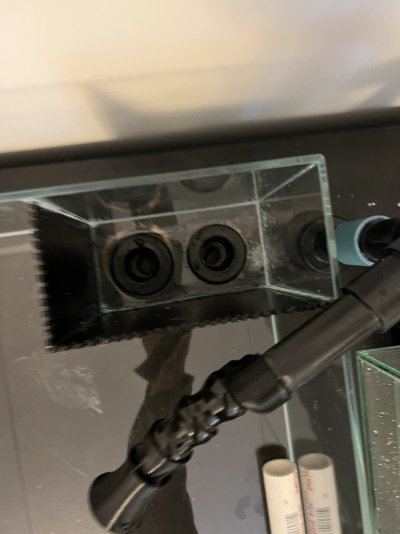

and have acquired several tanks now, a 12g fluval edge is one to note. Corals have captivated me and my interest in keeping a reef. This whole build started with being inspired by several posts on this forum which people converted the well designed fluval edge 12 gallon aquarium into beautiful nano reefs. The top down viewing being the real attraction. I wanted to emulated these amazing builds. so I started by modifying the plastic stand to have an acrylic overflow box with 3- 1" bulkheads. Once this was complete I began to move my focus on a stand to house an old 20 gallon tall to be used as a sump. Years prior I had made an epoxy table top that had dark oak in the shape of Michigan. I never had a good spot for it, until now. I picked up 3/4" plywood with a high rating, it was expensive but also the best sheets of ply I have ever seen and still much cheaper than buying a self assemble particle board stand for hundreds of dollars. After a few weeks it was done


but there was a problem. I put the fluval edge on top of the stand it hit me immediately, the display is way too small for this stand. I was conscious of this potential problem during the build but seeing it all together really hit me that this would not work visually. So I decided to change the whole plan and add a second nano to the system. This decision was made just as I began to plumb so I was able to still change this system. The UNS 60S. (24"x14x7) it's a shallow tank that i felt would contrast well with the edge and fill out the empty space on the top. The tank arrived and I immediately drilled 2 drains as I had been practicing on a junk piece of glass. Problem again, I was too excited on the 2nd cut and must have applied pressure towards the end of the cut and chipped a piece out all the way too the edge of the aquarium. I was quick to remember that this section would be closed off to the eye by the weir, so after installing the bulkheads I decided to repair the bad cut with epoxy which will bond to glass and cure rock hard.
so this overflow is messy but functional. Now I was ready to begin the painful process of learning plumbing. Although I am handy in most trades, I had very little experience with plumbing and this was the most frustrating part of the build. I must have been to the store a dozen times and even had to order several parts online. while I waited for the parts I converted a 20 gallon tall into a 4 chamber square style sump.

Now I had a stand with drains and a sump. The Bubble Magus roller mat has been modified to take a second drain. a 90 degree street elbow fitting was the perfect size. this sits on a stand in the first chamber, then skimmer Bubble magus curve 5, then fuge, then return.


The is the top the Fluval edge. heavily customized but this model actually had to be scrapped later on as the overflow box was leaking and i couldnt seal it after several attempts.

So I made a new one with better materials


So now I am very close to adding rock and water just setting up the equipment in the sump and programing the apex.


I still need a lighting solution for both tanks and wave makers for both, suggestions would be appreciated but im leaning toward kessil a160's.
Ill be back with more updates and pictures! please ask questions and be critical!
Thanks everyone, God bless!


