Navigation
Install the app
How to install the app on iOS
Follow along with the video below to see how to install our site as a web app on your home screen.
Note: This feature may not be available in some browsers.
More options
You are using an out of date browser. It may not display this or other websites correctly.
You should upgrade or use an alternative browser.
You should upgrade or use an alternative browser.
Triton system new tank build, stand build, A fair amount of DIY in here.
- Build Thread
- Thread starter Neil S.
- Start date
- Tagged users None
- Joined
- Aug 14, 2018
- Messages
- 153
- Reaction score
- 143
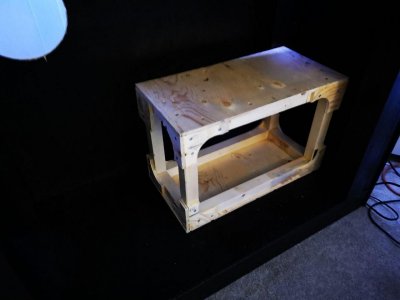
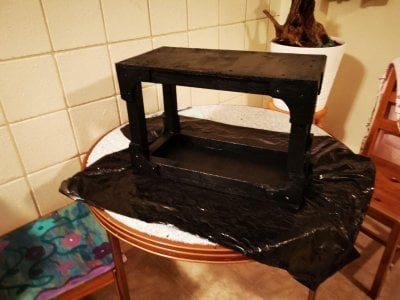
Not mentioned at this point is that the top surface of the cabinet now has a heavy duty rubber mat placed on it (cut to the same dimensions as the top panel). This rubber mat is from Home Depot, and is meant for outdoor use.
- Joined
- Aug 14, 2018
- Messages
- 153
- Reaction score
- 143
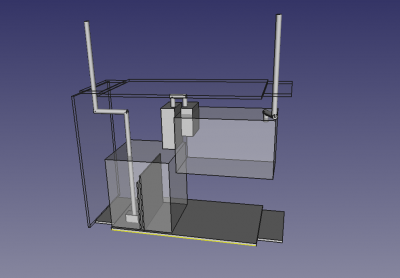
Next up was to try to figure out how to implement the Triton Method Refugium/Sump. I settled on an Eshopps Nano cube as the main sump with a 10 gallon refugium placed so that the drain lines go there first and then flow over into the main sump. Here is an initial design sketched out in a CAD program. The drain (should be two) line(s) are on the right. The return line goes up on the left. This picture also shows an accurate view as to the interior shape of the cabinet.

- Joined
- Aug 14, 2018
- Messages
- 153
- Reaction score
- 143
- Joined
- Aug 14, 2018
- Messages
- 153
- Reaction score
- 143
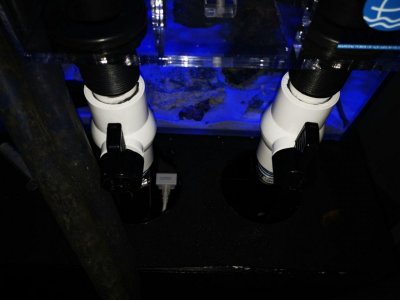
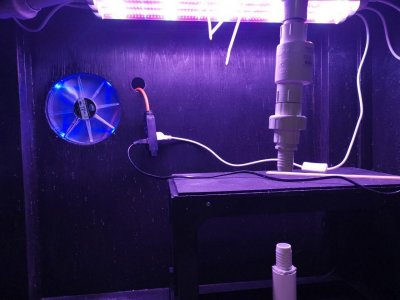
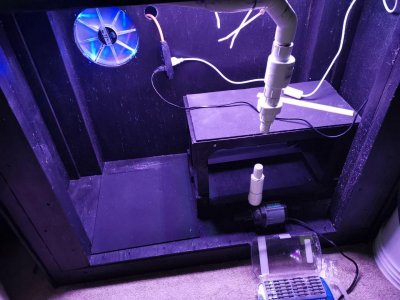
Next up is the plumbing. Return pump position and placed with the return line plumbed in. The gap that is visible in the picture between the pump and the return line is where a piece of flexible, clear, vinyl hose goes. The pictures show the interior of the cabinet lit by the grow lights for the refugium. (Details on those later)


- Joined
- Aug 14, 2018
- Messages
- 153
- Reaction score
- 143
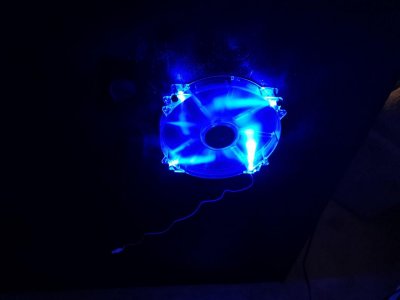
You can just make out the grow lights above. They provide a total of 90 Watts of lighting, are 21 inches long (each), and are composed of 3 tubes about the same size as a flourescent tube. These lights were found on amazon. Amazon LED Grow Lights As of this posting the lights have been running for about about 3 weeks and are producing good growth results in the chaeto.
- Joined
- Aug 14, 2018
- Messages
- 153
- Reaction score
- 143
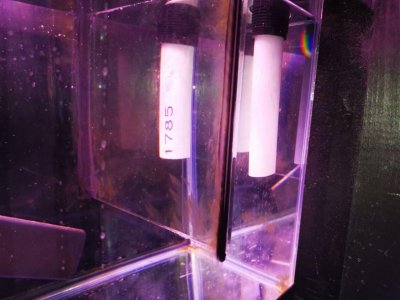
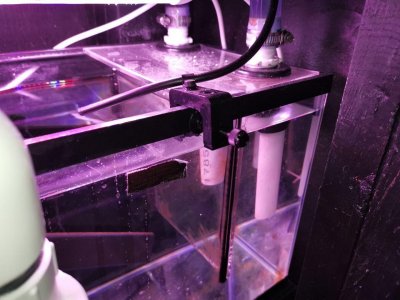
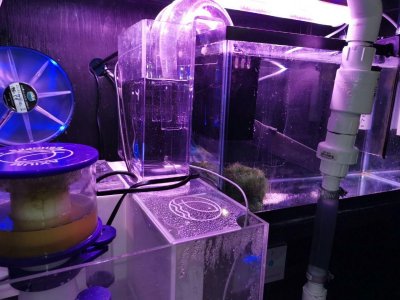
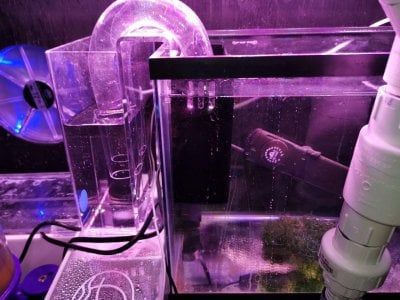
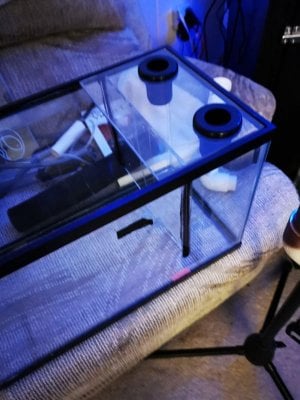
Here is the refugium tank, 10 gallons. I've built a lidded drain section with two drain bulkheads. The drain section has a short baffle to reduce any bubbling before the drain water reaches the chaeto. The baffle is a pass under design and only one was required to make it function. Lid and baffle were formed from 1/4 " acrylic. Measured and cut to fit. Silicone used is food safe and required about 24 hours to set.

- Joined
- Aug 14, 2018
- Messages
- 153
- Reaction score
- 143
- Joined
- Aug 14, 2018
- Messages
- 153
- Reaction score
- 143
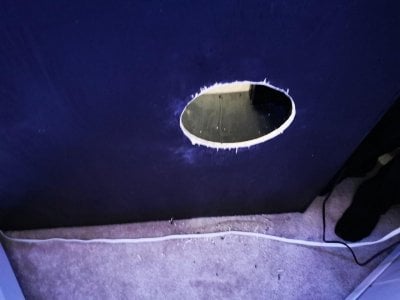
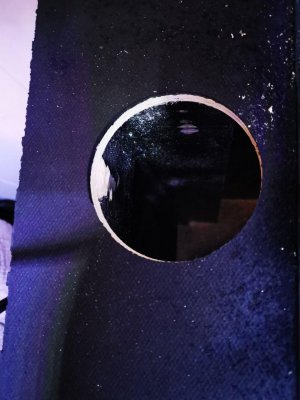
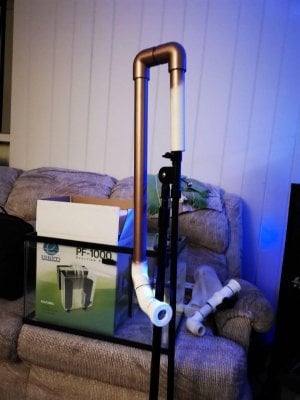
Here is the visible part of the return line. This runs up the left side of the tank from a 4" hole. It has been painted 'aged copper' as I wanted them to be a visible part of the display. Basically instead of hiding the plumbing I'm using the lines as a part of the artwork. The design decision came about as a result of trying to figure out how to vent the cabinet so that air would naturally flow upwards as it heated. As mentioned earlier I had designed the cabinet venting to move about 20 times the cabinet air volume per hour. The cabinet vents through the three 4" holes in the top where the plumbing lines pass through.

Last edited:
- Joined
- Aug 14, 2018
- Messages
- 153
- Reaction score
- 143
Here is a video showing the system now put together, running. The video starts in the cabinet and shows the refugium and main sump. Up top you can see the overflow boxes, the drain and return lines with their associated cabinet vent holes. As of this video the lighting is through a Kessil Tuna 80. This video was taken on June 19, 2019. More to come.
Attachments
- Joined
- Aug 14, 2018
- Messages
- 153
- Reaction score
- 143
Some notes on the content of the video.
1) Heater that you can see in the refugium is a cobalt neo-therm 300, this is a fantastic heater with a measured variance of just a .05 of a degree. (BRS TV has a really good video series on heaters, this one pretty much was the most accurate.)
2) The chaeto is just new to the tank here and the rock was a temporary addition to keep the chaeto from moving under the overflow weir and thus out of the light, until I could figure out how to get the chaeto to tumble in the middle of the tank....more on that later.
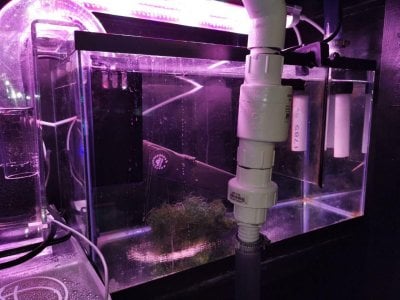
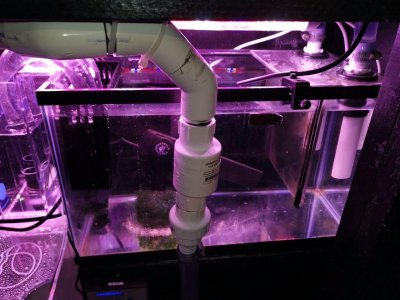
3) You will notice that there is only a little bit of bubbling in the drain section, this is managed by the ball valves. Currently the water is moving close to 550 gph with no problems. Maximum available is close to 700 gph.
4) The overflow from the refugium into the main sump is via an Eshopps 800 with an extra one inch U-Tube to provide the necessary flow volume, one tube did not work and restricted the flow to around 300 gph.
5) The clear bit of acrylic on the back of the main sump is a cover over the section that has about 500 ml of Seachem Matrix Rock in it for some biological filtration to supplement the live rock in the display.
6) The skimer is an Eshopps Axiom 120. This is a fantastic skimmer and works well!
7) The pump is a Coral Box 3000, very quiet.
8) I had to drill a bulkhead hole into the side of the main sump to get the water to the pump.....(the pump sorta fit in the return compartment BUT it was touching the sides which caused a humming sound....annoying....)
More to come.
- Joined
- Aug 14, 2018
- Messages
- 153
- Reaction score
- 143
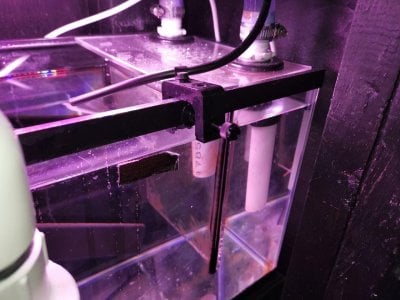
It took a bit of thinking to figure out how to suspend and tumble the chaeto. It finally dawned on me that the problem really was the same as an old school trick of suspending a ping-pong ball in the output air stream of a vacuum cleaner. Basically it works using the Bernoulli effect that keeps the object trapped in the column of air....or in this case, column of water. So.....found a small (very small) pump that sits at the bottom of the tank and pushes a small stream of water vertically at about 40 gph (but very low head pressure). This is perfect for the job and the chaeto has been happily tumbling since. Follows is a video showing the tumbling in action. The pump is hidden by the return pipe.
Attachments
- Joined
- Aug 14, 2018
- Messages
- 153
- Reaction score
- 143
- Joined
- Aug 14, 2018
- Messages
- 153
- Reaction score
- 143
Interesting point: The overflow box output lined up exactly with the inflow bulkhead on the Eshopps Nano cube refugium. I knew when I did the initial design that I would be close, but it lined up pretty much perfectly on the first attempt. This is why the overflow from the DT is a PF-1000 and the overflow from the chaeto tank to the main sump is only a PF-800....the PF-1000 would not fit onto the Nano Cube refugium as it has two drains. Then to boost the flow I just installed a second U-Tube to the PF-800. It works perfectly.
- Joined
- Aug 14, 2018
- Messages
- 153
- Reaction score
- 143
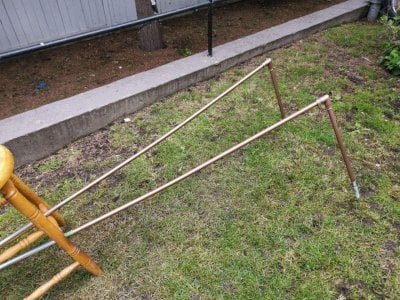
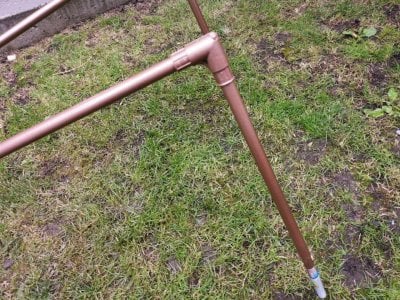
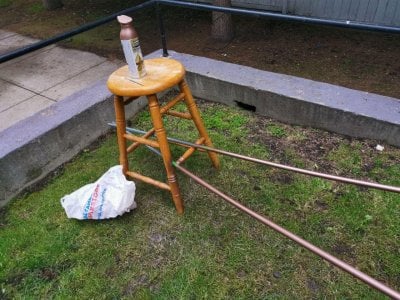
Next up: Prior to getting the Triton Method implemented I had to increase the lighting as the current lighting (a lone Kessil Tuna 80), was insufficient to have the tank run properly (as in more corals, acropora specifically). So this started a deep dive into lighting. Thanks to all of the information posted in Reef2Reef, and BRS-TV, I decided that going to an Aquatic Life T5-Hybrid would probably work well. So, now I have to figure out how to attach the lights. As I am living in a facility where the buildings are 100% concrete, including the ceiling of the living room, I cannot attach anything to the ceiling. After looking at options I decided to build a light suspension arm. These were built out of 1/2" galvanized steel conduit, with 'L' connectors to provide a mounting point for the horizontal arms. As the weight of the light unit was about 4 pounds I put a little bit of back bend on the vertical risers so that when the light unit was hung it would sit straight. (It does) Here are three pictures showing the hanging arms during the painting stage.


Similar threads
- Replies
- 7
- Views
- 356
- Replies
- 5
- Views
- 201
- Replies
- 4
- Views
- 151
- Replies
- 5
- Views
- 243
TOP 10 Trending Threads
- Replies
- 24
- Views
- 139
New Posts
-
-
SBB - AFTERPARTY SALE- 3 day event 1750 corals. Our Largest sale ever!
- Latest: SBB Corals


