So I recently reconditioned a tank for a new project I'm working on. And after a good cleaning, I realized that the silicon seal was looking deteriorated. So I made resealing part of the reconditioning. I've included photos below. Have a look...
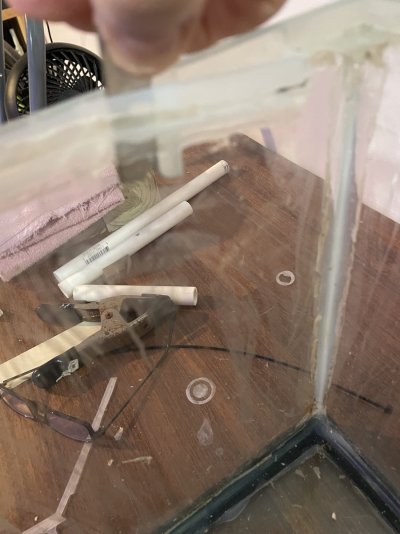
This is the tank that I started with. Bulkheads have been removed so that I can rest it on the table top.


As you can see, the silicon is peeling and frayed, warranting the reseal.

Another shot of the tank I started with.

I begin by using a paint scraper. Gently insert the scraper up under the plastic under the end nearest to you and using steady, even pressure, slide it down the entire length of the tank. Repeat for all four sides.

Stacked blocks on a towel make a good leverage point. This should be done GENTLY and NOT RUSHED. As you gently apply pressure in the corner, you should hear the silicon tearing as the strip separates from the tank. If you are not hearing the ripping of silicon, gently maintain pressure while working the corners with the scraper.

This is a picture of the first corner free. Once you get that first corner up, place a shim in that spot to maintain your progress as you begin moving around the perimeter of the tank.

Eventually, you will have the entire strip off.

Probably the most important aspect of this project is getting all the old silicon off and getting the surface clean for new silicon.


This is the tank after removing the heavy silicon and a cleanup. Cleanup between steps is important because it allows you to see where you may have missed old silicon.

This is a closeup of one corner. Most of the silicon is off, but there is still a haze that needs to be removed. Wet it down and use a fresh razor for this part.


This is a closeup of a corner. Notice the glass is completely clean; no haze at all. Its ready for silicon.

And this is the same corner with a fresh bead of silicon.

This is the tank with the top frame reinstalled. I've inverted the tank, using its own weight to deliver even pressure throughout the entire strip.

And finally, the water test. Place paper towels down and then place the freshly reseal tank on top, then fill with water. The paper towels will allow you to see any drips.


This is the tank that I started with. Bulkheads have been removed so that I can rest it on the table top.
As you can see, the silicon is peeling and frayed, warranting the reseal.
Another shot of the tank I started with.
I begin by using a paint scraper. Gently insert the scraper up under the plastic under the end nearest to you and using steady, even pressure, slide it down the entire length of the tank. Repeat for all four sides.
Stacked blocks on a towel make a good leverage point. This should be done GENTLY and NOT RUSHED. As you gently apply pressure in the corner, you should hear the silicon tearing as the strip separates from the tank. If you are not hearing the ripping of silicon, gently maintain pressure while working the corners with the scraper.
This is a picture of the first corner free. Once you get that first corner up, place a shim in that spot to maintain your progress as you begin moving around the perimeter of the tank.
Eventually, you will have the entire strip off.
Probably the most important aspect of this project is getting all the old silicon off and getting the surface clean for new silicon.
This is the tank after removing the heavy silicon and a cleanup. Cleanup between steps is important because it allows you to see where you may have missed old silicon.
This is a closeup of one corner. Most of the silicon is off, but there is still a haze that needs to be removed. Wet it down and use a fresh razor for this part.
This is a closeup of a corner. Notice the glass is completely clean; no haze at all. Its ready for silicon.
And this is the same corner with a fresh bead of silicon.
This is the tank with the top frame reinstalled. I've inverted the tank, using its own weight to deliver even pressure throughout the entire strip.
And finally, the water test. Place paper towels down and then place the freshly reseal tank on top, then fill with water. The paper towels will allow you to see any drips.


