Navigation
Install the app
How to install the app on iOS
Follow along with the video below to see how to install our site as a web app on your home screen.
Note: This feature may not be available in some browsers.
More options
You are using an out of date browser. It may not display this or other websites correctly.
You should upgrade or use an alternative browser.
You should upgrade or use an alternative browser.
CMO's SPS Dominant 165G Mixed Reef Build (Triton)
- Build Thread
- Thread starter CMO
- Start date
- Tagged users None
Thanks guys. You're looking at attempt like 25 on the rock work  . Not easy, but worth it in the end!
I am hoping my 150 eurobraced in progress ends up as good.
Can you tell me if there is a big change in PAR with and without the screen on top?
@Javamahn just took some readings under the screen and they are pretty much the same.
@Javamahn just took some readings under the screen and they are pretty much the same.
Excellent I was debating a screen on the tank wondering if the lights would need to be ramped up. Appreciate the update
Introducing my new favorite fish, Blueberry, the wantanabie angelfish!


Last edited:
7 Month update.
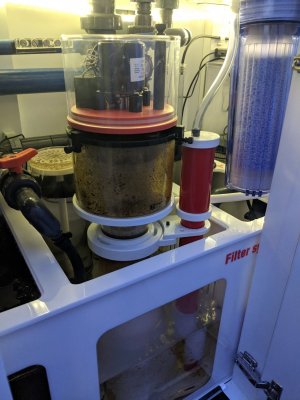
All is going well and LPS and SPS frags are starting to grow well. My goal with this tank has been to build it to reduce maintenance as much as possible while still being able to grow any coral. To this end, since the last update I upgraded to a Reef Octopus Elite 150 sss skimmer with neck cleaner and Avast Marine skimmate locker. Couldn't be happier with the skimmer performance and far reduced maintenance offered by the neck cleaner and skimmate locker. Required maintenance on this tank is now reduced to bi-weekly ATO fills, monthly carbon changes and alk testing every few days. Alk testing is the last regular maintenance item on this tank but hopefully that too will be automated with the Trident soon.
Have only done 1 water change post cycle some 5 months ago now. Monthly Triton tests indicate water parameters have remained nearly perfect while targeting 8 dkh alk with Triton Core 7 (full Triton Method). The only thing I need to dose weekly to maintain levels is Iodine; which even though my fuge is undersized at about 6%, iodine gets depleted to zero quickly without supplemental dosing beyond what is already dosed with core 7.
Tank is now fully stocked with fish. Even with an undersized algea fuge my nitrate stays at zero no matter what I throw in the tank.
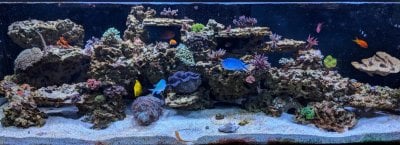
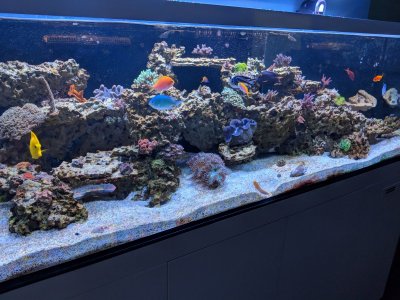
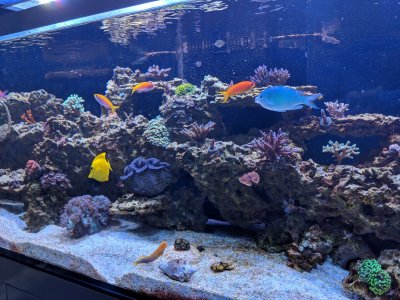
Skeltor Eel
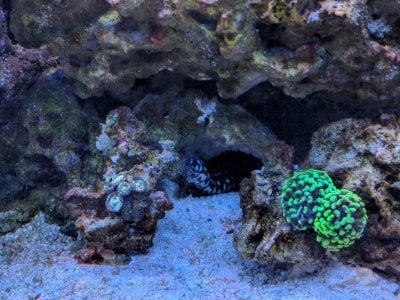
LPS finally starting to grow.
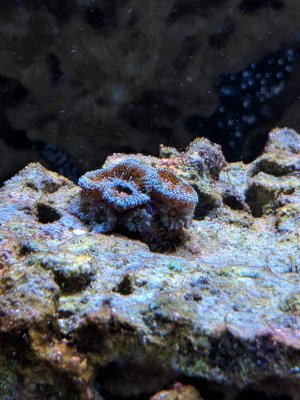
To track growth, some battle coral frags starting to encrust well. However, they're pretty pale due to low nutrients. I'm going to start nitrate dosing to try and get my SPS to color up.
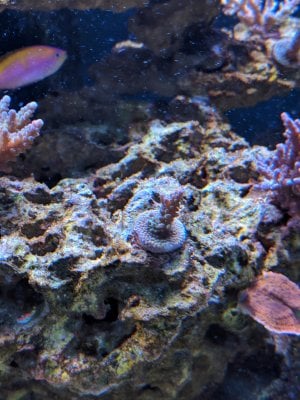
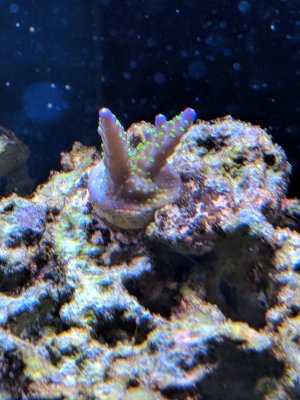
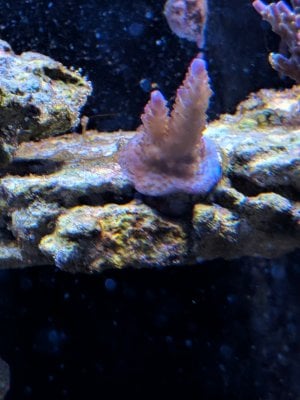
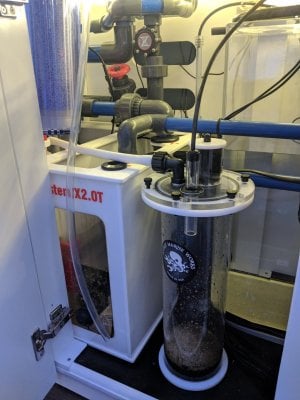
New skimmer with auto wiper and CO2 reactor.
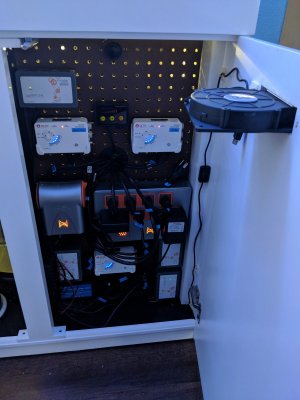
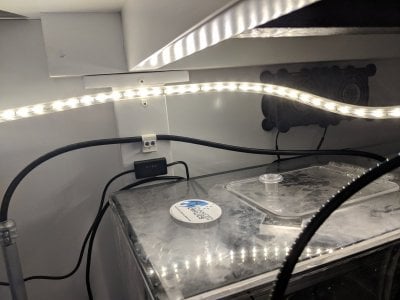
Added a blower to pull air out of my electronics cabinet. I already had 4 fans mounted inside but without air flow through the cabinet things were getting a bit too hot for my liking. This ac infinity blower has really helped keep things cooler.
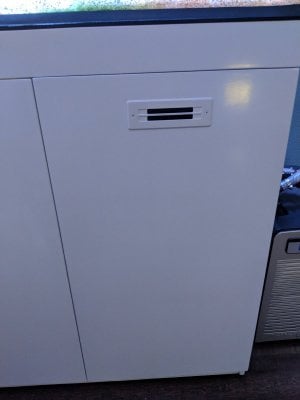
Also added some sump fans to see if they'd keep things cooler and reduce humidity in the sump area. Update: Fans work as intended and significantly reduce heat / humidity in sump area.
All is going well and LPS and SPS frags are starting to grow well. My goal with this tank has been to build it to reduce maintenance as much as possible while still being able to grow any coral. To this end, since the last update I upgraded to a Reef Octopus Elite 150 sss skimmer with neck cleaner and Avast Marine skimmate locker. Couldn't be happier with the skimmer performance and far reduced maintenance offered by the neck cleaner and skimmate locker. Required maintenance on this tank is now reduced to bi-weekly ATO fills, monthly carbon changes and alk testing every few days. Alk testing is the last regular maintenance item on this tank but hopefully that too will be automated with the Trident soon.
Have only done 1 water change post cycle some 5 months ago now. Monthly Triton tests indicate water parameters have remained nearly perfect while targeting 8 dkh alk with Triton Core 7 (full Triton Method). The only thing I need to dose weekly to maintain levels is Iodine; which even though my fuge is undersized at about 6%, iodine gets depleted to zero quickly without supplemental dosing beyond what is already dosed with core 7.
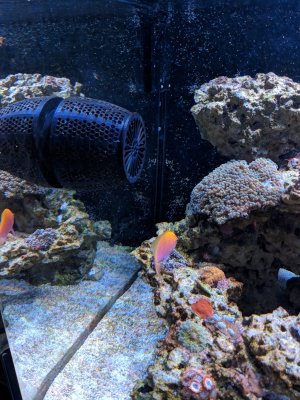
Tank is now fully stocked with fish. Even with an undersized algea fuge my nitrate stays at zero no matter what I throw in the tank.


Skeltor Eel

LPS finally starting to grow.

To track growth, some battle coral frags starting to encrust well. However, they're pretty pale due to low nutrients. I'm going to start nitrate dosing to try and get my SPS to color up.


New skimmer with auto wiper and CO2 reactor.


Added a blower to pull air out of my electronics cabinet. I already had 4 fans mounted inside but without air flow through the cabinet things were getting a bit too hot for my liking. This ac infinity blower has really helped keep things cooler.


Also added some sump fans to see if they'd keep things cooler and reduce humidity in the sump area. Update: Fans work as intended and significantly reduce heat / humidity in sump area.


Last edited:
Let's see another pic of the skeletor morey eel! Those are my favorite
Yeah the Skeletor has been awesome! I'll try and get some more pics of him soon.
Amazing build!! Did the custom frame for the tank resolve the issues completely?
Thanks! I think it definitely helped and gives me some peace of mind, but I wouldn't go as far to say it removed 100% of the bowing (but you can't see any bowing now since the frame covers it). Reason being is since my tank was already running with fish and coral, I had to drain the tank about half way to remove some of the bow to get the frame on, and immediately fill the tank before the silicone could dry. This meant I had to have the frame made with more cushion than if I had it installed while empty and could allow the silicon to dry prior to filling with 100% straight glass. If I tried to install a frame with exacting dimensions before letting the silicone dry it would likely have been push up by the force of the glass bowing when filling. So I probably reduced the bowing by about half which is enough to make me feel comfortable with the tank now.
Thanks! I think it definitely helped and gives me some peace of mind, but I wouldn't go as far to say it removed 100% of the bowing (but you can't see any bowing now since the frame covers it). Reason being is since my tank was already running with fish and coral, I had to drain the tank about half way to remove some of the bow to get the frame on, and immediately fill the tank before the silicone could dry. This meant I had to have the frame made with more cushion than if I had it installed while empty and could allow the silicon to dry prior to filling with 100% straight glass. If I tried to install a frame with exacting dimensions before letting the silicone dry it would likely have been push up by the force of the glass bowing when filling. So I probably reduced the bowing by about half which is enough to make me feel comfortable with the tank now.
I think it looks great on the tank!
I wish I had made my equipment cabinet with fans built in, it is something I learned from and will know better next time around. My cabinet has 100% on the backside and that does help, I made it a little too small so adding anything else to it even a fan is out! Also something I will put a lot of thought into next time is rimless VS eurobrace. I have clowns that stay on the back upper right side of the tank over night. The next day there is salt on the rim and over the rim from them being childish and splashing all night long! haha
Same with my clowns! I have all sorts of corals they should like to host, but nope, they host the top right corner of my tank as well
I really like the look of the tank better with the frame since it covers the condensation that get's trapped under the euro brace. I love the euro brace since it reduced splashing but really found all the condensation to make it look messy.
Great looking tank. Can you tell me the dimensions of the display> Thank you.
Thanks! It is 71" x 24" x 22"
Update:
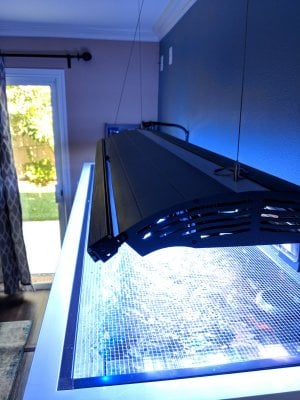
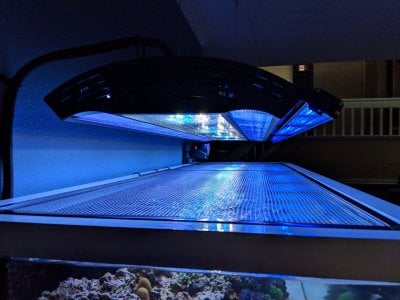
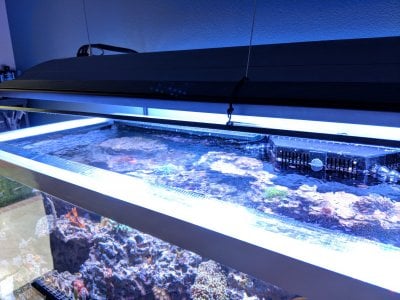
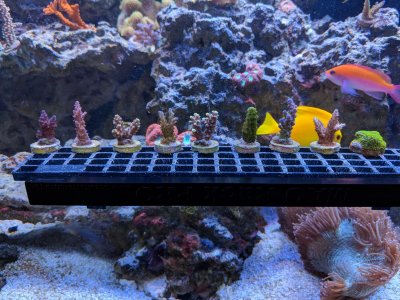
- Chaeto and skimmer have been working too well to the point that my nitrates are stuck at zero no matter how much I feed. Now dosing NeoNitro to keep Nitrates at about 1-3ppm.
- Added a Reef Bright XHO Actinic LED strip to the front of my Aurora. With the Giesemann maxed out to attain reasonable par numbers the white LEDs are over powering. I added this to increase par for SPS but also to give a bit more blue to my daylight setting. The XHO LED strip bolts on to the aurora perfectly with next to no custom work needed. However, since I only added an LED bar to the front I had to add a center support line to keep the fixture level due to the uneven weight. This gave me a nice anchor point to add a clip to hold my screen up for feeding / cleaning which is nice.


- Lastly, some new battle corals frags awaiting placement.

Last edited:
Nice. Excited to follow along an see this develop.
Looks good man. Keep up the good work!
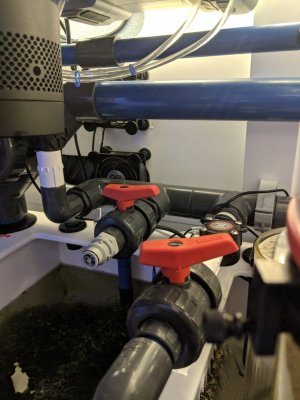
Trying to stay ahead of problems before they happen. Modified my skimmate locker vent to provide a drain back to the sump in the event of a skimmer overflow and simultaneous malfunction of both electronic shut off switches. Can never be too careful when dealing with a bucket of fish poo that could flood your electronics or tank ;Yuck.
I also permanently sealed / glued on the vent cap and moved the carbon reservoir access to the underside of the lid.
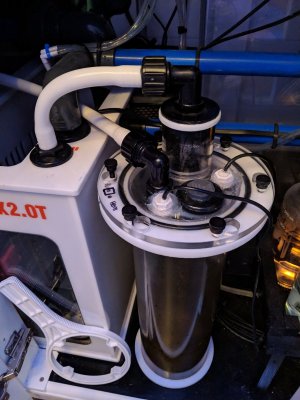
I also permanently sealed / glued on the vent cap and moved the carbon reservoir access to the underside of the lid.

Last edited:
Tank was Chemicleaned this past week to fight a cyano outbreak that I couldn't get under control after 2 month of trying more natural methods. This also meant I had to do my first water change on the tank after about 7 months since my last post cycle water change. Cyano is now 100% gone and all corals remain happy and healthy. I think the cyano outbreak was triggered by nitrates hitting zero. I've started dosing Neonitro at about 10 ml per day to keep my nitrates around 1-3 ppm.
New nitrate dosing setup:
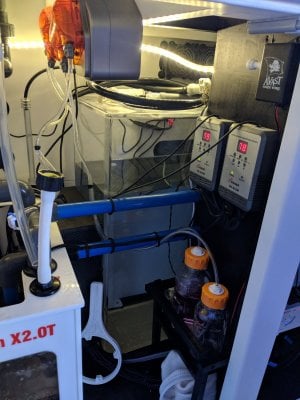
New nitrate dosing setup:

Last edited:
Similar threads
- Price: 10-100
- Shipping Available
- Replies
- 4
- Views
- 697
- Price: 20-125
- Shipping NOT Available
- Replies
- 3
- Views
- 305
- Price: 20-100
- Shipping Available
- Replies
- 13
- Views
- 1,480
- Price: $25 - $200
- Shipping NOT Available
- Replies
- 17
- Views
- 1,316


