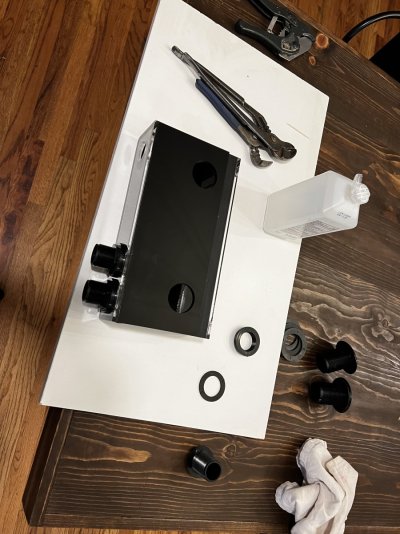
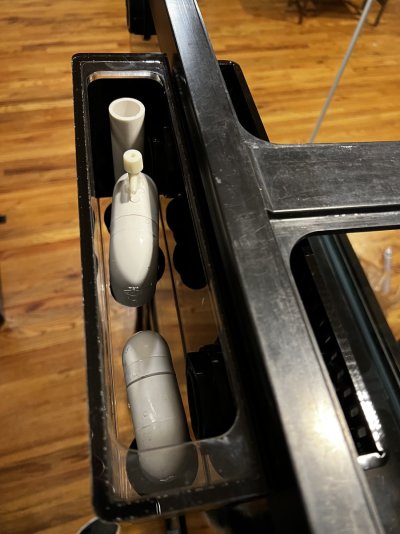
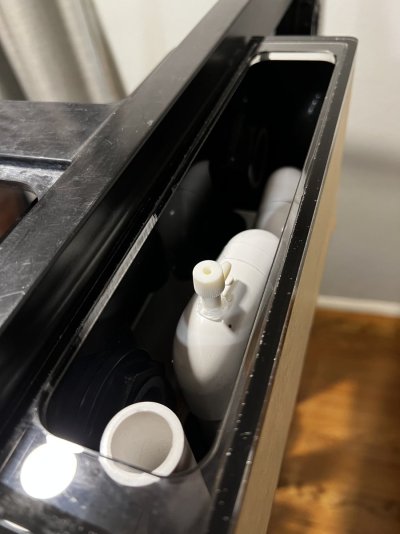
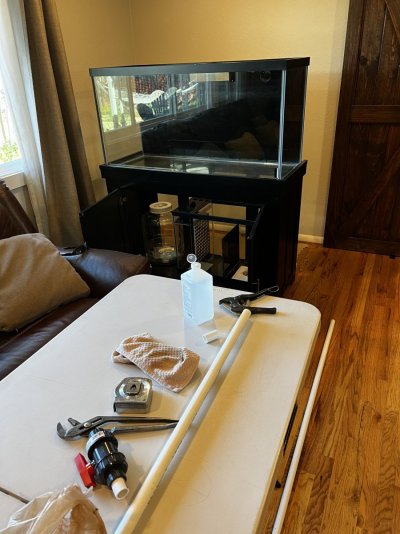
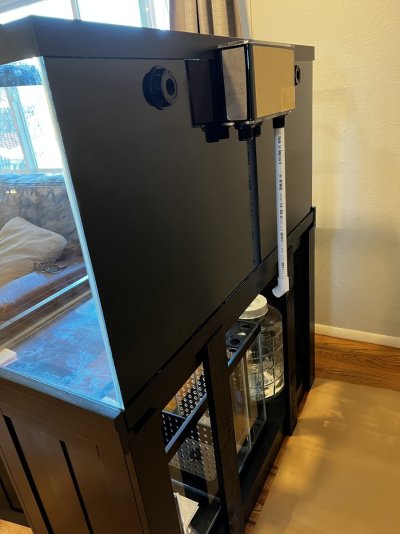
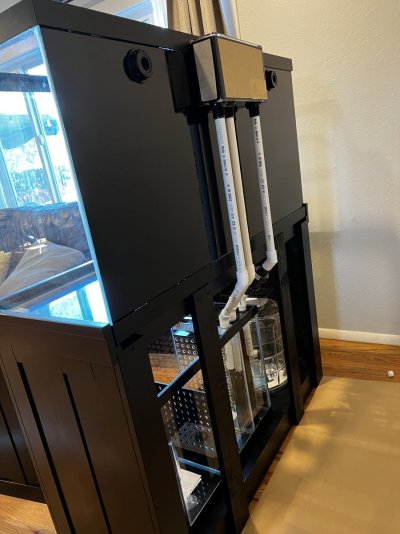
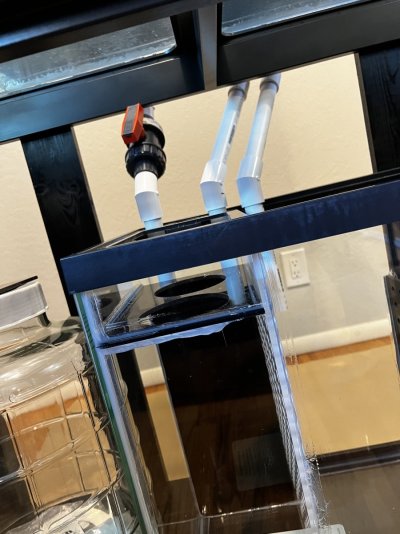
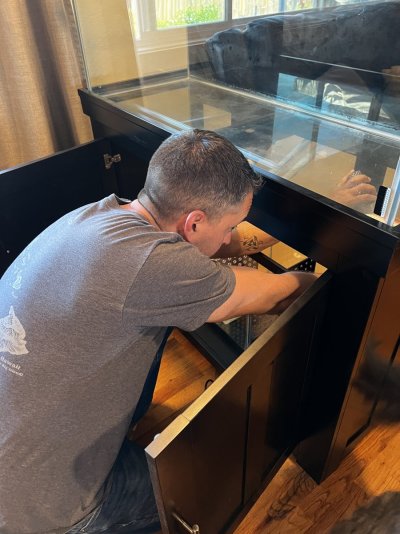
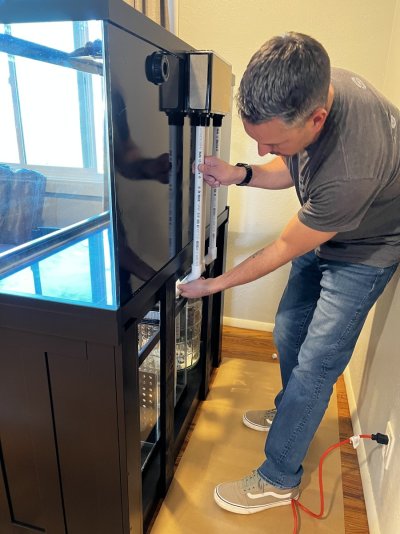
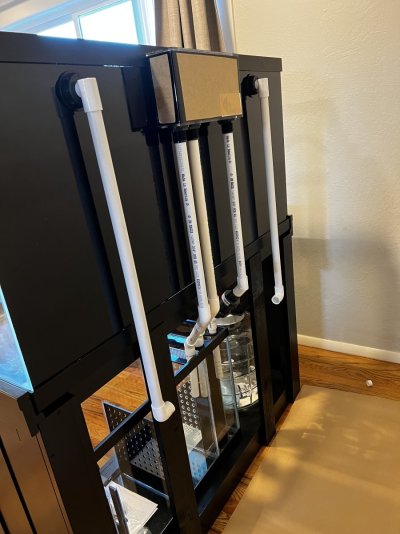
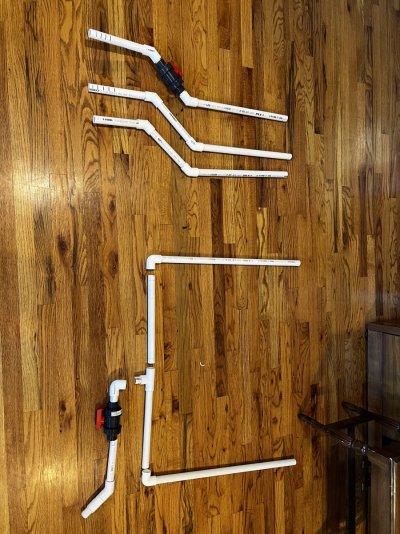
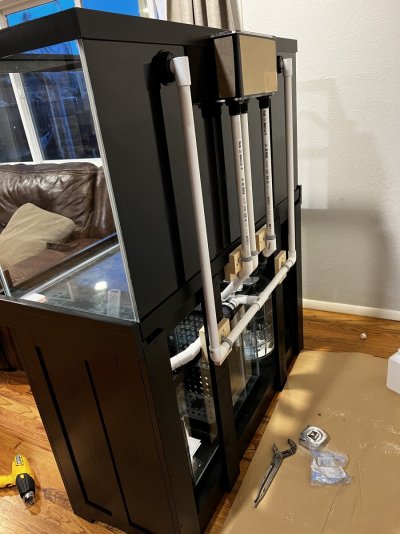
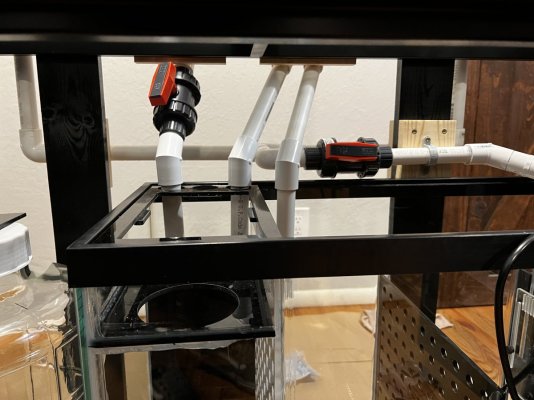
Well it’s been a productive past couple of weeks. Planning, prepping and completing all the plumbing. I started with adding a bean animal style overflow to the Modular Marine overflow. After trimming the bulkhead shorter everything fit very well. I followed that with adding the return lines and overflow lines. I used 3/4” pvc for both overflow and return. I wanted to use gate valves over the ball valves but couldn’t justify the extra cost. During the leak test I found it really wasn’t that hard to adjust the flow. I just had to make very controlled small adjustments. A little turn goes a long way. The pump is a Jebao DC-4000 and works great. I got it used for nearly free and it had little use.
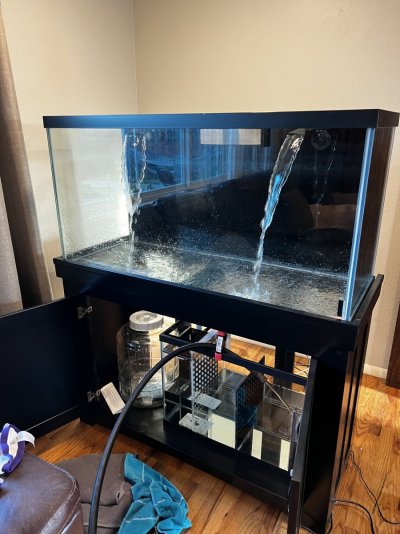
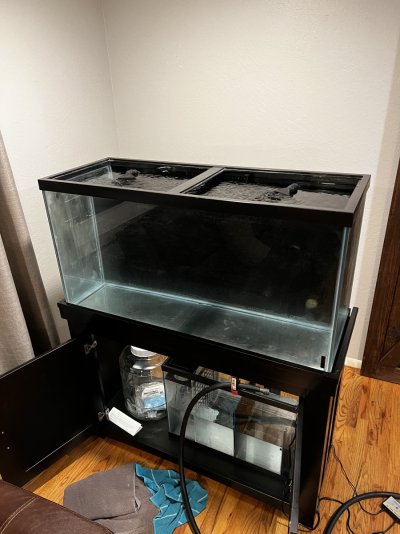
After cutting, dry fitting, and marking the depths I took the system all apart so I could glue each piece starting from the top and worked my way down to the pump. I used Fusion One Step pvc glue and it was awesome. I’ve done a lot of plumbing and this stuff added an element of easy that I wasn’t expecting. It has a few more seconds of set time so you can make small adjustments. And with all the twists and limited space this really helped. After I glued everything I let it set over night to fully cure and the next day I filled it for the leak test. Fortunately there were no leaks!! A lot of people suggested using unions but I really didn’t want the extra cost and if I do end up with a leak I would still have to cut sections of pipe anyways. Also i didn’t want any added flow restrictions with the unions. I’ll just add in a coupler if needed.
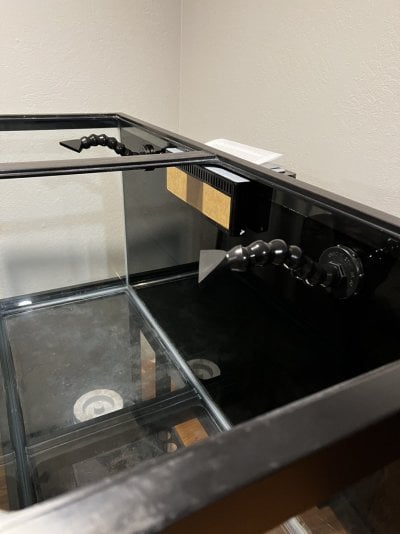
This was a major milestone for the build and I’m glad to be done. I was dreading everything from drilling the tanks, to cracking the overflow, to cracking the bulkheads, to ending up with a leak and to my relief it was pretty smooth sailing.
On to the next project…
Attachments
-
 433640AC-F940-4484-9137-FDA8788950DF.jpeg202.4 KB · Views: 72
 -
 D4514FC1-769E-48C0-A36E-5A1B7CF596D1.jpeg150.1 KB · Views: 68
 -
 1A0D9AF2-B233-4358-8609-03239F0C8EE4.jpeg115.2 KB · Views: 67
 -
 D6F7592D-783E-4E2D-A7F9-2928BBE9E932.jpeg137.8 KB · Views: 69
 -
 12B1D95B-72D9-4215-9D22-29D53BE00776.jpeg192.3 KB · Views: 68
 -
 DBF3CC8A-53AE-4EF0-9A55-30EF73EC0509.jpeg148.7 KB · Views: 67
 -
 D59960B4-CF61-43D5-A79B-72CE13F31A5D.jpeg160.5 KB · Views: 61
 -
 5BFA31B5-5C43-4185-8628-DCF6CBA5EFA7.jpeg171 KB · Views: 71
 -
 0119DF07-F602-4A0F-972D-F249D1FFA3F5.jpeg199.7 KB · Views: 65
 -
 012D883F-27BB-4680-8F7C-96E10D0EB52E.jpeg183.5 KB · Views: 65
 -
 47D6801D-0D26-4660-B040-3DBBD44782B2.jpeg163 KB · Views: 67
 -
 DC232B58-67EF-424F-8A09-7EE75110566D.jpeg319.8 KB · Views: 64
 -
 8DBCDD31-AB73-4604-A364-F052E80E5D3C.jpeg185.7 KB · Views: 61
 -
 6211715C-4E25-47E3-96CD-2409177338E2.jpeg154.6 KB · Views: 57
 -
 9C6D062E-4FAA-4FBA-854C-BFFFCCA5599B.jpeg203.5 KB · Views: 60
 -
 04DEEBC9-90AC-47F8-90FF-5C12AA35441D.jpeg190.1 KB · Views: 65


