75g Rimless Crystal Dynamic - Build Thread

AquaCave

MaddyP

'Til Reefdom Come...
Review score
+0 /0 /-0
View Badges
Joined
Jul 21, 2016
Messages
1,905
Reaction score
4,524
Review score
+0 /0 /-0
Location
Vancouver, WA
Rating - 0%
0   0   0
Ladies and Gents,

The time has come for a new build! This is my first build thread starting from the very beginning, so forgive me if things don't move as quickly as any of us would like. Okay, here goes nothing!

At the urging of my girlfriend, I decided to finally upgrade since I've had the itch for some time. And since I was moving to a new place (which could easily fit a larger tank), I decided there was not a better time. After several special quotes to Crystal Dynamic, Reef Savvy, and few other local manufacturers, I stumbled upon a craigslist ad for a 75 gallon Crystal Dynamic tank. The deal was too good to pass up. This isn't the peninsula build I wanted, but I think for the place the tank will reside, this layout is a much better use of space.

Tank:
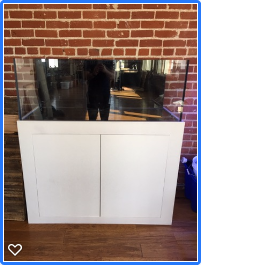
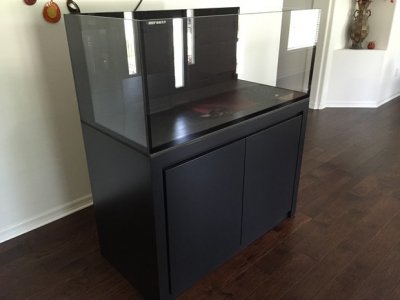
75 Gallon Rimless build by Crystal Dynamic Aquariums in Oceanside, CA.
48" x 20" x 18" Starfire 3 Sides

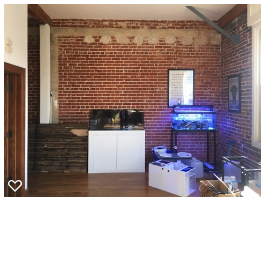
Here's a shot of the wall the tank will sit against. Final resting place will be slightly more left with a reading nook in the right corner. The 40g will be broken down and sold.
download (5).png
And here's the tank!
download.png


I'm currently in the planning stage. Here are my thoughts for equipment, always open for suggestions!

Flow:
RO Varios 6 (Return) - Need to Purchase
(2) Vortech MP40 (Flow) - Need to Purchase
(2) Vortech MP10 (Flow) - Transfer from 40g

Filtration:
Theiling Roller Mat - Purchased
Vertex Omega 150 - Transfer from 40g
BRS Reactors- Transfer from 40g

Sump:
Sump - Quoting (Custom built around roller mat)
Matching ATO - Quoting with Sump

Light:
ATI 6x39W Powermodule - Transfer from 40g

Controller:
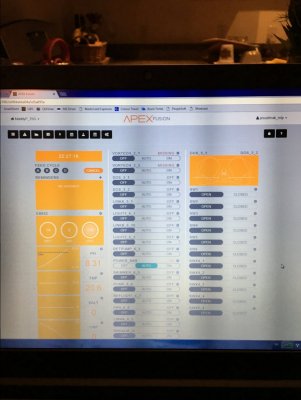
New Apex - Won in Reef2Reef contest

Misc Equipment:
Apex DOS - Purchased
Avast Pressure Switch - Transfer from 40g
 
Top Shelf Aquatics
OP
OP
MaddyP

MaddyP

'Til Reefdom Come...
Review score
+0 /0 /-0
View Badges
Joined
Jul 21, 2016
Messages
1,905
Reaction score
4,524
Review score
+0 /0 /-0
Location
Vancouver, WA
Rating - 0%
0   0   0
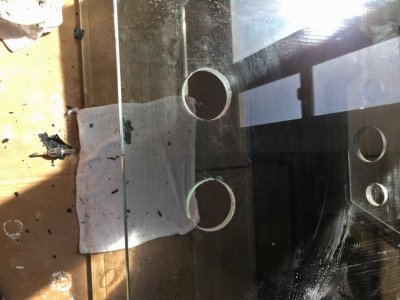
So, first things first, the tank will need to be drilled for the Synergy Overflow as it has an internal overflow now.

What do you all think if I used the existing holes for a closed loop instead of just plugging the holes? I was thinking the 1.5" as the in with two 3/4" as exits. Possibly a RO Varios-4 to run this...

Thoughts?

download (1).png
download (2).png
download (3).png
download (4).png
 
OP
OP
MaddyP

MaddyP

'Til Reefdom Come...
Review score
+0 /0 /-0
View Badges
Joined
Jul 21, 2016
Messages
1,905
Reaction score
4,524
Review score
+0 /0 /-0
Location
Vancouver, WA
Rating - 0%
0   0   0
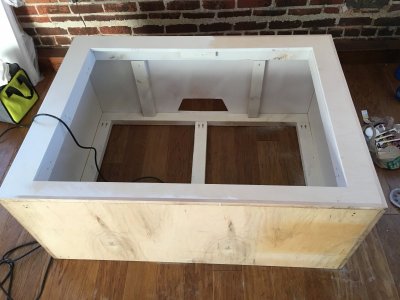
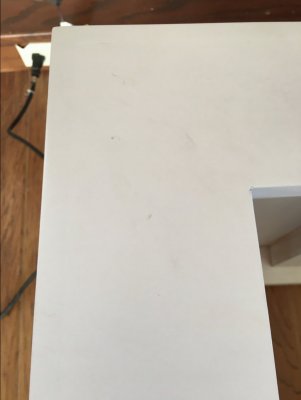
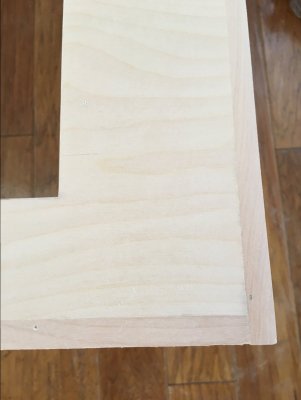
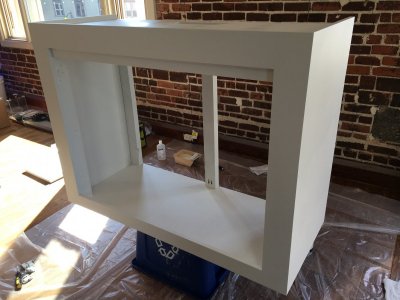
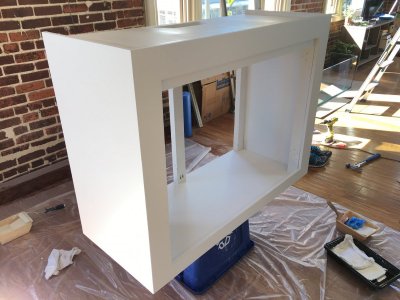
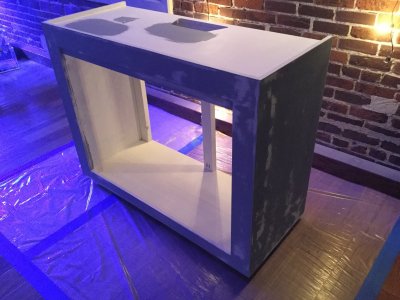
Finishing of the base has begun! Decided to sand down to bare wood with my orbital sander as the white paint wasn't very thick...

IMG_3937.JPG

IMG_3935.JPG
IMG_3936.JPG

Sanding also allowed me to even out the seams, which the original manufacturer didn't do a great job at.

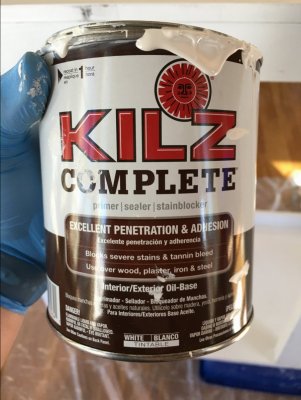
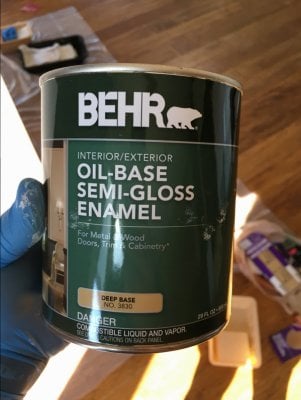
I'll be using Kils Complete as a primer and Behr Exterior Oil-Based Enamel for finish.

IMG_3940.JPG

IMG_3941.JPG

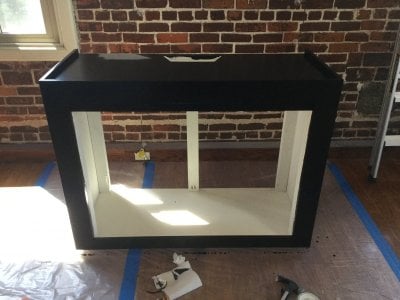
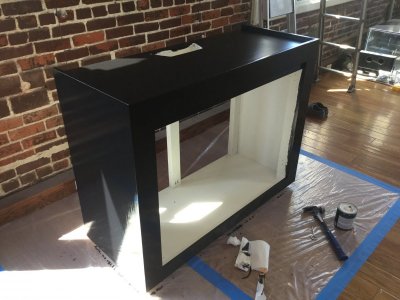
Decided to make this stand semi-gloss black to match the black silicone and black background of the tank. It should look pretty good if things go well.

IMG_3942.JPG

I want it to look something like this but with a single removable door in the front.

IMG_3943.JPG

So, two coats of primer and sanding before the enamel goes on!

IMG_3938.JPG
IMG_3939.JPG

Now to let it dry before sanding! More to come!
 
www.dinkinsaquaticgardens.com
OP
OP
MaddyP

MaddyP

'Til Reefdom Come...
Review score
+0 /0 /-0
View Badges
Joined
Jul 21, 2016
Messages
1,905
Reaction score
4,524
Review score
+0 /0 /-0
Location
Vancouver, WA
Rating - 0%
0   0   0
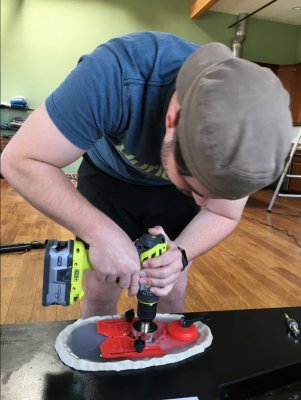
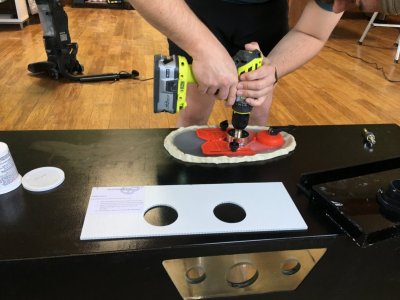
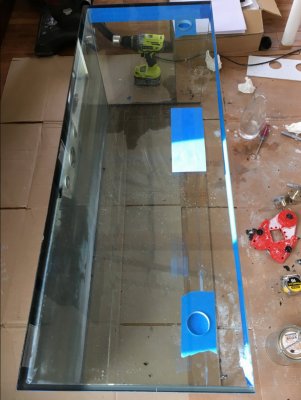
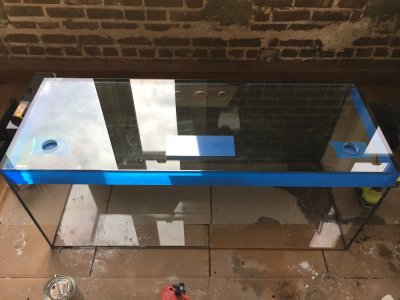
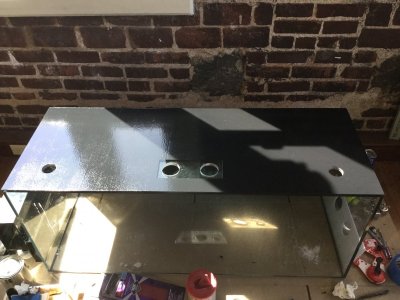
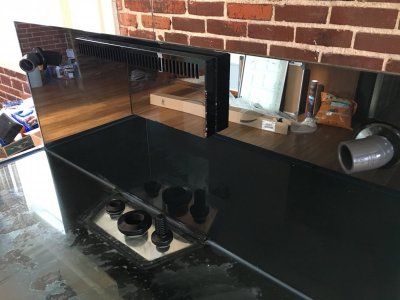
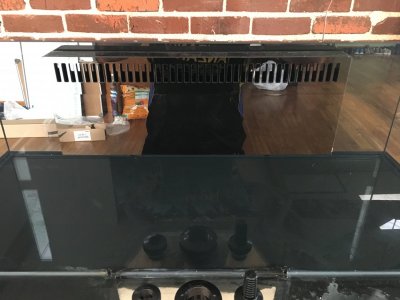
Whilst the stand was drying, I decided to drill the tank for a Synergy reef overflow. It went off without a hitch. Took a while with the 1/2" glass though! The black was coming off so I removed it all to repaint it black. I'll use the same oil based enamel bought for the stand.

IMG_3945.JPG
IMG_3946.JPG IMG_3947.JPG
 
OP
OP
MaddyP

MaddyP

'Til Reefdom Come...
Review score
+0 /0 /-0
View Badges
Joined
Jul 21, 2016
Messages
1,905
Reaction score
4,524
Review score
+0 /0 /-0
Location
Vancouver, WA
Rating - 0%
0   0   0
Finished drilling the return holes today. Dual 1" returns to reduce head pressure. Drilling caused the paint to come off so I taped it up for painting with oil based enamel.

IMG_3950.JPG
IMG_3951.JPG

Also finished priming and sanding the stand. Hoping to get the first coat of paint on tomorrow.

IMG_0263.JPG
 
Last edited:
Top Shelf Aquatics
OP
OP
MaddyP

MaddyP

'Til Reefdom Come...
Review score
+0 /0 /-0
View Badges
Joined
Jul 21, 2016
Messages
1,905
Reaction score
4,524
Review score
+0 /0 /-0
Location
Vancouver, WA
Rating - 0%
0   0   0
Did you build the stand from scratch?

The stand was not from scratch, it was built by Crystal Dynamics. It appears to be plywood with a trim of oak to seal the cut ends of the plywood, a rather nice design. Paint job was poor though, hence the reason for sanding, priming, and paint. I removed the doors and plan to install a single magnetically attached door which can be removed completely, this will allow better access to underneath. Also, a board will be mounted on the back to give more surface room for components to attach.
 
OP
OP
MaddyP

MaddyP

'Til Reefdom Come...
Review score
+0 /0 /-0
View Badges
Joined
Jul 21, 2016
Messages
1,905
Reaction score
4,524
Review score
+0 /0 /-0
Location
Vancouver, WA
Rating - 0%
0   0   0
Definitely following this build. Super excited to see you go through this process and really interested to see it in person some day :D

It's gonna be a fun process! When I get all the plumbing components in, you're welcome to help with setup! Ya know, since you really want to see it in person. ;)
 
OP
OP
MaddyP

MaddyP

'Til Reefdom Come...
Review score
+0 /0 /-0
View Badges
Joined
Jul 21, 2016
Messages
1,905
Reaction score
4,524
Review score
+0 /0 /-0
Location
Vancouver, WA
Rating - 0%
0   0   0
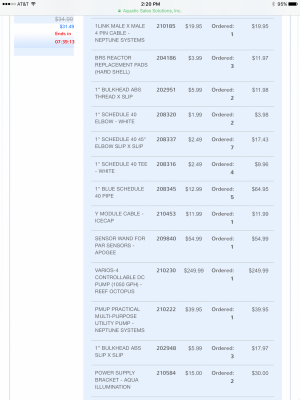
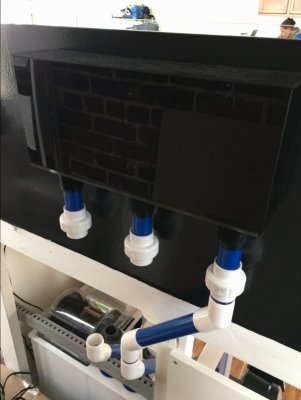
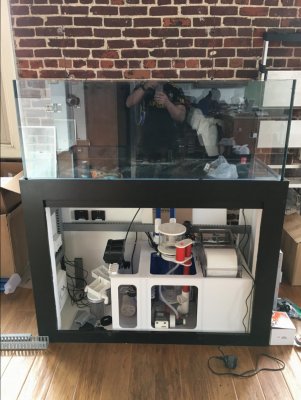
I made some progress this past weekend. Plumbing, sump, and some electrical components were delivered on Friday. Need I say what my weekend involved?

Ghost overflow installed.

IMG_3992.JPG IMG_3993.JPG

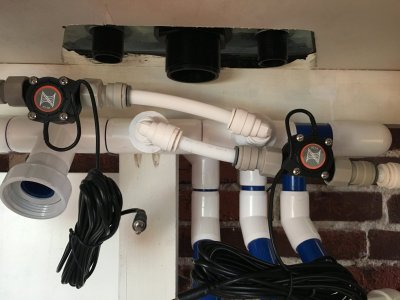
Some plumbing, I ran out of 45s so had to order more...

IMG_3994.JPG

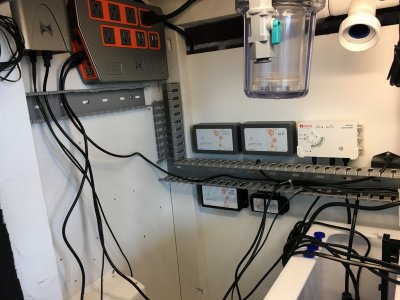
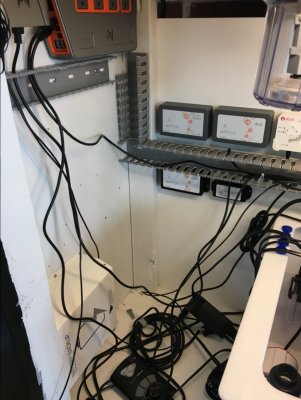
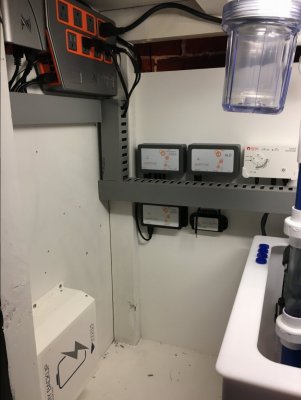
And started mounting and routing electrical. This may be changed up once final Apex modules are delivered (ALD and FMM).

IMG_3991.JPG

Full tank shot!

IMG_3996.JPG
 
Nutramar Foods
OP
OP
MaddyP

MaddyP

'Til Reefdom Come...
Review score
+0 /0 /-0
View Badges
Joined
Jul 21, 2016
Messages
1,905
Reaction score
4,524
Review score
+0 /0 /-0
Location
Vancouver, WA
Rating - 0%
0   0   0
Great looking build! Just curious, once the tank is against the wall are you going to be able to get to those unions if need be?

Thank you! Yes, there should be enough room to get my hand behind and undo any union I need to. The tank will sit about 4-5" off the wall to allow room for the synergy reef overflow box.
 

revhtree

Owner Administrator
Review score
+3 /0 /-0
View Badges
Joined
May 8, 2006
Messages
46,505
Reaction score
81,736
Review score
+3 /0 /-0
Rating - 100%
1   0   1
Nice new build you got going here! :D
 
Nutramar Foods

Daniel@R2R

Living the Reef Life
Review score
+0 /0 /-0
View Badges
Joined
Nov 18, 2012
Messages
36,186
Reaction score
58,478
Review score
+0 /0 /-0
Location
Fontana, California
Rating - 100%
1   0   0
Looks great!! Following!
 
BRS
OP
OP
MaddyP

MaddyP

'Til Reefdom Come...
Review score
+0 /0 /-0
View Badges
Joined
Jul 21, 2016
Messages
1,905
Reaction score
4,524
Review score
+0 /0 /-0
Location
Vancouver, WA
Rating - 0%
0   0   0
More progress!

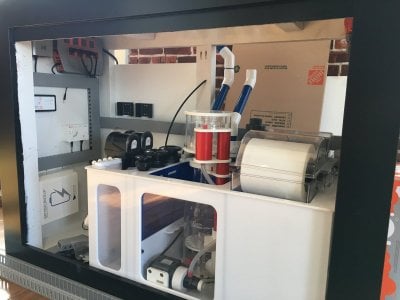
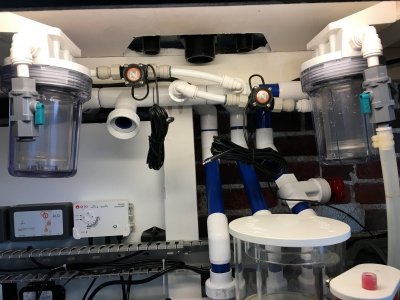
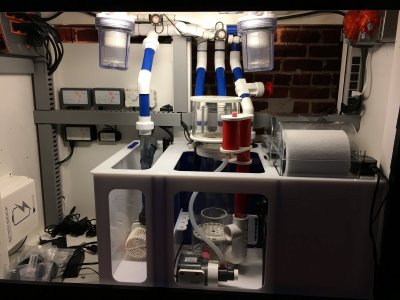
Finished up the manifold to feed my two small BRS reactors, this is my first attempt to run reactors off a manifold, critiques are welcome! One will hold GAC, the other is reserved for GFO. The second will likely sit empty as my tanks never needed GFO to control phosphate.

IMG_4015.JPG IMG_4016.JPG

Changed up the electrical a bit, figured this was a much better use of space. It also gives me room above the Apex modules to add another row of modules if needed. Just under the EB832 will be the Vortech controllers (once I purchase a pair of MP40's). Any other electrical device which has a controller will go on the same side.

IMG_4017.JPG

I reserved enough room at the end of the sump for a 7-10 gallon ATO, I frequently travel and hate running out of top off water a few days before I'm scheduled to be back home...

IMG_4018.JPG

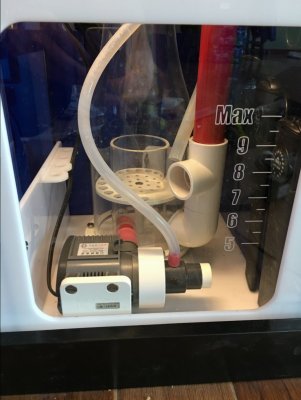
If anyone is looking into the Elite Aquatics Rollermat sump, this thing has a rather small skimmer section. Took a bit of work to fit my Vertex Omega 150 into it. There isn't any wiggle room. I'm glad my heaters are super slim!

IMG_4019.JPG

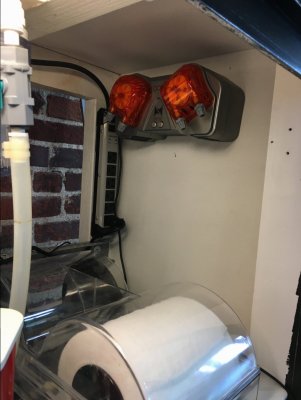
Right side of the stand is reserved for dosing components. Currently have one DOS, will likely by a second. The dosing reservoirs will sit below it squeezed between the sump and stand wall (3.25" x 12" space).

IMG_4020.JPG

IMG_4014.JPG
 
AquaCave

Polyp polynomial: How many heads do you start with when buying zoas?

  • One head is enough to get started.

    Votes: 27 10.6%
  • 2 to 4 heads.

    Votes: 145 57.1%
  • 5 heads or more.

    Votes: 65 25.6%
  • Full colony.

    Votes: 10 3.9%
  • Other.

    Votes: 7 2.8%

New Posts

Coral Frenzy
Back
Top