For fun, I am trying to 3d print an overflow. This is not about voiding buying one, it's really just to see if I can. Today I put the first one on the tank and here are the results!
I would like to start with, this was a fail, so for I don't suggest it. It leaked/seeped alot. But I'm not going to quit.
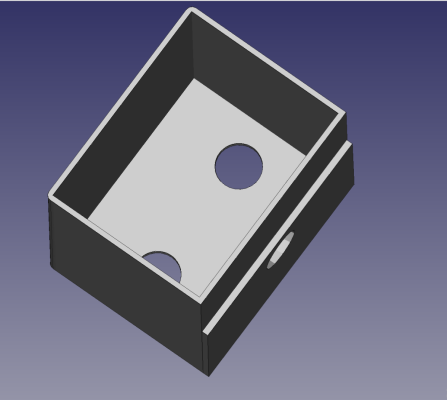
I tried I maxxed out the ender3 that I have, because I wanted to increase water volume for the tank. This put the outside overflow to 10"x10"x10". Yes over kill for a 75g but I wanted to do to. The walls were 1/8" thick with 20% fill (not solid) with walls 3mm. The print took 3 and half days to print. In the middle of the print I had to change filament (which I will talk about in detail later). I already had one for in the tank for a few years, this print I will only be talking about the external overfill. My tank is back drilled. I printed it to be one main to the sump with an emergency pipe.
Overflow image
So lets get into the details. I printed the overflow with PLA, and two different types so it seems. I had to change out the reel of PLA mid print and right away I noticed a difference in the print quality. Sadly the top was much better than the base. Also the layers were tighter. Once the box was completed, I needed a way to make sure that it would not leak. I went with epoxy. I epoxied the inside walls and base of the box with a 1/8" clear epoxy resin that was reef safe. This was the first time I have ever used epoxy so many lessons learned there.
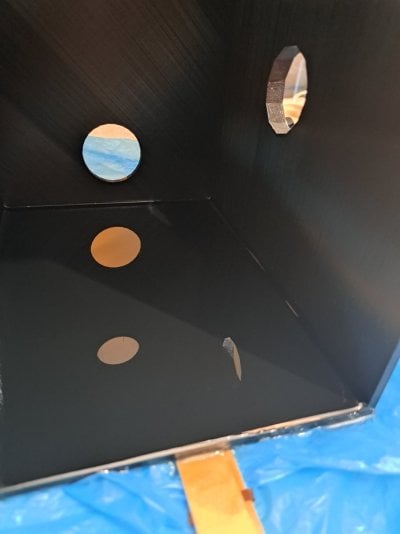
I suggest epoxying on something so that its not sitting in the epoxy that runs out. I was surprised on the fact that very little epoxy ran out, but some did, so I put it on plastic cups and that helped. Here is a pic of one side done. Overall it turned out good on the inside. Because it was my first time with epoxy, I had drips coming out of the holes and had to sand them down (you can see that in the pics).
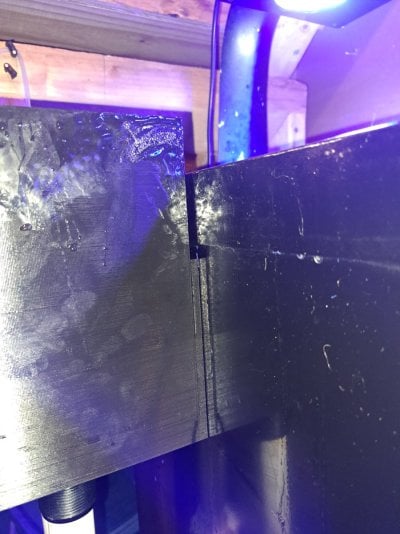
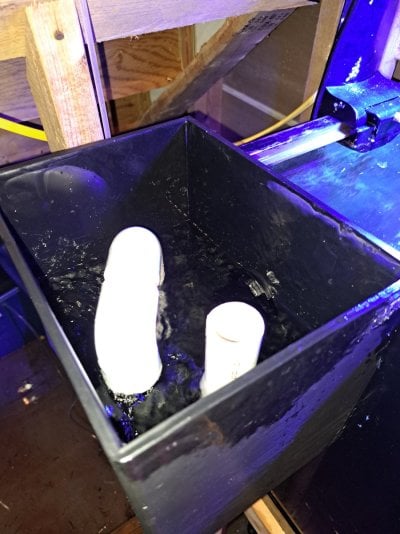
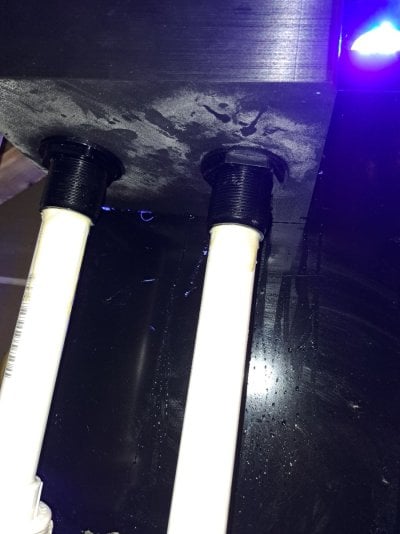
Onto the install: on the tank bulkhead, I put two rubber rings. One in the tank and another in the sump. Once on I noticed that it mounted to high so 2" were over the tank rim. If you look at the image of it, you can see that there is a spacer because I don't have a rimless tank so the top of the tank comes out1/8".
Now its time to look for leaks, and leaks it had. I couldn't get it to seal on the bulkhead and water was leaking between the tank and the overflow. And then about 20 minutes later, the overflow was seeping water through the sides and bottom. I'm not really sure how with it completely epoxied (and yes it was completely epoxied, I checked).
So I would say that this first try was a no good. The print seeps water even with the epoxy.
I'm going to try again. but this time increase the walls to 6mm and do a solid fill. Plus I'm going to get top quality PLA and epoxy the outside and inside. I'm planning on printing a small box and just testing with that till I can figure out the seeping issues. I will update as I test and figure things out.
If anyone has made an attempt at this please share.


