I've been in the aquatics industry for 23 years now, been doing commercial/residential aquarium maintenance for the last 6 years, and to my great shame I haven't had a tank in almost a decade. When pressed by my clients why I didn't have a tank at home, the line of song and dance was 'well, a Michelin Star chef doesn't go home and create a five-course meal, he makes a peanut butter and jelly sandwich', and that I just didn't feel like maintaining my own tank after spending the week cleaning other people's tanks. That was partly true, but primarily the reason was just the cost of entry; to do a tank in the size and style that I'd like, with the equipment I'd prefer to use, is an expensive proposition, so I lived my aquarium life vicariously through my client's tanks.
Back in November, one of my clients messaged me and asked what his tank would be worth if he tried to sell it, as he'd had it for a year and could never quite wrap his head around keeping a reef aquarium or using an Apex controller. When informed that a lot of the value of his tank was gone after having had it set up for a year, and giving him an honest number for our market, he asked me to put an APB out to anyone I might know who would want to buy it. Now, being that it was around Christmas time, no one wanted to drop a couple grand on a tank, so it sat in his house until mid-January.
He messaged me at that time to inform me that he'd had a conversation with his wife, and that they were primarily just interested in getting it out of their home, and that if I was able to come pick it up that weekend they would gift me the aquarium and everything attached to it for free. I immediately said yes, as the equipment list was extensive, and made the preparations to get it that weekend. The equipment list when I picked up the tank was as follows:


I don't particularly care for the Life Rock, as I think it looks unnatural. It's what my shop sells and goes into 99% of the aquariums we set up, but I much prefer to use something like Marco Rocks and just be patient. My friend and I showed up, drained the tank, removed all the sand, stone and livestock, and picked the whole thing up in one piece and set it on some roller dollies, strapped it down and wheeled it out the door of his 4th floor condo. The shop van with the lift gate made the whole endeavor a million times easier, for sure.

I traded the livestock and rock back to the shop for credit, and the tank sat in my garage for a month while I tried to find the time to go over it and get it cleaned up, and gathered a few more pieces that I'd need.
I knew I wanted to do an SPS-dominant tank, with a bare bottom. Lots of flow, lots of light. I also knew that I wasn't going to utilize the Trident, DOS or DDR Apex pieces, so those got sold to raise capital for the rest of what I wanted to do. After a little bit of elbow grease and a podcast episode, the tank was back to looking clean and fresh. From there, I measured and cut a piece of textured 1/8" ABS sheet, and siliconed it in place.


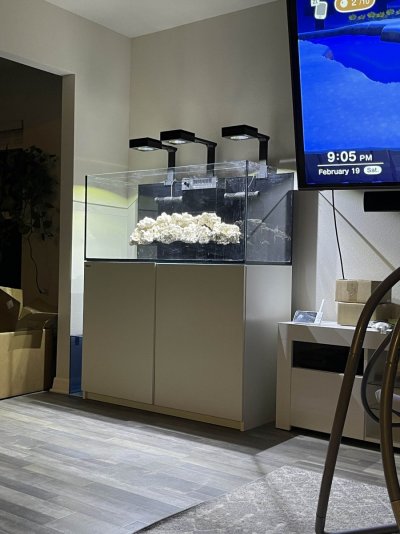
Then after weeks of waiting around and doing nothing, it got moved into the house. It looks pretty nice next to my TV, like that spot was made for it, and it matches the entertainment center pretty well too.

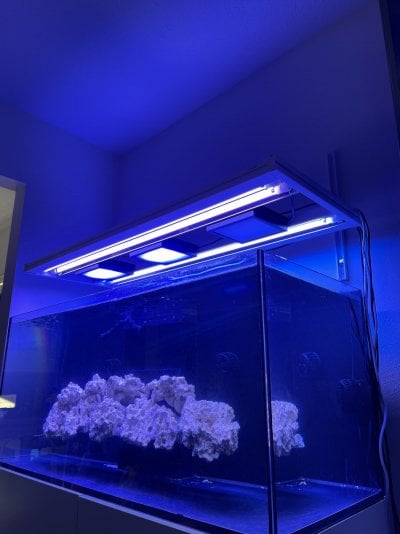
Looks pretty slick with the lights on as well.

Next came what I consider to be the biggest feature of this aquarium, and that was the floating reef. I've always loved the concept of a floating reef, but I've only ever seen in applied to small aquariums and I spent a lot of time mulling over how I'd do it on a larger scale. I sourced a piece of pre-cut 1/2" thick black acrylic from an online vendor, and once it arrived I went about measuring, cutting, drilling and bending it to fit the footprint of the aquascape I wanted to create.


After letting the silicone that attached it to the rear overflow cure for a week, I set about attaching small anchor rocks to the top to help prevent the aquascape from just sliding off, using rubble pieces from Marco Rocks.

And after laying out the Marco Rocks I'd purchased (and getting a helping hand with picking them out from Kilala), I set about putting together the aquascape using Seachem's CoralCrete in gray color to cement the rocks together. It was my first time using the stuff and I was thoroughly impressed with how well it mixed together, and how quickly it set up. The entire scape came out pretty well, though I still need to move some of the smaller pieces around before I'm entirely happy with it.


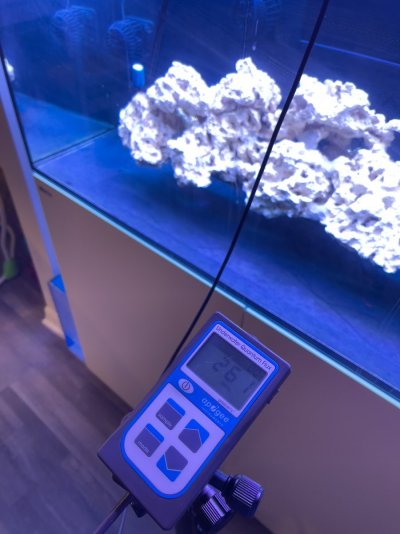
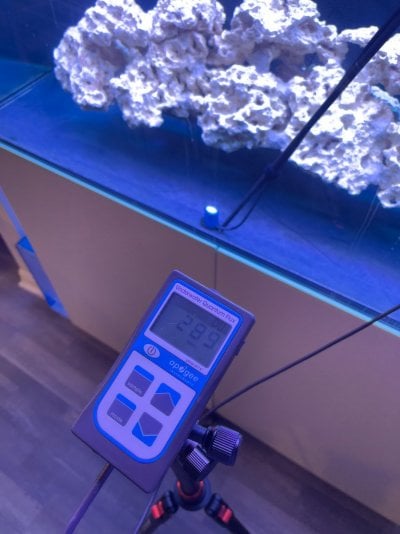
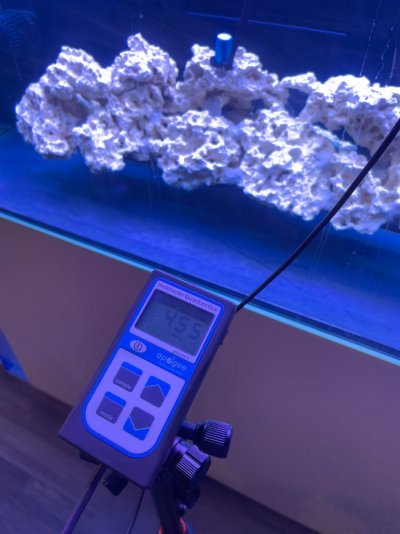
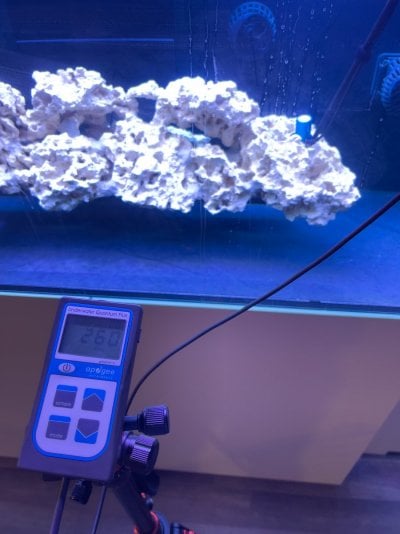
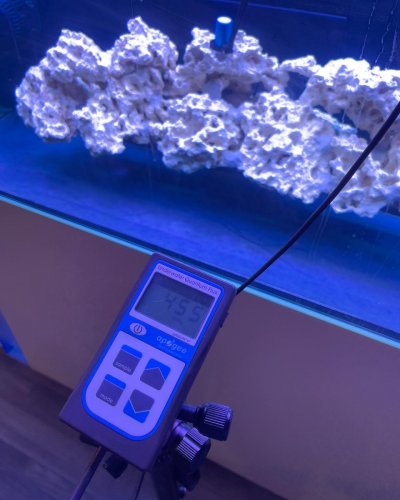
At this point, I've added a third ReefLED 90 for increased par, and started doing cable management for the Apex install. The original ATO container proved to be too big inside the stand, so I traded it back into the shop and picked up a Trigger Systems Triton 5-gallon ATO container to sit next to the tank. A client is interested in purchasing all three ReefLED 90 lights, both ReefWaves and the skimmer from me for his tank, and if that occurs I'll make the swap over to Radion XR15 Pro's x3, an AquaticLife T5HO hybrid fixture, and an additional pair of MP40's to replace the ReefWaves on the back wall.
The current to-do list for the tank is as follows:
Back in November, one of my clients messaged me and asked what his tank would be worth if he tried to sell it, as he'd had it for a year and could never quite wrap his head around keeping a reef aquarium or using an Apex controller. When informed that a lot of the value of his tank was gone after having had it set up for a year, and giving him an honest number for our market, he asked me to put an APB out to anyone I might know who would want to buy it. Now, being that it was around Christmas time, no one wanted to drop a couple grand on a tank, so it sat in his house until mid-January.
He messaged me at that time to inform me that he'd had a conversation with his wife, and that they were primarily just interested in getting it out of their home, and that if I was able to come pick it up that weekend they would gift me the aquarium and everything attached to it for free. I immediately said yes, as the equipment list was extensive, and made the preparations to get it that weekend. The equipment list when I picked up the tank was as follows:
- Red Sea Reefer 350 V3 in white
- Red Sea ReefLED 90 x2 with mounting arms
- Red Sea ReefWave 25 x2
- Red Sea RSK 300 protein skimmer
- Reef Octopus Varios 2 return pump
- Aquatop 300w titanium heater
- Neptune Systems Apex EL controller
- Neptune Systems Trident water tester
- Neptune Systems DOS doser
- Neptune Systems DDR dual dosing reservoir
- Neptune Systems ATK auto top off system
- Various small Neptune Systems add on pieces
- Acrylic Creations 10 gallon acrylic top off container
- Misc. food and maintenance supplies
- CaribSea Life Rock
- Misc. corals and fish
I don't particularly care for the Life Rock, as I think it looks unnatural. It's what my shop sells and goes into 99% of the aquariums we set up, but I much prefer to use something like Marco Rocks and just be patient. My friend and I showed up, drained the tank, removed all the sand, stone and livestock, and picked the whole thing up in one piece and set it on some roller dollies, strapped it down and wheeled it out the door of his 4th floor condo. The shop van with the lift gate made the whole endeavor a million times easier, for sure.
I traded the livestock and rock back to the shop for credit, and the tank sat in my garage for a month while I tried to find the time to go over it and get it cleaned up, and gathered a few more pieces that I'd need.
I knew I wanted to do an SPS-dominant tank, with a bare bottom. Lots of flow, lots of light. I also knew that I wasn't going to utilize the Trident, DOS or DDR Apex pieces, so those got sold to raise capital for the rest of what I wanted to do. After a little bit of elbow grease and a podcast episode, the tank was back to looking clean and fresh. From there, I measured and cut a piece of textured 1/8" ABS sheet, and siliconed it in place.
Then after weeks of waiting around and doing nothing, it got moved into the house. It looks pretty nice next to my TV, like that spot was made for it, and it matches the entertainment center pretty well too.
Looks pretty slick with the lights on as well.
Next came what I consider to be the biggest feature of this aquarium, and that was the floating reef. I've always loved the concept of a floating reef, but I've only ever seen in applied to small aquariums and I spent a lot of time mulling over how I'd do it on a larger scale. I sourced a piece of pre-cut 1/2" thick black acrylic from an online vendor, and once it arrived I went about measuring, cutting, drilling and bending it to fit the footprint of the aquascape I wanted to create.
After letting the silicone that attached it to the rear overflow cure for a week, I set about attaching small anchor rocks to the top to help prevent the aquascape from just sliding off, using rubble pieces from Marco Rocks.
And after laying out the Marco Rocks I'd purchased (and getting a helping hand with picking them out from Kilala), I set about putting together the aquascape using Seachem's CoralCrete in gray color to cement the rocks together. It was my first time using the stuff and I was thoroughly impressed with how well it mixed together, and how quickly it set up. The entire scape came out pretty well, though I still need to move some of the smaller pieces around before I'm entirely happy with it.
At this point, I've added a third ReefLED 90 for increased par, and started doing cable management for the Apex install. The original ATO container proved to be too big inside the stand, so I traded it back into the shop and picked up a Trigger Systems Triton 5-gallon ATO container to sit next to the tank. A client is interested in purchasing all three ReefLED 90 lights, both ReefWaves and the skimmer from me for his tank, and if that occurs I'll make the swap over to Radion XR15 Pro's x3, an AquaticLife T5HO hybrid fixture, and an additional pair of MP40's to replace the ReefWaves on the back wall.
The current to-do list for the tank is as follows:
- Install pair of MP40 powerheads on sides of tank
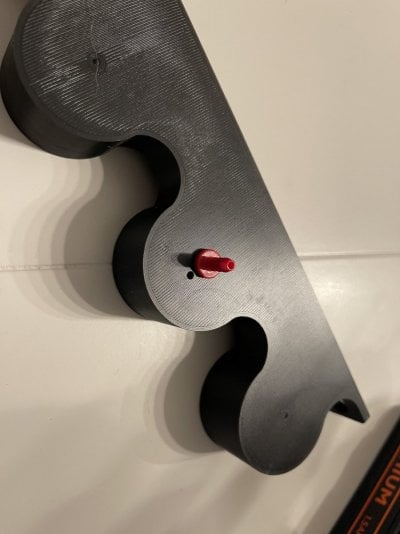
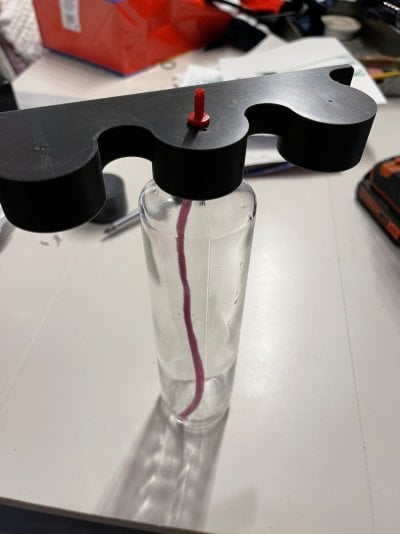
- Create model for square filter sock holder to go in place of stock small round filter sock holders, to be printed by Harry's Aquatics
- Fill tank, mix in salt, dose with Brightwell bacterial supplements
- Finish cord and Apex management with false wall on right side under stand
- Etc.

Last edited:


