Waterbox 330.7 Build

TBSB2019

Active Member
View Badges
Joined
May 5, 2024
Messages
122
Reaction score
126
Location
Palmetto
Rating - 0%
0   0   0
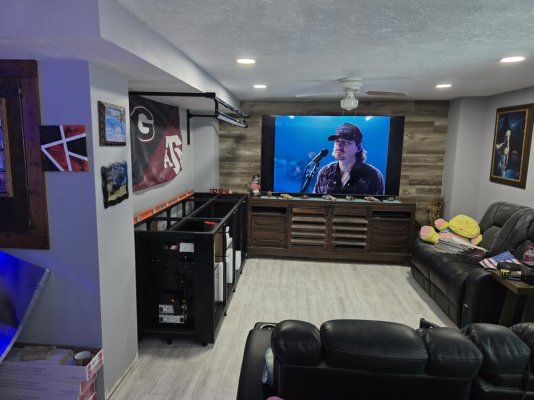
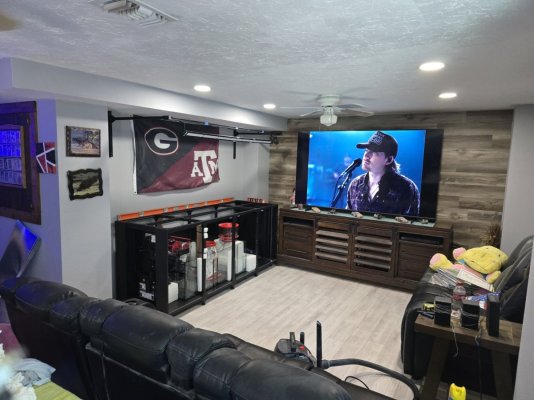
Upgrading my tank from a Planet Aquarium 6-ft 180 gal to a Waterbox 330.7. It's going to go slow due to us remodeling (removing tile flooring is a pain) and we have to have our house tented for termites (that is going to be a nightmare. Any advise would be appreciated). After the tenting is when I hope to to the startup on the Waterbox. The 180 will become my wife's tank that we are going to move her 60 gal into.

So far for equipment I have

Reef Octopus Varios 10 (will also be pushing to a 40 gal barrel in the garage with cycled rock in it that will feed back into the house into the rear chamber of the sump.)
Reef Octopus Regal 250INT Skimmer
Red Sea Reef Mat 1200
2 MP40
2 Maxspect Gyre 350
3 Kessil A500X
2 66-inch AI Blade Grows
Icecap 40 watt UV
Hydros Launch
Hydros Wave Engine (Will control both MP40s and Gyres)
Hydros XP8
Setting up auto water change and auto top off connected to 44 gal barrels plumbed through the wall into the garage using sic pumps plumbed with 1/2 inch PVC.


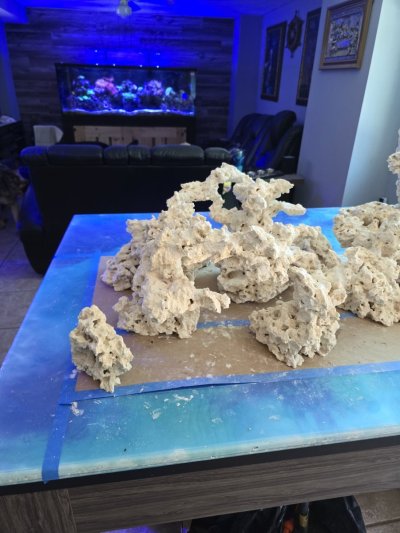
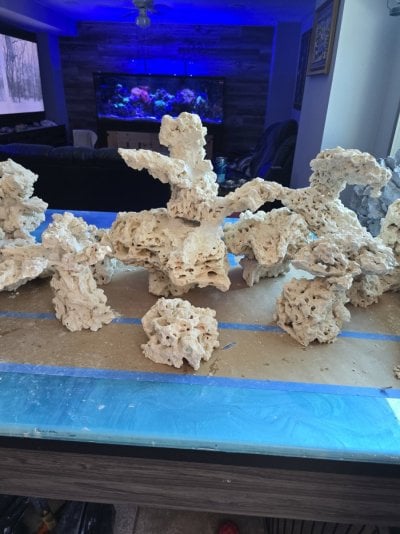
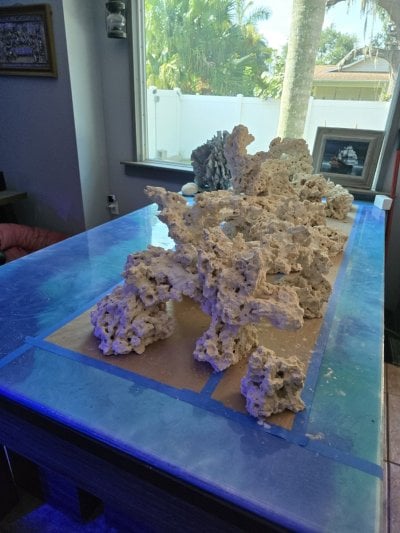
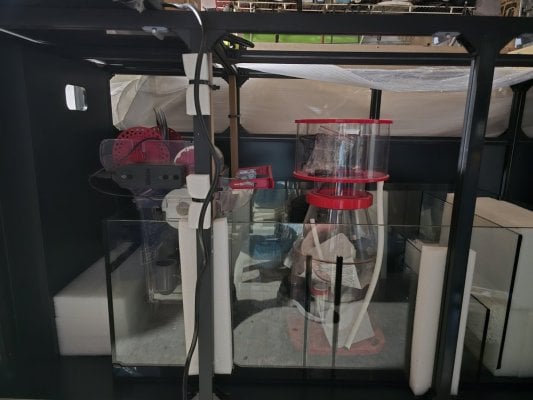
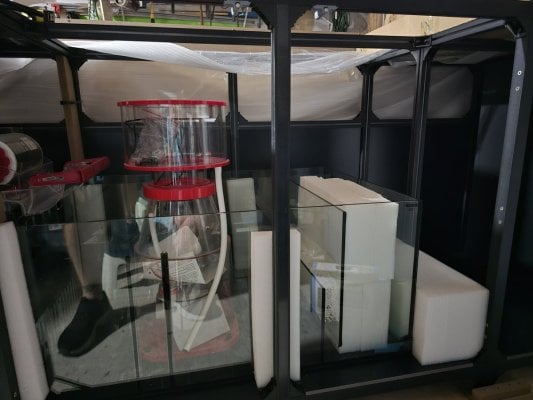
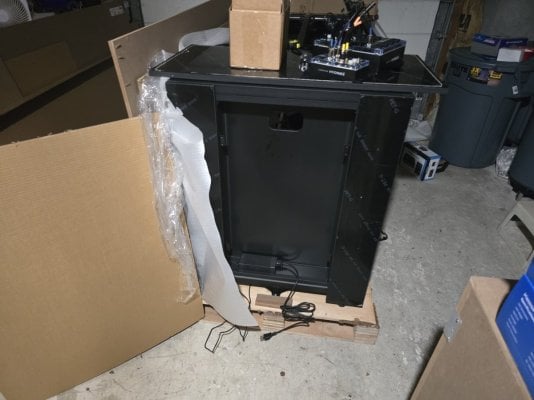
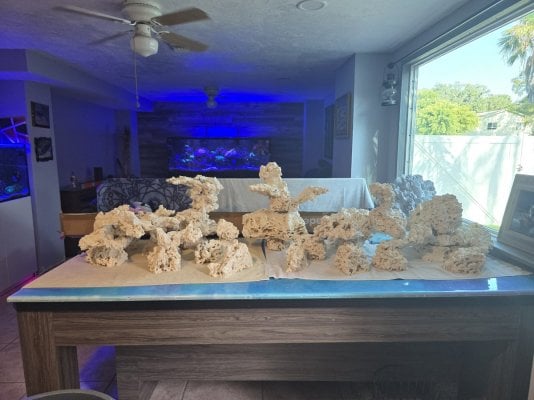
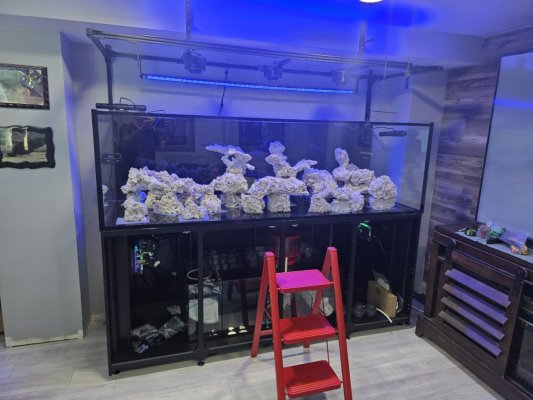
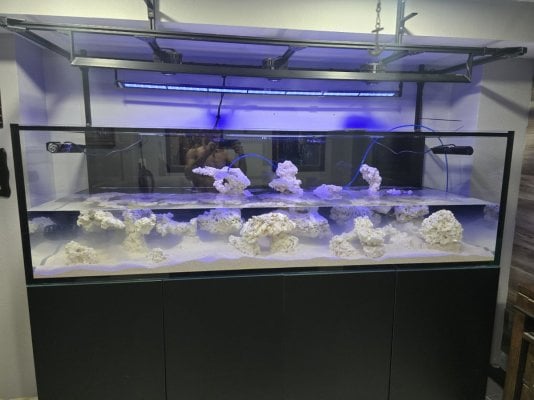
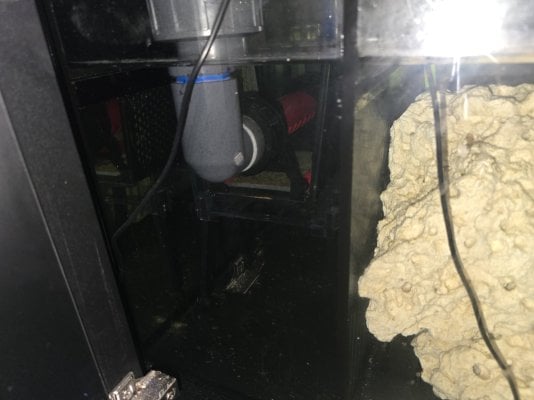
Some of the rock work along with random pics making sure the skimmer and roller mat would fit like I wanted. If I decide to run a fuge, I will have to remove the skimmer cup to replace the mat in the roller mat. I need to get a full front shot of the rock work.
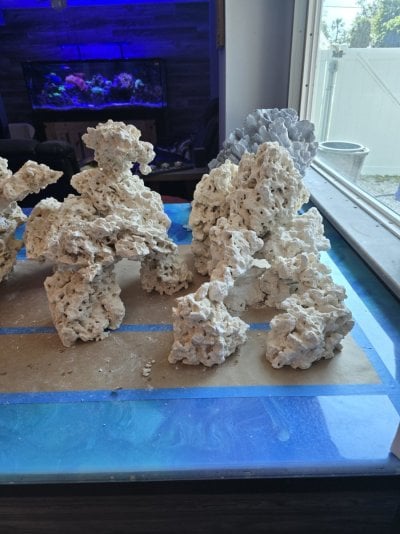
20240524_172401.jpg 1717291135075.jpeg 20240524_172405.jpg 20240524_172414.jpg 20240529_195237.jpg 20240529_195244.jpg 20240529_195253.jpg
 
OP
OP
TBSB2019

TBSB2019

Active Member
View Badges
Joined
May 5, 2024
Messages
122
Reaction score
126
Location
Palmetto
Rating - 0%
0   0   0
Nice looking aquascape!
Thanks. It's still a work in progress until it is submerged.

Started looking closer at the location we were going to put the tank. Started off by pulling tile in order to place the tank on straight concrete and found whoever did the tile work did not use the correct mortar so the tile was popping up way to easy (our 180 gallon popped a few loose) so now I have half the room's tile pulled and we are going to just upgrade the flooring while we are at it. Checked the concrete where the tank is going with a 6ft level and the floor is out of level 3/4-inch from one end to the other so also have to float the floor to get it a lot closer to level. The joys of home ownership.
 

kwjones

Community Member
View Badges
Joined
Aug 12, 2019
Messages
28
Reaction score
99
Rating - 0%
0   0   0
Thank you. I'm not completely happy with it but everyone that has looked at it so far really likes it.
I'm kinda with you on that. It looks great on the close-up shots, especially from the end.

Maybe it's just the camera angle, but for me, it's predominately "single layer" without much verticle change or slope, and boulder-like. Not sure how to describe it other than a horizontal straight line.

I love big tank builds so I can live vicariously through other people.
 

Raptor72

Well-Known Member
View Badges
Joined
Jul 19, 2011
Messages
683
Reaction score
470
Location
Southern California
Rating - 0%
0   0   0
You’re quite brave for mocking up the rock work on that counter. My spousal unit would have choked me. I used the crate lid in the garage for mine.
IMG_5310.jpeg


I’m filling up the same size tank at the moment.
 
OP
OP
TBSB2019

TBSB2019

Active Member
View Badges
Joined
May 5, 2024
Messages
122
Reaction score
126
Location
Palmetto
Rating - 0%
0   0   0
You’re quite brave for mocking up the rock work on that counter. My spousal unit would have choked me. I used the crate lid in the garage for mine.
IMG_5310.jpeg


I’m filling up the same size tank at the moment.
It's the cover to our pool table I made and put a coat of epoxy on. We use it as a dining table for our yearly Halloween party and holiday parties.
 
OP
OP
TBSB2019

TBSB2019

Active Member
View Badges
Joined
May 5, 2024
Messages
122
Reaction score
126
Location
Palmetto
Rating - 0%
0   0   0
I'm kinda with you on that. It looks great on the close-up shots, especially from the end.

Maybe it's just the camera angle, but for me, it's predominately "single layer" without much verticle change or slope, and boulder-like. Not sure how to describe it other than a horizontal straight line.

I love big tank builds so I can live vicariously through other people.
I think it's the photo angle. I was kindof looking down at it and there's also a large piece on the back right not going in the tank.
 
OP
OP
TBSB2019

TBSB2019

Active Member
View Badges
Joined
May 5, 2024
Messages
122
Reaction score
126
Location
Palmetto
Rating - 0%
0   0   0
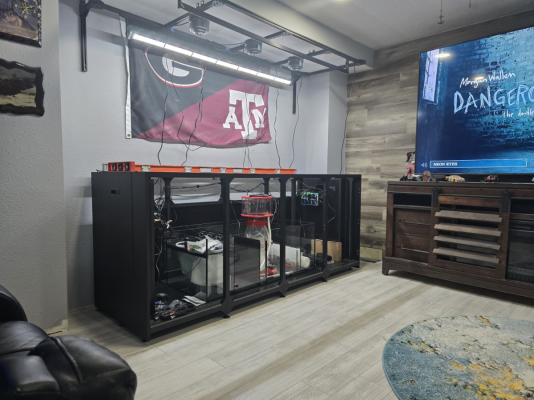
Tank is slowly coming along. Removed old slate tile, floated floor, added new flooring. Have the stand placed with holes cut in the flooring so it is directly on concrete. Light rack up and just waiting on a couple of supports for the ceiling to give it a little more stabilization. Going to run the filter socks until it is through the cycle and add the roller mat after that. Wife is really loving it all so far. A lot of work but enjoying the build.

Our 180 was sitting where the tv stand is now. Moved it last weekend, and that is not a fun task. 14 hours total to move it about 20 feet.
 

Attachments

  • 1720306099511.png
    1720306099511.png
    1.4 MB · Views: 48
OP
OP
TBSB2019

TBSB2019

Active Member
View Badges
Joined
May 5, 2024
Messages
122
Reaction score
126
Location
Palmetto
Rating - 0%
0   0   0
Ended up keeping the 180 also. Going through some small algea outbreaks right now. Not crazy bad thankfully. Added some live rock to my sump and sand to my display from Tampa Bay Saltwater last night for the added bacteria strands. They threw in some snails with the order and had at the minimum 5 not reef safe crabs that can live in my sump.
20240825_122210.jpg
20240825_122200.jpg
 
OP
OP
TBSB2019

TBSB2019

Active Member
View Badges
Joined
May 5, 2024
Messages
122
Reaction score
126
Location
Palmetto
Rating - 0%
0   0   0
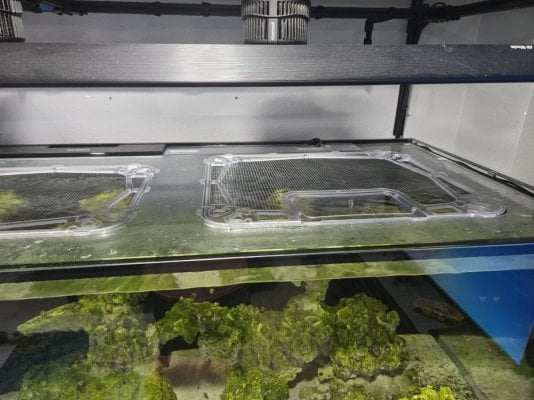
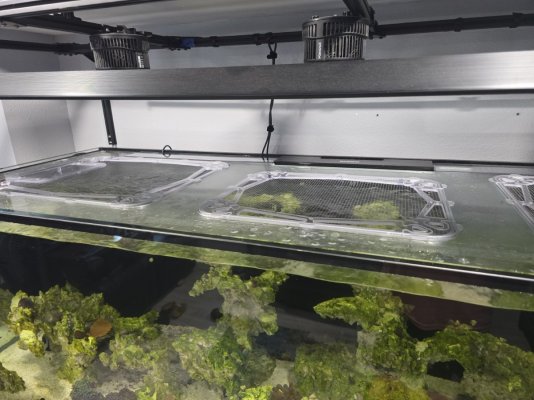
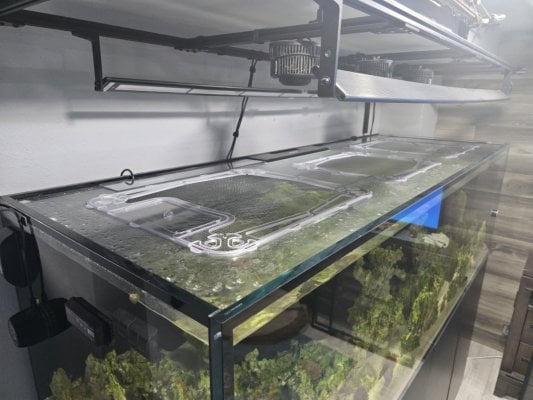
New Clear View covers came in today.
 

Attachments

  • 20240910_164741.jpg
    20240910_164741.jpg
    196.2 KB · Views: 24
  • 20240910_164744.jpg
    20240910_164744.jpg
    191.5 KB · Views: 22
  • 20240910_164754.jpg
    20240910_164754.jpg
    167.2 KB · Views: 25
OP
OP
TBSB2019

TBSB2019

Active Member
View Badges
Joined
May 5, 2024
Messages
122
Reaction score
126
Location
Palmetto
Rating - 0%
0   0   0
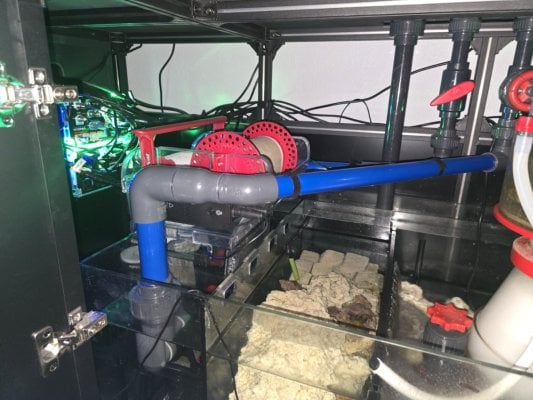
How did you plumb the reefmat? I have the same tank and am thinking about adding one.
It was simple once I sat down and thought on it and seeing the setup @Raptor72 did.

32 mm to 1-inch union
1-inch street elbow
1-inch pipe
1-inch to 1.25-inch reducer (I used 1.25-inch because I thought the tank had 40 mm overflow by mistake)
1.25-inch 90
1.25-inch street elbow
1.25-inch union (non-threaded side) sanded down until it fit the connection on the roller mat
I plumber the main overflow into one side and the secondary into the other side. Emergency still dumps into the back chamber which is also where my UV dumps into.
Used a 1.25 inch 45 degree elbow to help line them up better.
It could probably all be done with 1-inch.
 

Attachments

  • 20240911_200422.jpg
    20240911_200422.jpg
    193.6 KB · Views: 21
  • 20240911_200429.jpg
    20240911_200429.jpg
    119.4 KB · Views: 16

N11morales

Well-Known Member
View Badges
Joined
Mar 28, 2020
Messages
621
Reaction score
179
Location
Angleton
Rating - 100%
1   0   0
Build looks great! Any updates? I'm trying to hold myself off till Blue Friday sale lol. Really want this system myself!
 
Back
Top