- Joined
- Feb 26, 2020
- Messages
- 143
- Reaction score
- 100
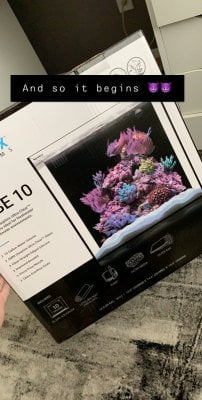
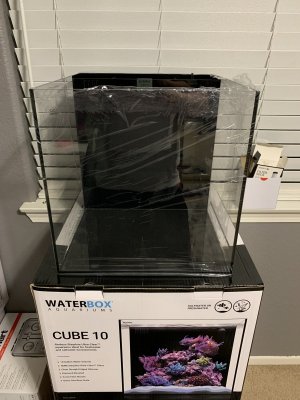
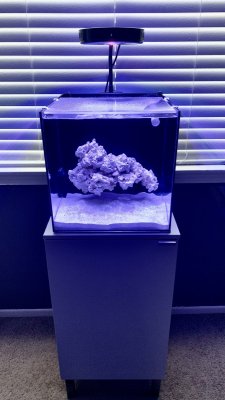
Hello there fellow reefers. My name is Cesar and I’m from CA. Long story short, I had a 60 gallon tank years ago that ended up crashing and taking all the livestock with it, after that happened I kinda left the hobby. But couple months ago I started getting random adverts on my IG and FB about corals and reef setups, so me being me I started to look into it again and saw all kinds of tanks from big to small and that right there was enough to get my attention. So pretty much I ended up with what the title says “WATERBOX 10 gallon tank” in my office/game room.
Currently in the cycling stage, bout 2 weeks in.
Feel free to comment and leave your thoughts and or questions. Glad to be back in the hobby even if it’s with a nano tank (which I don’t mind at all)
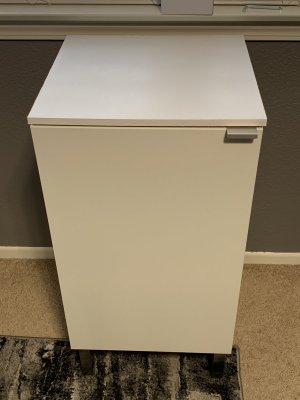
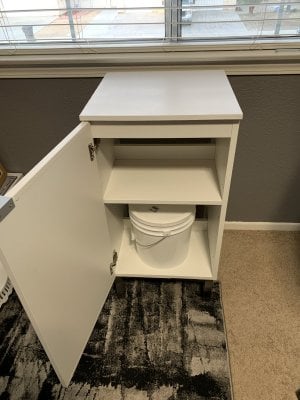
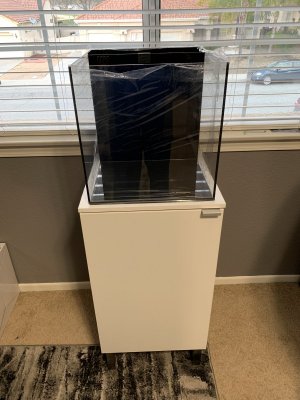
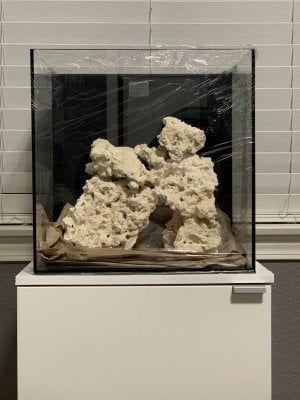
First I was looking into getting some sort of table/stand for the tank but while aquarium stands were 200-300 dollars, night stands/counters weren’t that cheap or greatest either. Wife and I decided to take a trip to IKEA, where I ran across this “stand”. It’s actually meant for a sink to go ontop but I cut out a piece of MDF wood plastidipped it white (since it’s water proof) placed it over the top, placed tank and would you look at that custom made for under $100, and in my eyes looks just as amazing as a aquarium stand and perfect fit for the waterbox 10g.
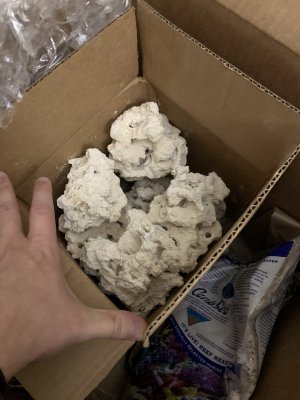
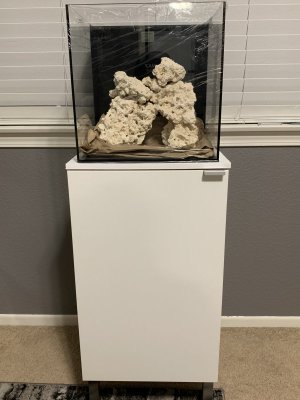
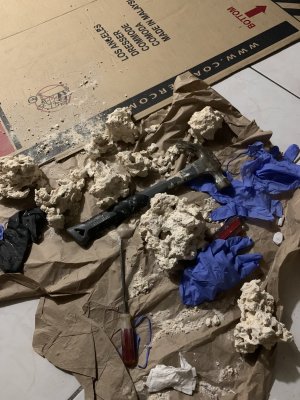
Next the aqua scape, I wasn’t too happy about, I tried adjusting the rock many diff ways with nothing that really tickled my fancy. So I know in a nano tank less is more so I started breaking the rock apart hoping to get better shapes and sizes.
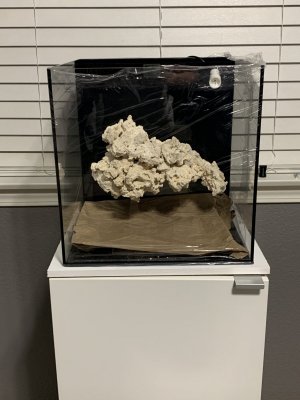
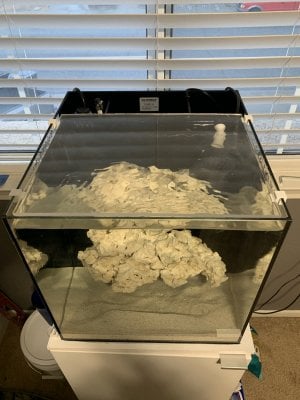
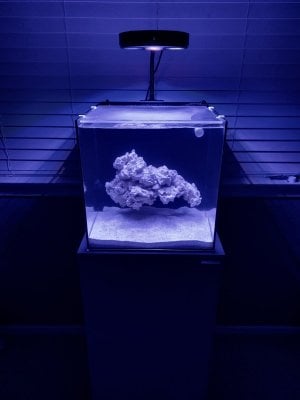
What I ended up with was a floating rock that will eventually turn I to a floating reef. I used crazy glue (gel kind) along with some fish epoxy putty forgot name of it to attach rock to each other. Left it over night to cure.
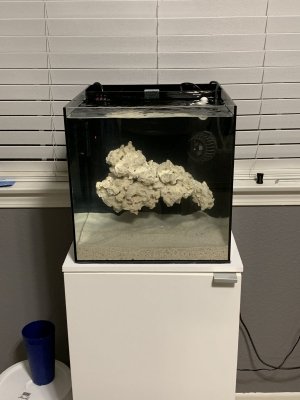
Next I mixed my Water places heater in added my ammonia and bacteria to start the cycle. At the time I had a power head from my previous 60g tank that I put in the nano just to get the water moving (even on the lowest setting it was too much flow)
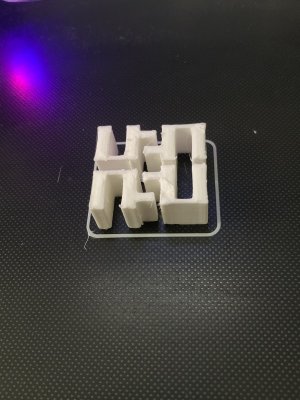
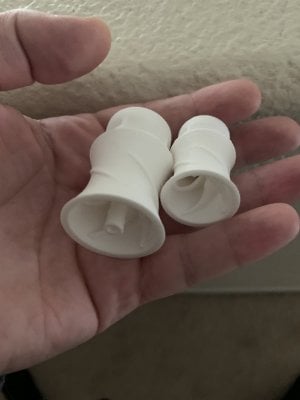
So at this point the tank is being cycled but the water is evaporating kinda quick. Me being me I went ahead and designed something quick and easy, some clips that I could attach to the sides to be able to put some sort of lid. I remembered I had some left over plexiglass which I cut and placed over and to me it looked pretty darn good. Aside from that I wanted to see if I could buy a smaller power head or do something that requires no power head and that’s when I came across these RFG. Printed some out diff shapes and sizes, and to my surprise they seem to work really well to where I ended up taking out the power head.
After waiting a month or so I got my light. I was gonna go with the AI 16HD prime light but got a good deal on this coralbox light which pretty much is the same just less expensive and so far I’m liking it. Easy to use and programable as well.
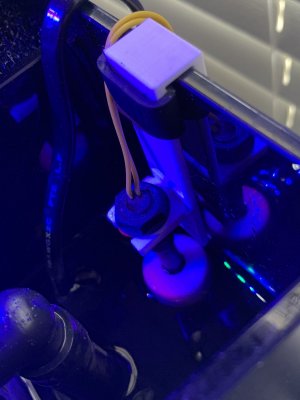
Couple days pass and I’m getting tired of manually topping off the tank so I remembered I had a aqua lifter in my 60g that I was using for dosing, so I fired up the 3D printer designed a quick bracket to hold a float switch, cut spliced solder wire to switch and now have a cheap inexpensive ATO! I placed an order for a 2nd float switch to work as a safe switch that if for some reason my ATO switch stays on the 2nd one will turn off the system once it reaches a certain water level. So there will be more to that in the near future.
Currently I am waiting for the cycle to be over with to add a fish or two as the wife keeps asking when are we gonna get a fish and not just have a tank full of water.
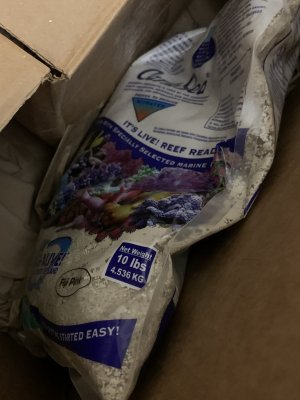
Attached are pics I took from what i could, beginning to current state .


Last edited:


