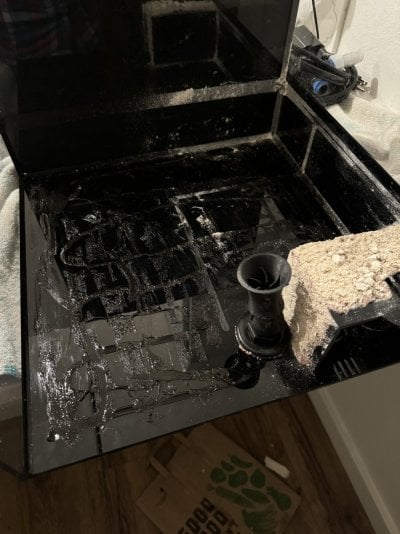
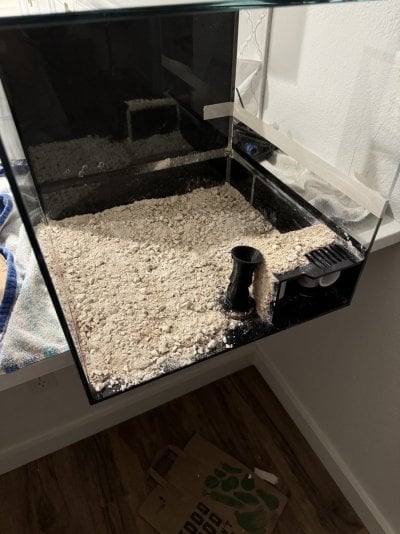
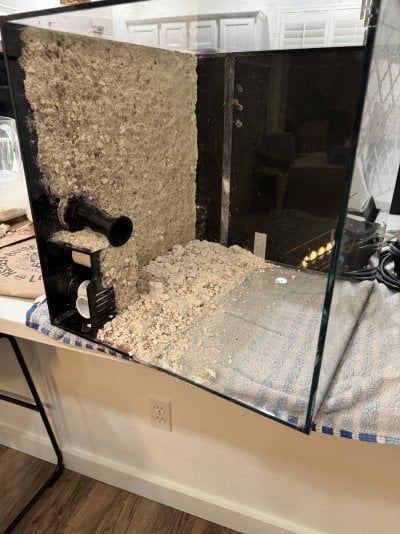
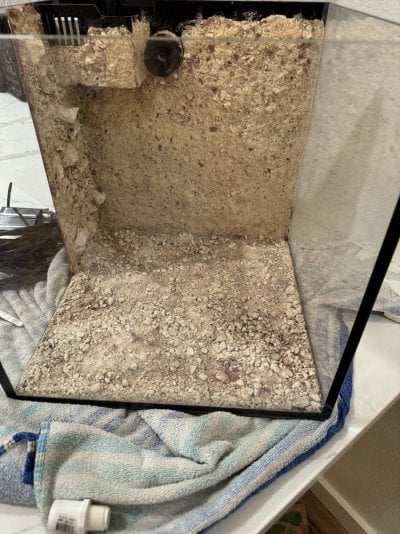
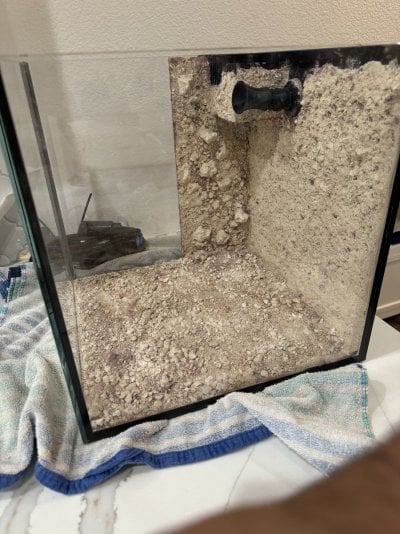
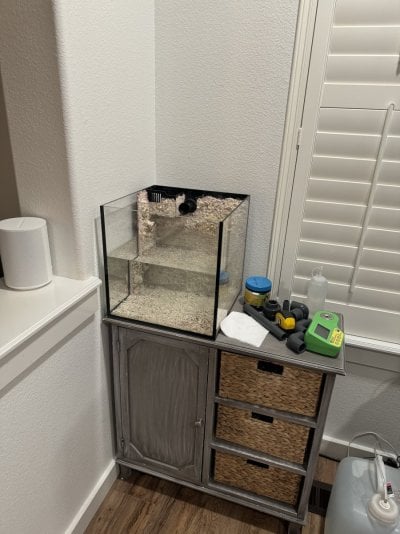
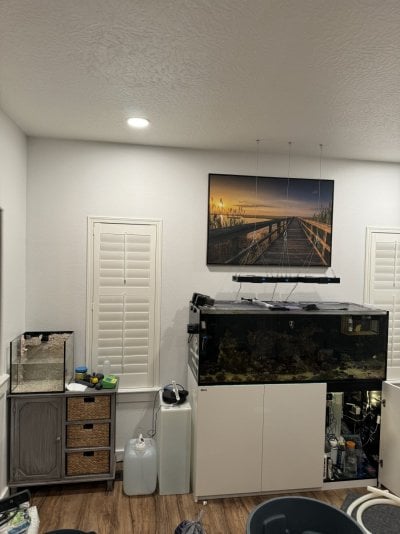
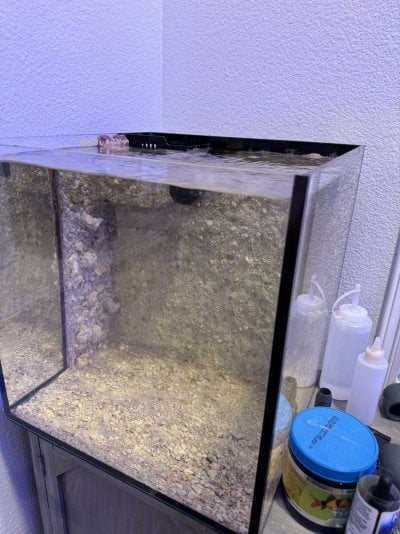
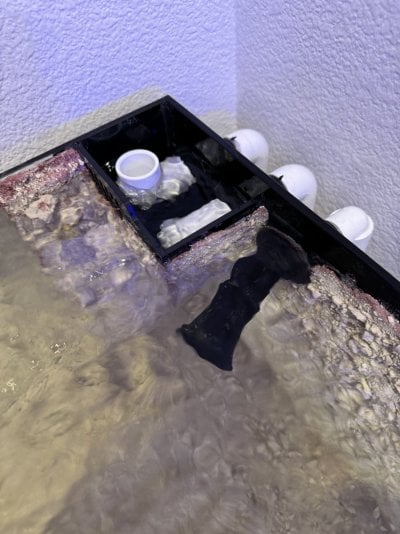
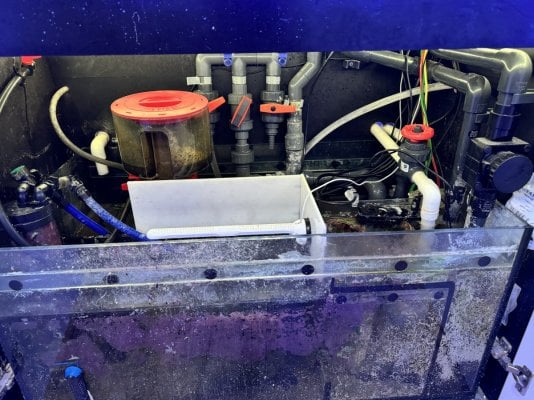
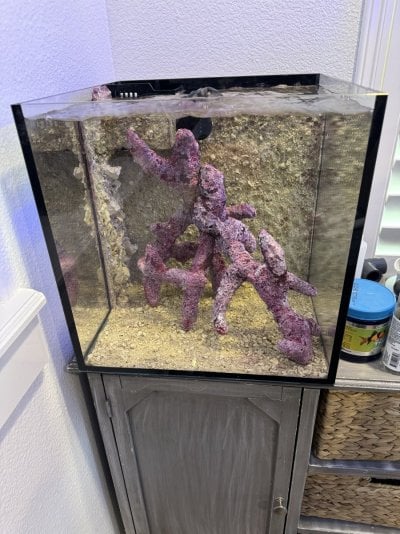
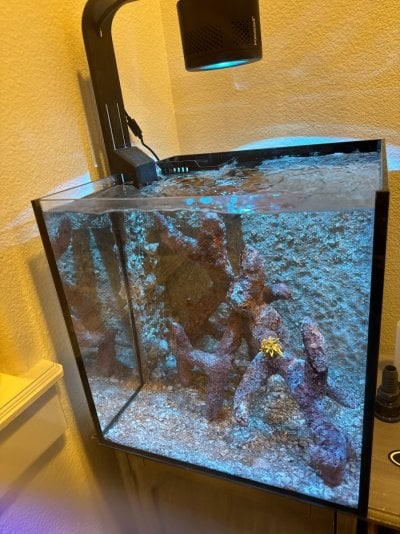
I have a RedSea 525XL mixed reef tank with some strombus maculatus that keep having their eggs snaked on. So I decided to plumb a small tank as a nano conch safe haven.
Originally I was going to take pictures along the way and post once I’m done, then realized I should post as I go in the event another set of eyes sees something I should redo or not do.
I want to have a minimalist LR nano tank but still want the benefit of BB (beneficial bacteria) in the system if I ever need to separate the two systems. With that said, a while back I tried a diy concrete build that ended in a Biocube disaster (link to thread).
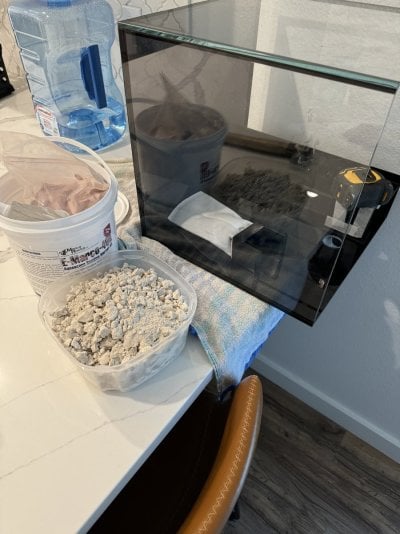
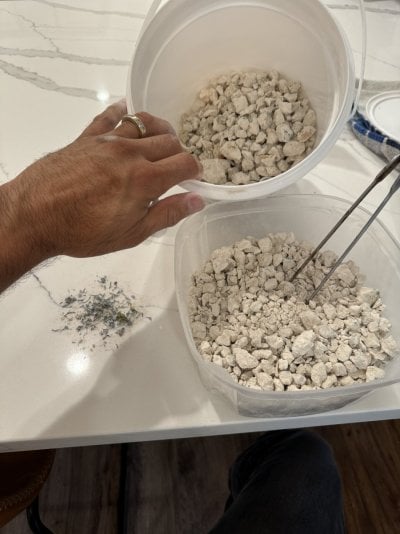
This time around, I will skip the concrete and use E-marco-400 mortar kit with crushed live rock. This should skip the long concrete PH curing process and eliminate the expansion from the concrete… at least this is the idea.
As of rn, I plan to remove the AIO of the Nuvo, drill for herbie style plumbing, remove the black tint on right pane (tank will be along a half wall), diy an overflow and permanently sculpt a thin layer of E-Marco 400 on the back pane and partial left pane to hide the black tint. If I have enough, I’ll also do the bottom, either partial or full.
Thanks for looking.
Feedback on sincere “Do Not Do’s…” are greatly appreciated!!
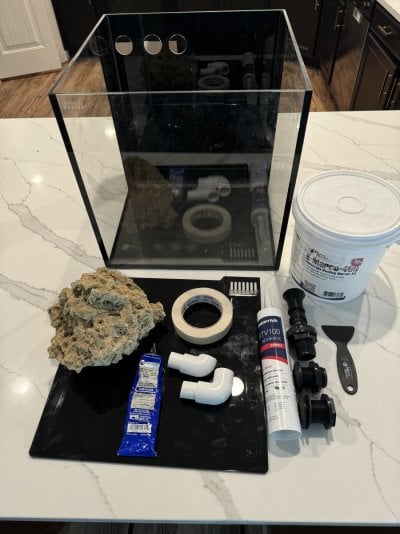
Materials:
IM Nuvo 15gl
.75” bulkheads (one threaded for return water)
E Marco 400 kit
Momentive RTV 100 (black silicone)
Weld-on 16 (it’s 10yrs old and still works!!)
Dry rock
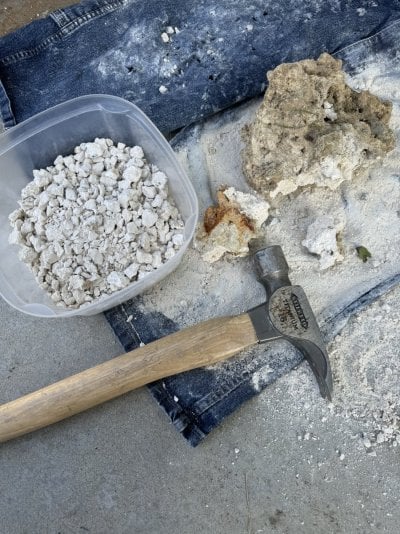
Towel and Hammer to smash the rock and collect the pieces.
Razor blades
Table saw to use the plastic from the Nuvo 15 for overflow
Diamond hole saw bits
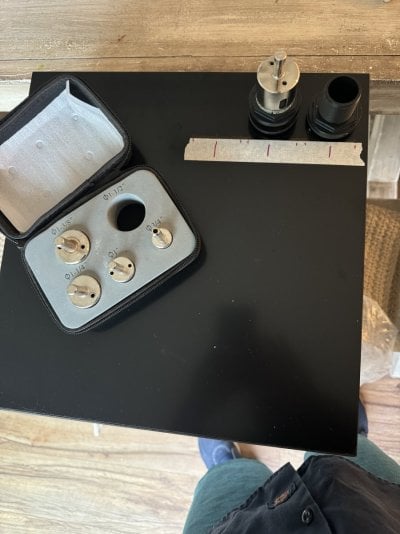
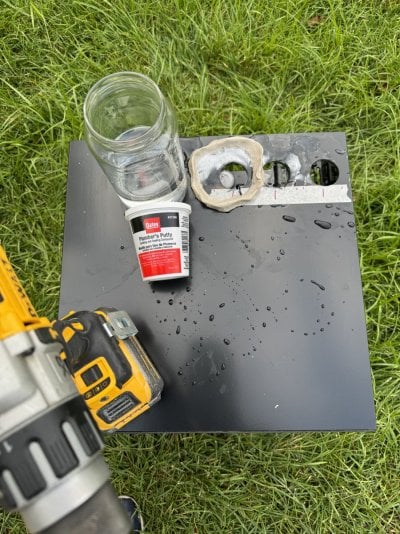
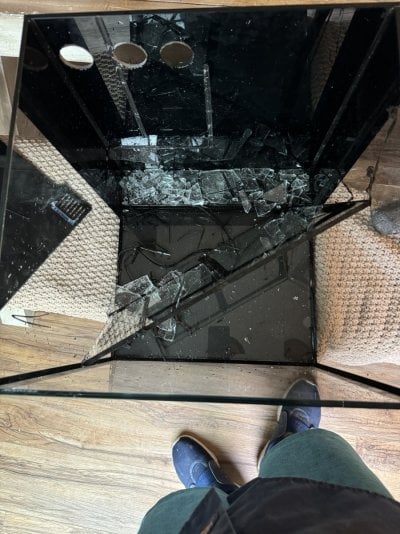
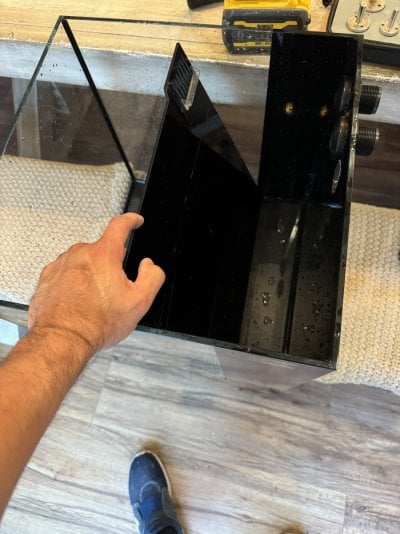
Below, I used a piece of candy to make a straight cut haha
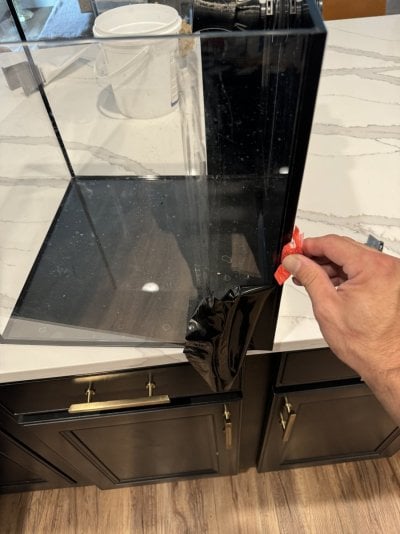
Below is the cutouts and the overflow held by tape prior to Weld-on 16.
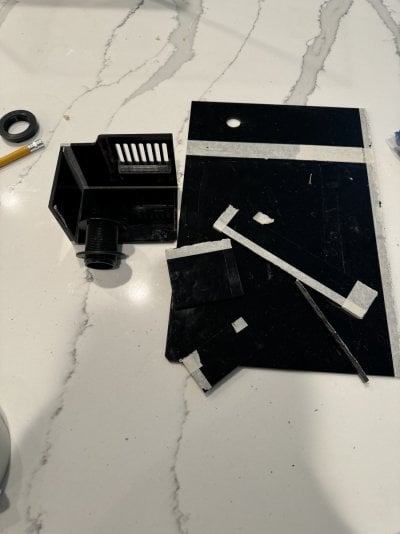
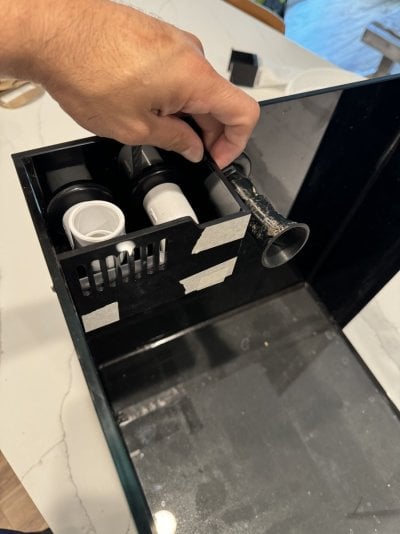
Here is the final after Wel-on. I was intensional about having the factory sides face up and having a minor relief in the corner for the factory edge, there the overflow meets it. Weld-on 16 is super strong! While trying to take a picture, literally 1-2 minutes after applying but before this picture below, I dropped the overflow as I picked it up. As it slowly fell to the ground, I watched it slowly spin mid air and as it hit the ground, I watched it bounce. I was sooo shocked that it did not blowup into 3 giant pieces OR one of the plastic panes move. When I picked it up, it was exactly how I glued it!!!!
I also knew it was a tight fit, so I stacked a few pieces of tape together and put it on the radius of the bulkhead. This way if any silicone touched the bulkhead as it cures, I won’t have an issue removing the bulkhead if I need to in the future.
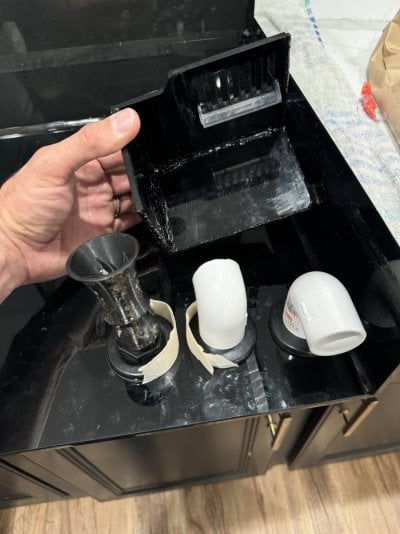
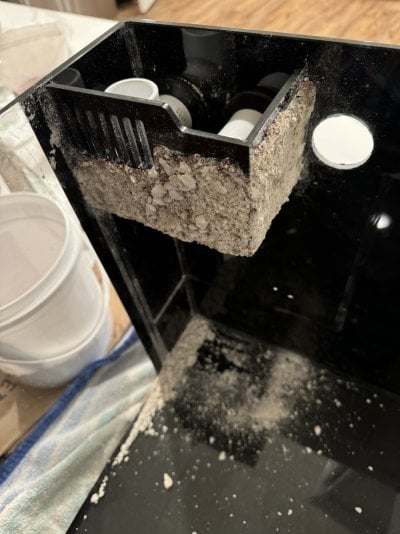
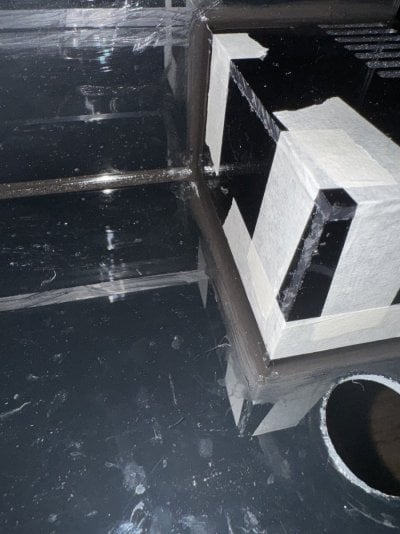
Bottom two pics are with momentive RTV 100 applied to secure the overflow box to the glass pane. I built the overflow with the majority of water pressure hitting the front overflow grill by making the overflow floor and right side behind the overflow face.
I figure the longest part of the overflow would be the weakest and giving it the support from behind would be the best approach. This is me speaking out loud in the event I did it wrong, someone can correct me before I start to put the diy glass pane-scape together.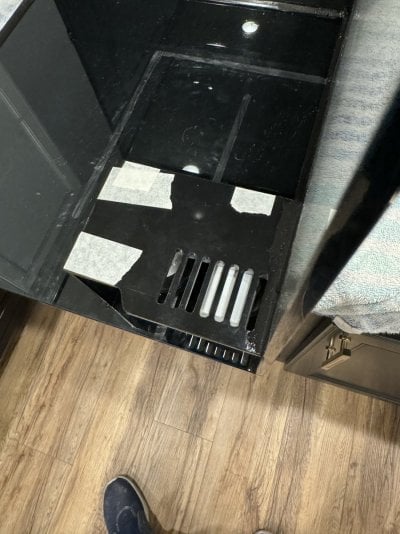
Originally I was going to take pictures along the way and post once I’m done, then realized I should post as I go in the event another set of eyes sees something I should redo or not do.
I want to have a minimalist LR nano tank but still want the benefit of BB (beneficial bacteria) in the system if I ever need to separate the two systems. With that said, a while back I tried a diy concrete build that ended in a Biocube disaster (link to thread).
This time around, I will skip the concrete and use E-marco-400 mortar kit with crushed live rock. This should skip the long concrete PH curing process and eliminate the expansion from the concrete… at least this is the idea.
As of rn, I plan to remove the AIO of the Nuvo, drill for herbie style plumbing, remove the black tint on right pane (tank will be along a half wall), diy an overflow and permanently sculpt a thin layer of E-Marco 400 on the back pane and partial left pane to hide the black tint. If I have enough, I’ll also do the bottom, either partial or full.
Thanks for looking.
Feedback on sincere “Do Not Do’s…” are greatly appreciated!!
Materials:
IM Nuvo 15gl
.75” bulkheads (one threaded for return water)
E Marco 400 kit
Momentive RTV 100 (black silicone)
Weld-on 16 (it’s 10yrs old and still works!!)
Dry rock
Towel and Hammer to smash the rock and collect the pieces.
Razor blades
Table saw to use the plastic from the Nuvo 15 for overflow
Diamond hole saw bits


Below, I used a piece of candy to make a straight cut haha

Below is the cutouts and the overflow held by tape prior to Weld-on 16.


Here is the final after Wel-on. I was intensional about having the factory sides face up and having a minor relief in the corner for the factory edge, there the overflow meets it. Weld-on 16 is super strong! While trying to take a picture, literally 1-2 minutes after applying but before this picture below, I dropped the overflow as I picked it up. As it slowly fell to the ground, I watched it slowly spin mid air and as it hit the ground, I watched it bounce. I was sooo shocked that it did not blowup into 3 giant pieces OR one of the plastic panes move. When I picked it up, it was exactly how I glued it!!!!
I also knew it was a tight fit, so I stacked a few pieces of tape together and put it on the radius of the bulkhead. This way if any silicone touched the bulkhead as it cures, I won’t have an issue removing the bulkhead if I need to in the future.

Bottom two pics are with momentive RTV 100 applied to secure the overflow box to the glass pane. I built the overflow with the majority of water pressure hitting the front overflow grill by making the overflow floor and right side behind the overflow face.
I figure the longest part of the overflow would be the weakest and giving it the support from behind would be the best approach. This is me speaking out loud in the event I did it wrong, someone can correct me before I start to put the diy glass pane-scape together.


Last edited:


