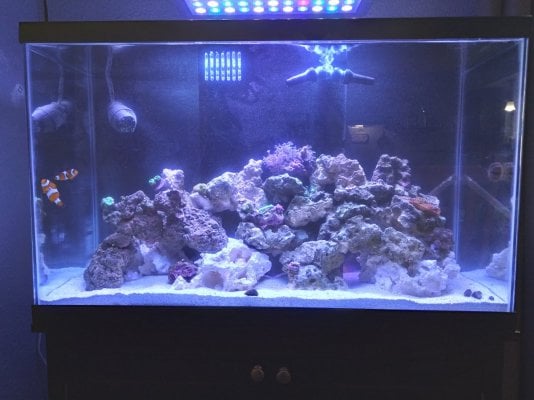
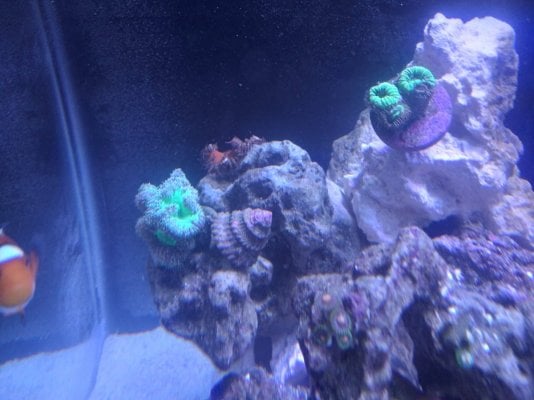
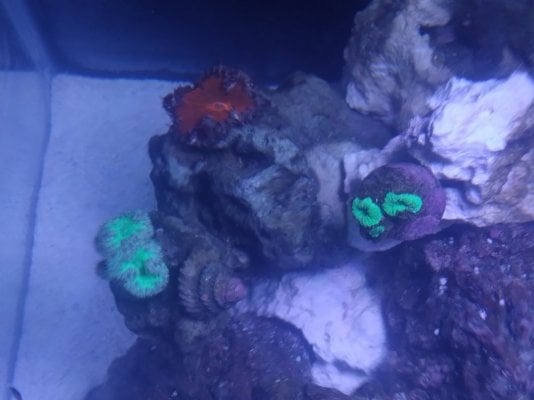
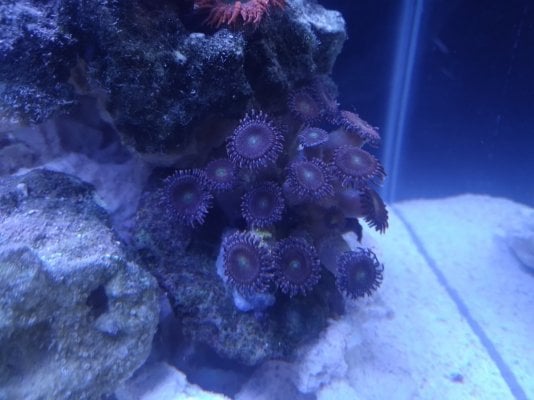
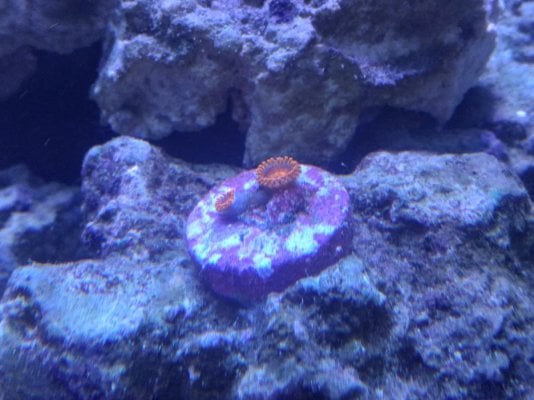
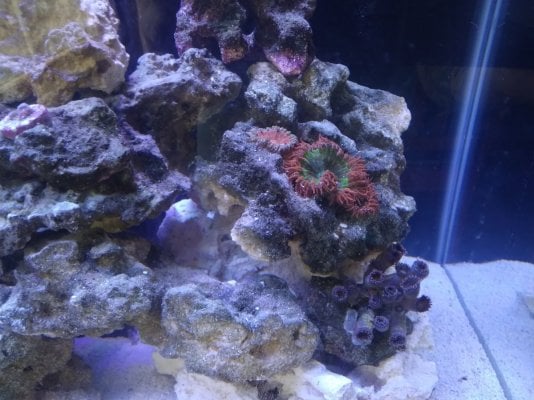
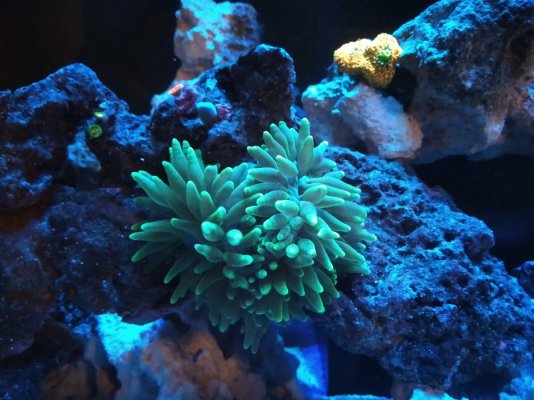
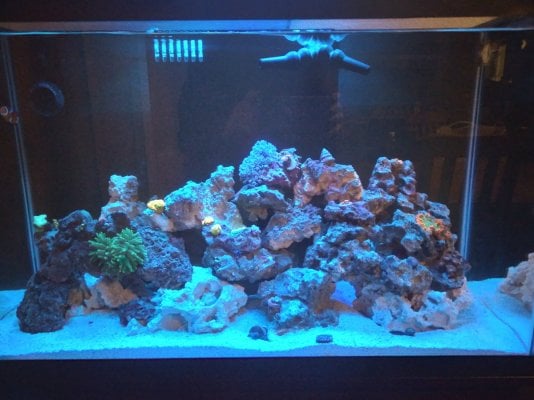
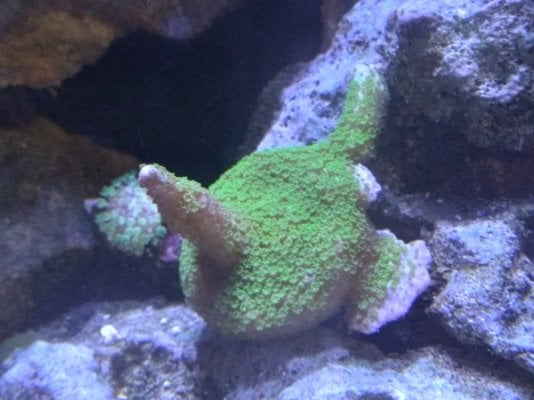
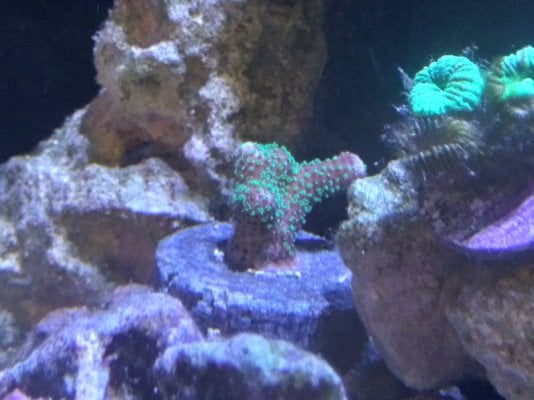
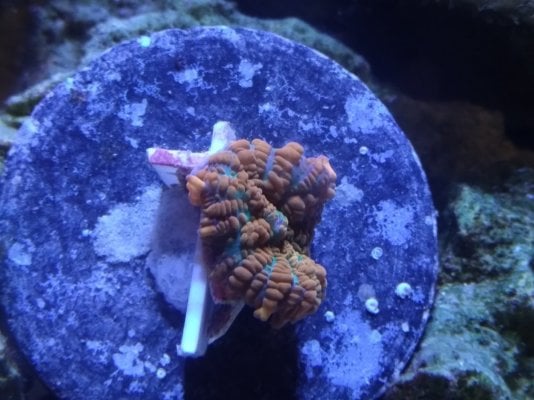
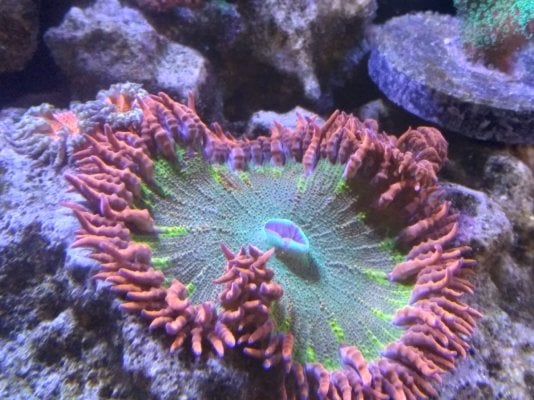
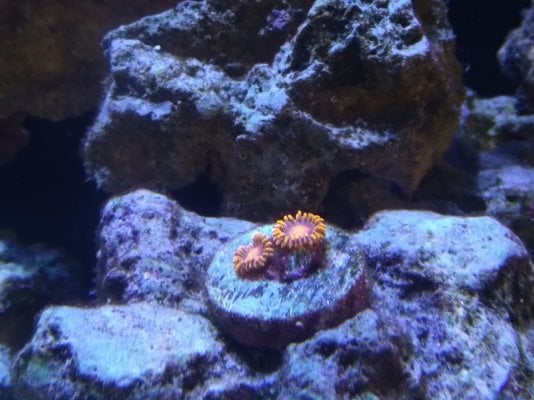
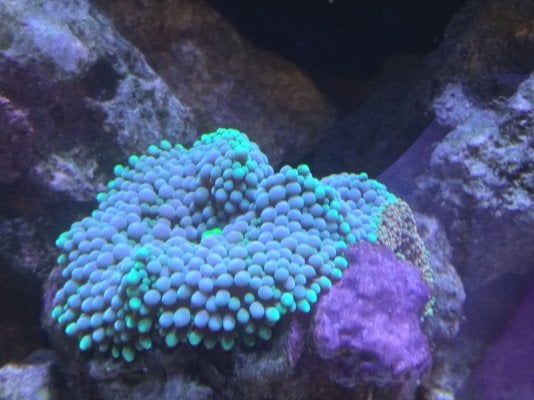
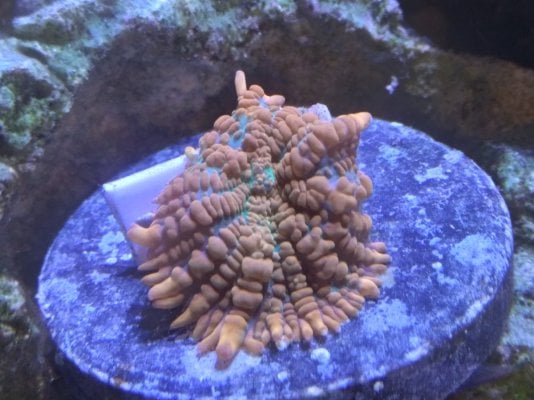
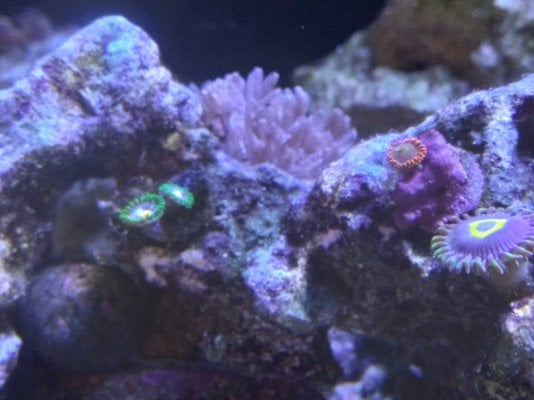
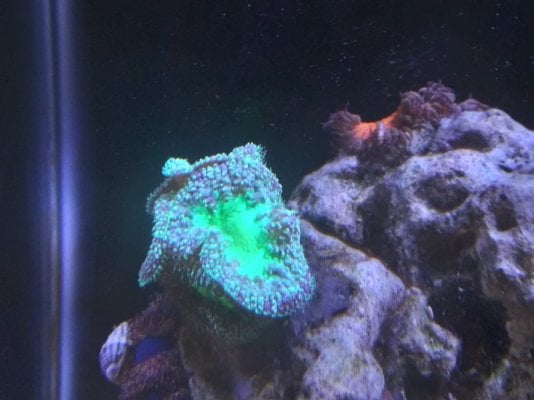
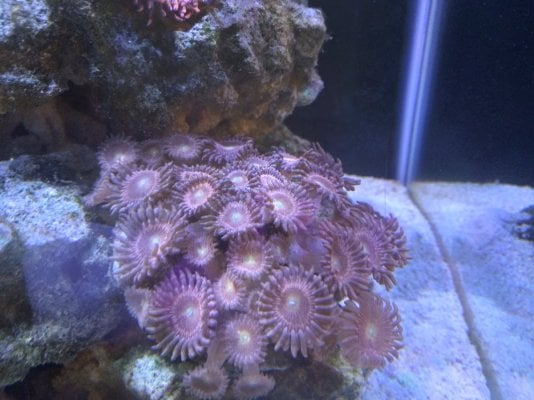
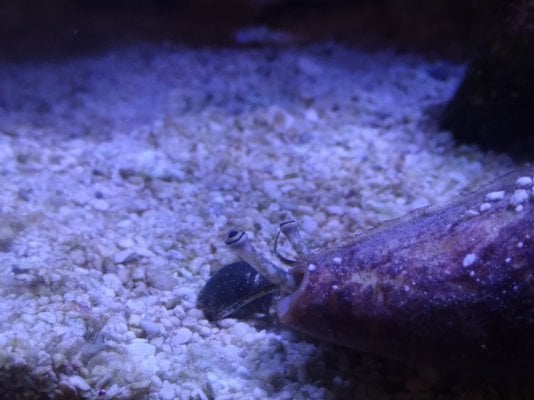
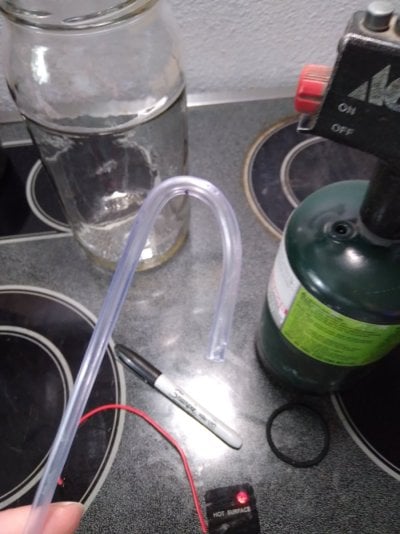
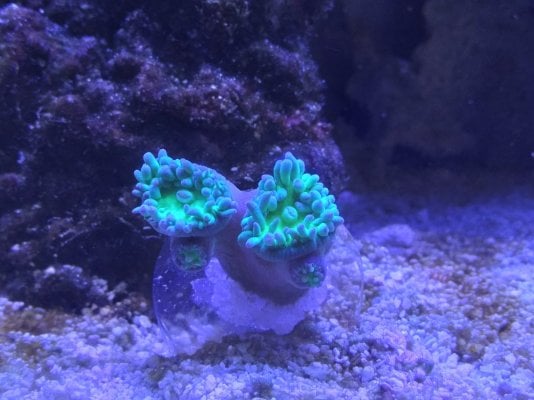
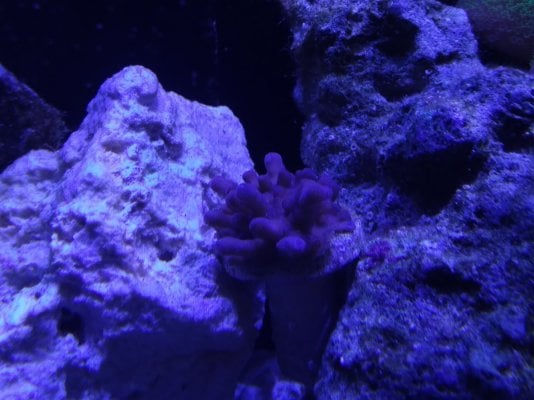
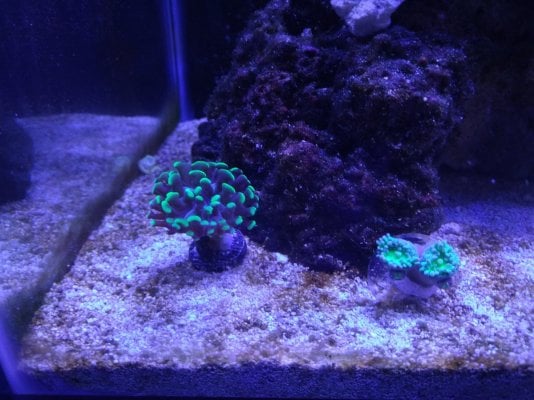
My reef has grown again! Since it was a tank transfer with rocks and livestock I decided to just keep this thread going rather than start a new one. I do enjoy reading through this one and seeing how things have changed. It's now a 75g with an AIO. Updated pictures to come and also located on https://www.reef2reef.com/threads/maggies-mixed-reef-build-v3-now-a-75.907616/post-11290694

Ironically almost exactly a year to date Since I started the 29......
Original Post:
My first saltwater journey started almost exactly a year ago... I've learned so much in that time. A lot of trial and error, and finding out what works for me and what doesn't. My first salty tank was a 20g long, and I went through the hob filter, then on to a canister. Pros and cons for both, but what I really liked was the convenience of an all in one.
So that brings me to today. Right now it's filled with water and running and I plan on adding all my rock, corals and livestock.
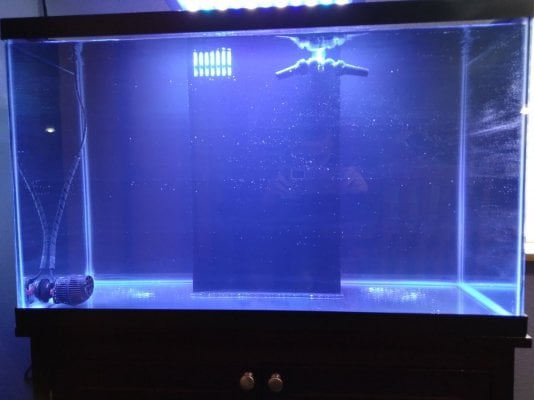
So I started with a aqueon 29g tank. I ordered the 29g aio insert from fiji cube, and a tube of black silicone. My glue in job passed toddler inspection, lol.


Next step was the background. The last tank was painted, but it scratches of easily and I didn't like that. But on my 75g freshwater tank I had my hubs window tint the back and it's awesome, so I had him help me on this tank as well. I absolutely recommend tint if you're doing a new tank. One layer of 5% tint and from the front is totally black. Super durable, doesn't scratch easily when adding pumps with magnets and waterproof. It's a skill application though, if you've never worked with auto window tint it's a bit difficult but youtube can help, or take your tank to a window tint shop and they can do it for you.


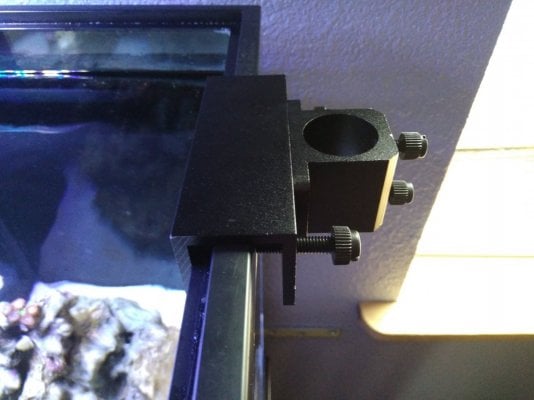
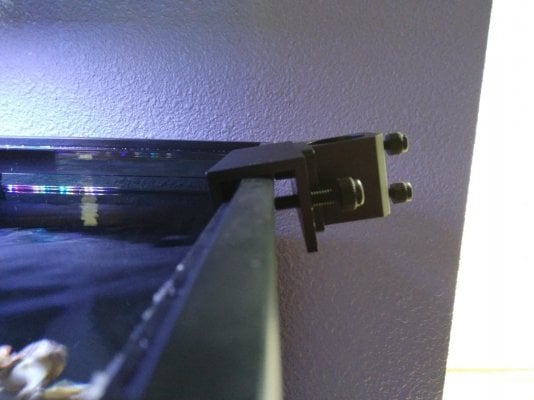
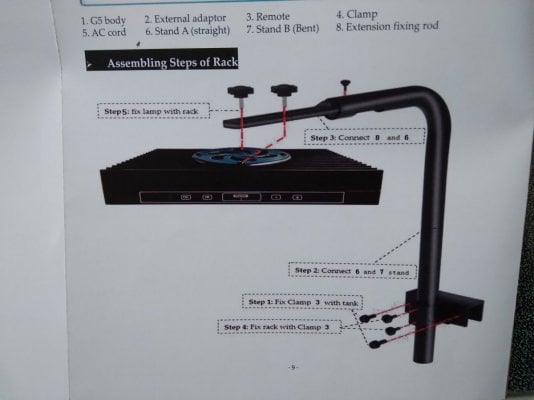
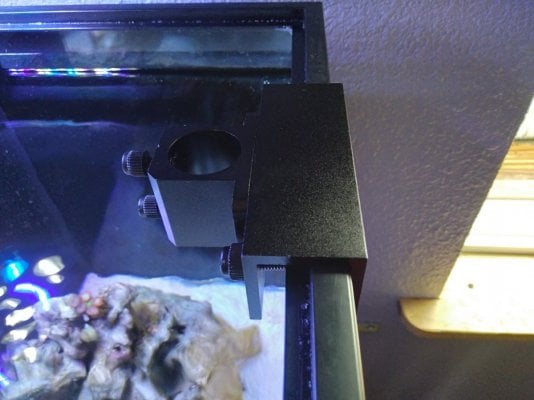
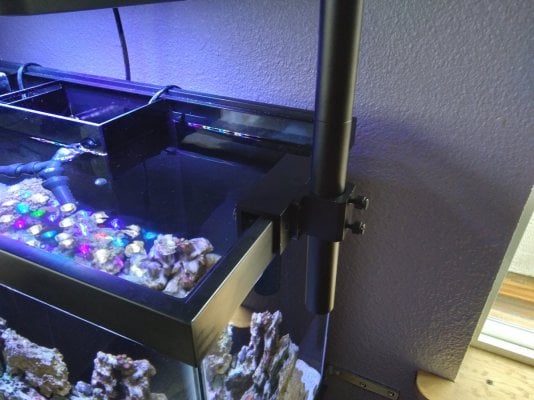
So here's where it gets rough. My light I had hanging from shelf brackets and with this taller tank I had to raise the brackets. I'm also working with limited wall space because I have a TV right above the tank. So as I was mounting the second bracket my level fell off and broke a section of my AIO insert. Heartbreak. Profanity was used. Fortunately it only broke one of the baffles and I was able to silicone it back into place and everything still works as it should that was lucky.


After the silicone was dry I trimmed the excess and it's hardly noticeable. Thankfully. I was pretty mad at myself for that. Totally my fault.
When I emptied the previous 20g, I set up a 10g on my kitchen counter so I had plenty of working time incase problems arose. Everybody seems happy enough although I'm on day 3 of no real light besides ambient and some morning sun. So today I'm getting everything out of that and into the new tank.

So I got the the new tank filled with salt water, heater on and ready for rock and sand. I didn't do sand first because I could only mix 4 gallons at a time so I was dumping in water before it was totally clear, so I have a powerhead in there running all night to ensure the salt was mixed well for today's adventures. I plan on adding sand slowly with a cup. I've done this method before with a freshwater tank, it takes longer but it's possible.

So on the agenda today is add rock and sand, corals and livestock and sit back and enjoy. Stay tuned....
Ironically almost exactly a year to date Since I started the 29......
Original Post:
My first saltwater journey started almost exactly a year ago... I've learned so much in that time. A lot of trial and error, and finding out what works for me and what doesn't. My first salty tank was a 20g long, and I went through the hob filter, then on to a canister. Pros and cons for both, but what I really liked was the convenience of an all in one.
So that brings me to today. Right now it's filled with water and running and I plan on adding all my rock, corals and livestock.
So I started with a aqueon 29g tank. I ordered the 29g aio insert from fiji cube, and a tube of black silicone. My glue in job passed toddler inspection, lol.
Next step was the background. The last tank was painted, but it scratches of easily and I didn't like that. But on my 75g freshwater tank I had my hubs window tint the back and it's awesome, so I had him help me on this tank as well. I absolutely recommend tint if you're doing a new tank. One layer of 5% tint and from the front is totally black. Super durable, doesn't scratch easily when adding pumps with magnets and waterproof. It's a skill application though, if you've never worked with auto window tint it's a bit difficult but youtube can help, or take your tank to a window tint shop and they can do it for you.
So here's where it gets rough. My light I had hanging from shelf brackets and with this taller tank I had to raise the brackets. I'm also working with limited wall space because I have a TV right above the tank. So as I was mounting the second bracket my level fell off and broke a section of my AIO insert. Heartbreak. Profanity was used. Fortunately it only broke one of the baffles and I was able to silicone it back into place and everything still works as it should that was lucky.
After the silicone was dry I trimmed the excess and it's hardly noticeable. Thankfully. I was pretty mad at myself for that. Totally my fault.
When I emptied the previous 20g, I set up a 10g on my kitchen counter so I had plenty of working time incase problems arose. Everybody seems happy enough although I'm on day 3 of no real light besides ambient and some morning sun. So today I'm getting everything out of that and into the new tank.
So I got the the new tank filled with salt water, heater on and ready for rock and sand. I didn't do sand first because I could only mix 4 gallons at a time so I was dumping in water before it was totally clear, so I have a powerhead in there running all night to ensure the salt was mixed well for today's adventures. I plan on adding sand slowly with a cup. I've done this method before with a freshwater tank, it takes longer but it's possible.
So on the agenda today is add rock and sand, corals and livestock and sit back and enjoy.

Last edited:


