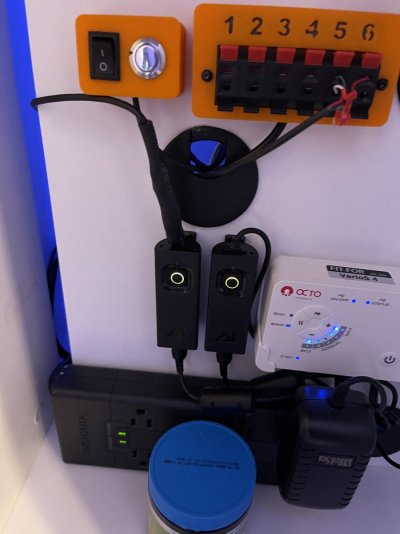
I was cutting a new whole in my control board and didn’t even think to move my Nero 5 cord. I had a t shirt over it for dust and once I removed the shirt I realized the hole saw cut the wire see pictures below. Is there anything I can do To fix the wire or is there anyone that knows how to. I really didn’t want to have to spend money on a new one since I just spent way to much on the apex. Do you think AI will be able to help? The controller lights up but flashes red I did not want to take any chances so I unplugged it