- Joined
- Mar 1, 2020
- Messages
- 11
- Reaction score
- 16
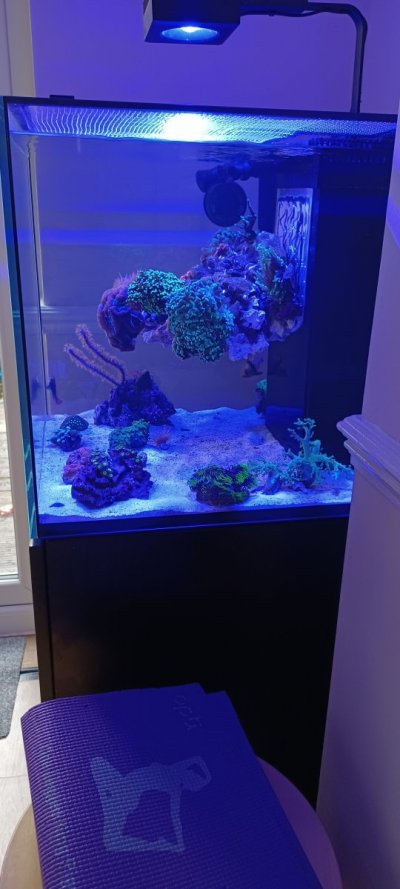
Hey everyone, just wanted to post a new build remodel I just did. Its a fully cantilever floating aquascape that makes a shelf off the back wall. Disclosure I took a lot of inspiration from coral_fish_zoa(his build: https://www.zeewaternieuws.be/2020/06/how-to-make-a-floating-reef-a-tutorial/ ) on instagram(included a pick of his with all the scolys), just refined some things i wanted to improve on for functionality and ease of construction. Made the rock removable so I in theory could tank transfer it, build it out of the tank and take it in and out if need be. Also peg board frag method i half created(maybe??I couldnt find much on it) to my own ideal method- Rocks with thin acrylic rod as frag rubble, then a ton of 1/8" holes that just look like poors and cavities you can just slide the frags into and be done with it. Or move around as the coral requires for looks, flow, light, selling, iodine dips, etc... any reason you dont want them glued. Just a few basic pics, if yal want, lmk and ill do a more indepth how to post/youtube video.