- Joined
- Aug 31, 2019
- Messages
- 21
- Reaction score
- 27
Hey ya'll! Wanted to do my first tank build post just to share the fun! I've been in the hobby for a while in an out due to my job and now that I'm settled here for a while I'm starting one up again! This one will hopefully be for quite a while. My goal here is a mixed reef. In the past I've had to cut corners because of budget and other factors. This time my goal is to invest in all the right equipment and take my time. Additionally, a requirement of this tank was automation. Work has me travel a lot and I didn't want to ask my wife to try to care for the tank while I'm out of town unless really necessary.
My setup is as follows:
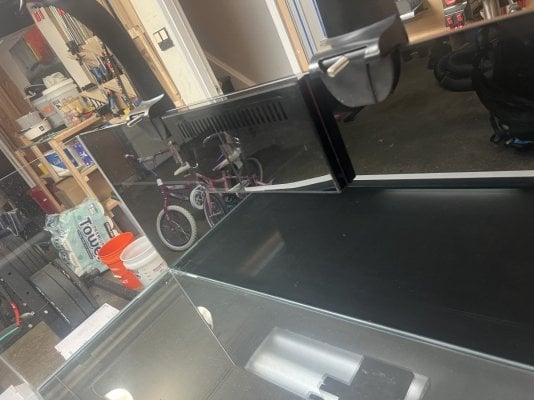
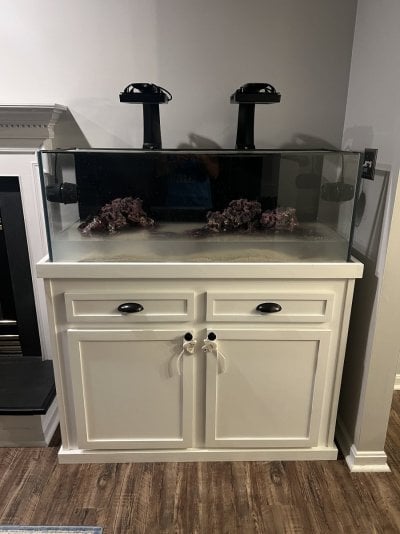
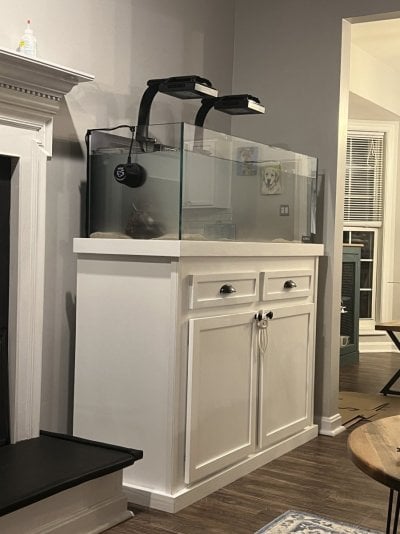
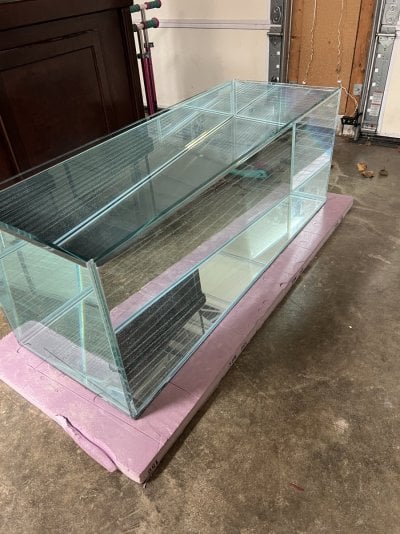
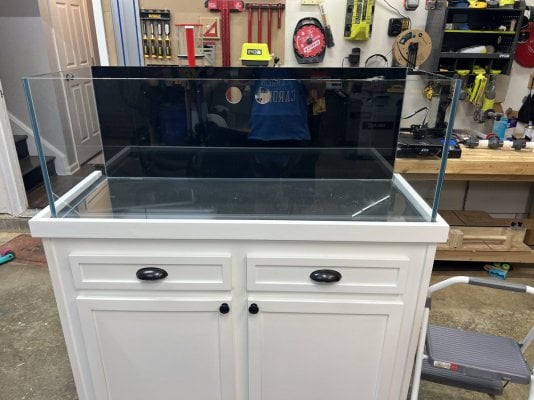
Tank: Seapora 64 gallon rimless crystal series
- Dimensions: 48x18x18
- Originally got a Aqueon 75 gallon from Petco on their 50% off sale. It didn't seem right to me to go higher end on all the parts and not get a nice tank as well. I returned it and got this one from NOVA Tropicals.
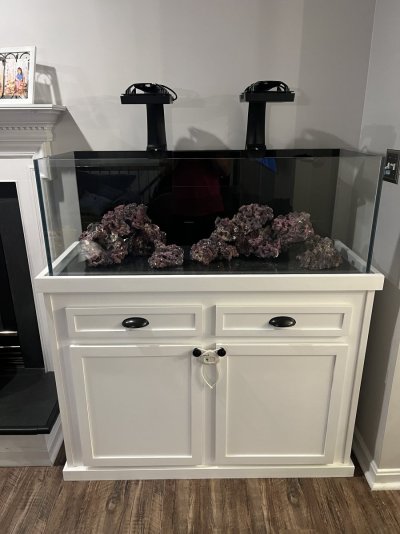
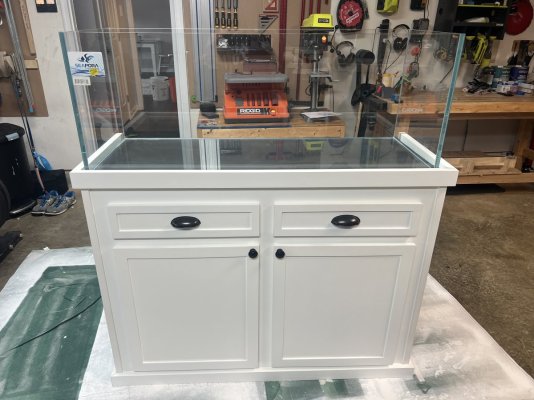
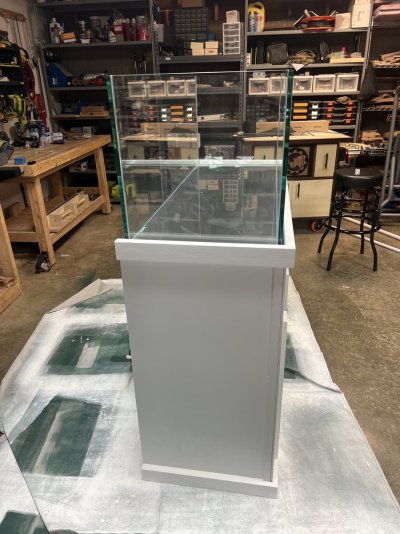
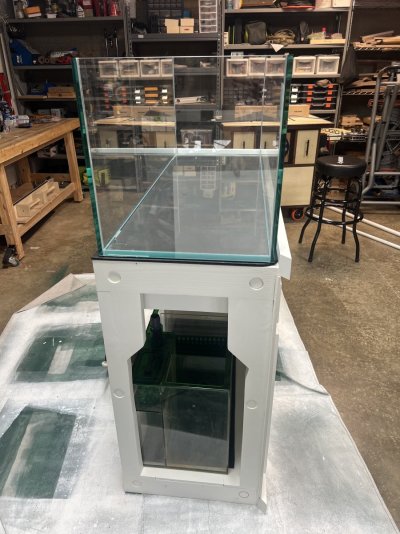
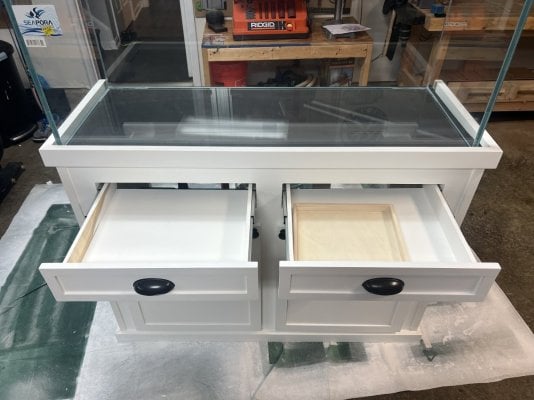
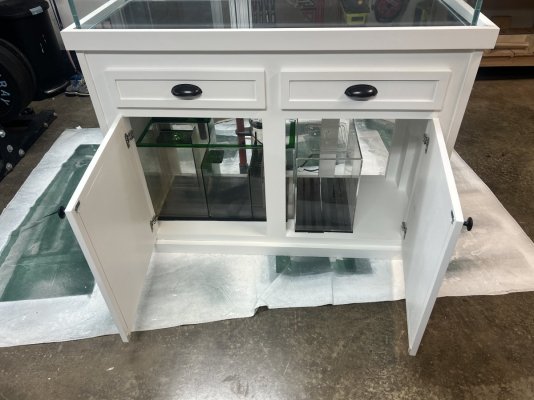
Stand: DIY
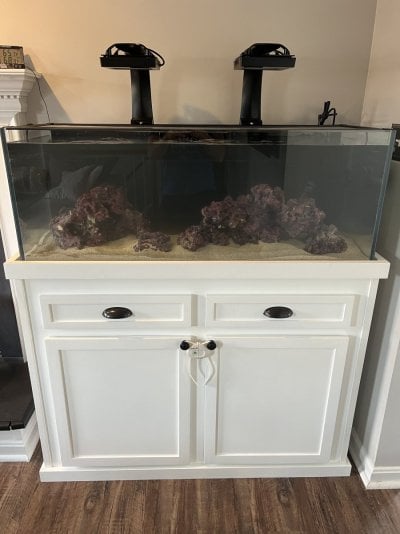
- My other main hobby and passion is woodworking. I've been doing it for a few years now. What actually first got me into woodworking was building a tank stand years ago. I decided to do it again. It was originally constructed for the Aqueon 75g I returned but the footprint of my new tank is similar.
- I modeled mine off of the videos of the Aquarium Stand Build from the YouTube channel "EKGWoodworks." His was great, but I wanted to make a few changes.
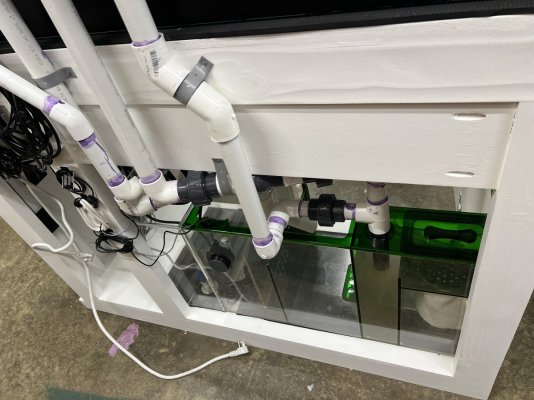
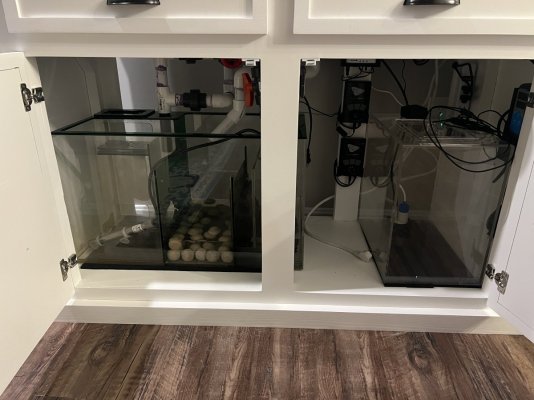
- Since I would not be able to maneuver the sump out from underneath to deep clean if I wanted or replace it, I made a removable side panel held on by strong rare earth magnets. Turned out super cool.
- If you ever think making something higher end DIY is gonna be cheaper than buying, you're wrong lol. But I love modeling things up and building stuff, so it was worth it to me.
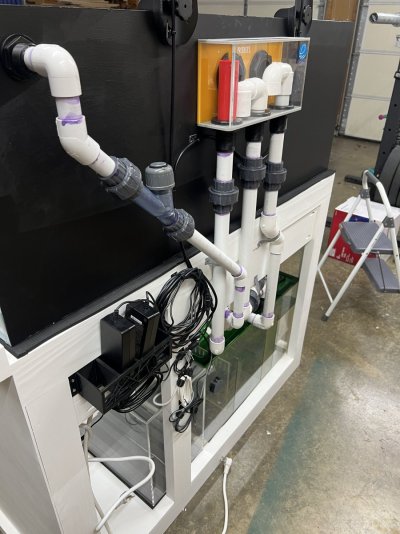
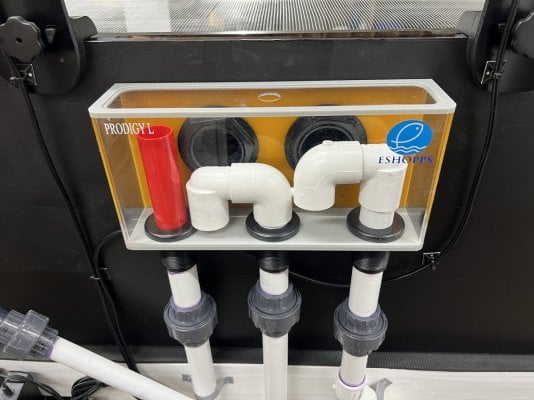
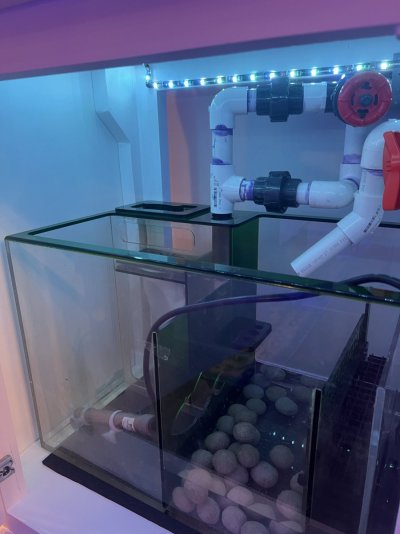
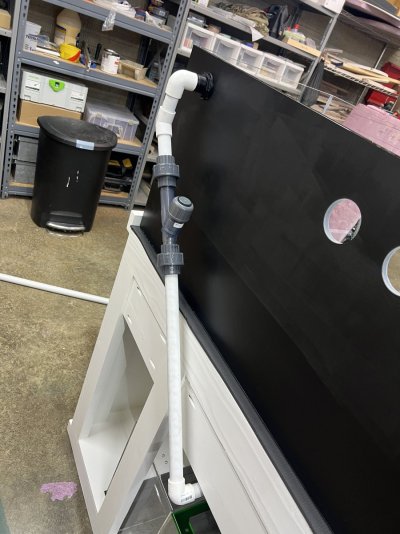
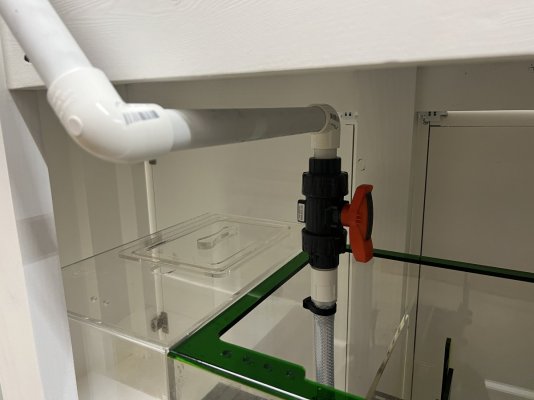
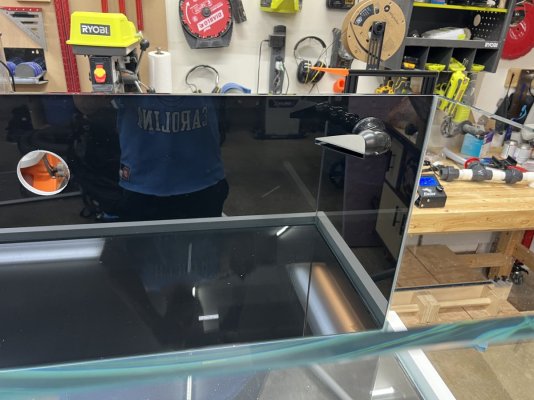
Overflow: Eshopps Prodigy - Large, external overflow
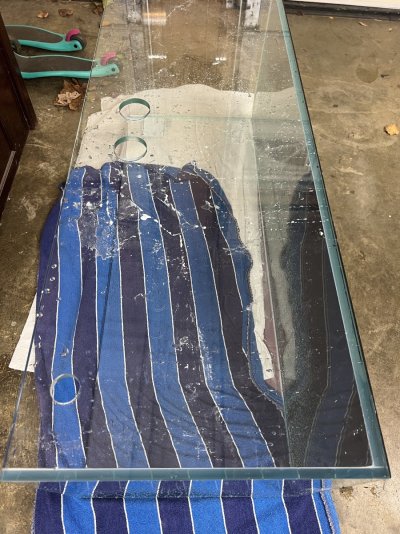
- This thing is super slick. Very low profile and great quality. Came with a great template that made it super easy to drill on a rimless. I had never drilled a tank before and after spending good money on this one I was very nervous lol. With a drill guide and the template/diamond coated bit that came with the overflow it made it easy. Just took my time and had my wife keep water on it. Would drill for 3-5 seconds and then bring up the bit and let water lubricate and cool the area. Took a while on the thick glass, but came out clean.
- Just want to give a shout out to Bulk Reef Supply (BRS). This item came cracked in shipping and they didn't bat an eye. I took a picture and sent it to them while on the phone. Before they even got the picture of the damage, they had another one shipped out and expedited. I've been using them for over a decade and this is why (along with their amazing videos).
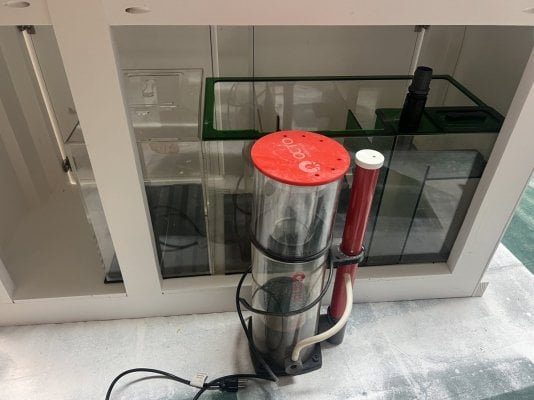
Sump: Trigger Systems Emerald 26
- I've been wanting a Trigger Systems sump for years. Had a couple of their ATO reservoirs and the quality is excellent. This is the first one I've had. I'm pumped. I wish I could have gotten one with two return ports, but I couldn't pass up this deal.
- The deal was I got a 65 gallon reef ready tank, stand, this sump, the skimmer below, and a bunch of other gear. I got it all for $250 and then I sold the tank, stand, and all the extra gear for $200. The tank and stand was worth at least that much, but what a deal! I got this sump and skimmer in great shape for $50! Crazy!
Return Pump: Sicce Syncra Silent 4.0
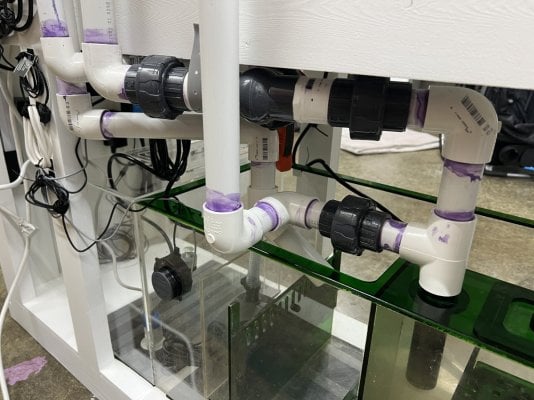
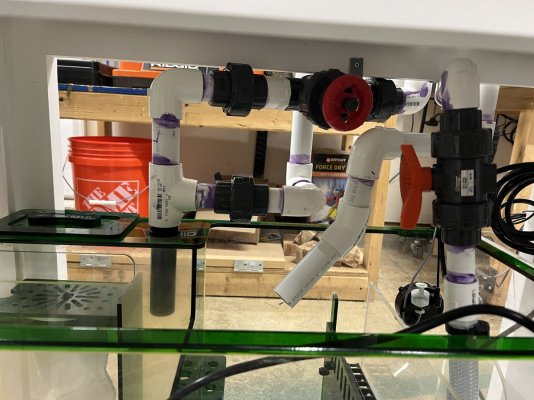
- I debated getting the Sicce DC pump this time around, but I've been using the Sicce Syncra Silent line for so long and it was on sale. I jumped on it and I'm gonna plump in a way that makes it very easy to switch out for a DC pump down the road if I want to.
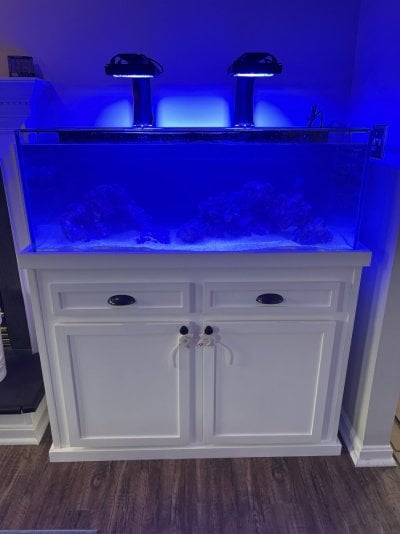
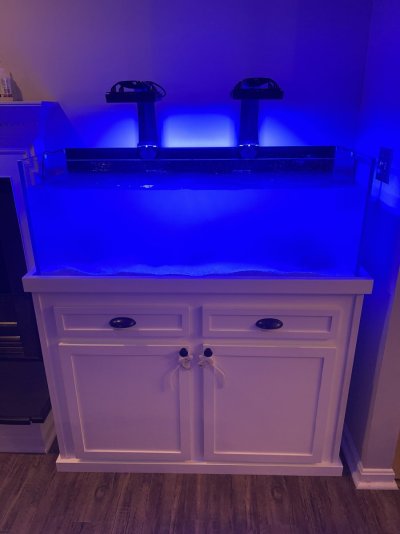
Lights: Ecotech Marine Gen 6 Radeon XR15 Pro (x2)
- I've been wanting Radeons for years. I've used T5s, AI Sols, AI Hydras, AI Primes, Kessil A360s, but never Radeons. I loved my Kessil lights, but I've always wanted these. Got a heck of a deal on them.
- Got these lights with the Ecotech Marine RMS mounts for $400 each off eBay. They are basically brand new. Came looking new in box. The lights retail for $530 a piece and the RMS mounts are $130 a piece. Getting these, not including tax, I saved a total of $520!
Wavemakers: Ecotech Marine Vortech MP40w (x2)
- I got one new from BRS on sale for $350 (great deal)! But the better deal was the one that I got from Facebook Marketplace for $100 plus shipping! Pumped about these. I've never had more than an couple MP10s before and I am excited about the flow possibilities for SPS down the road.
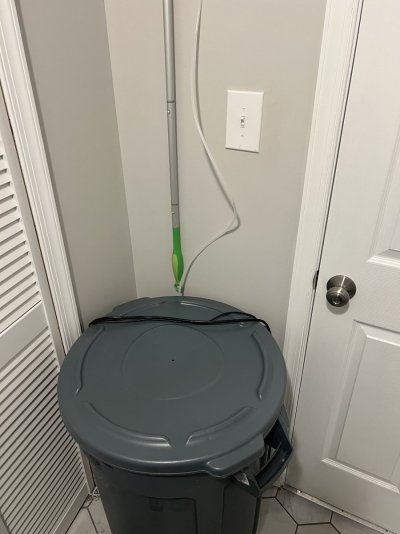
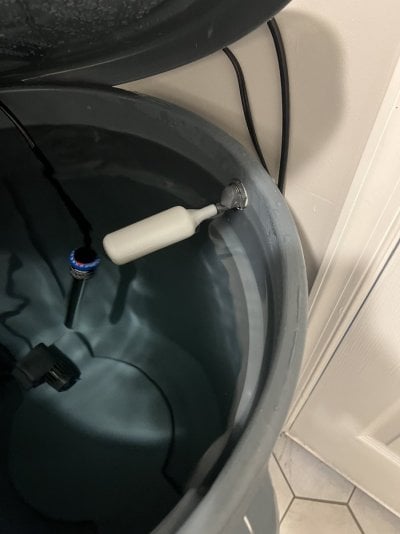
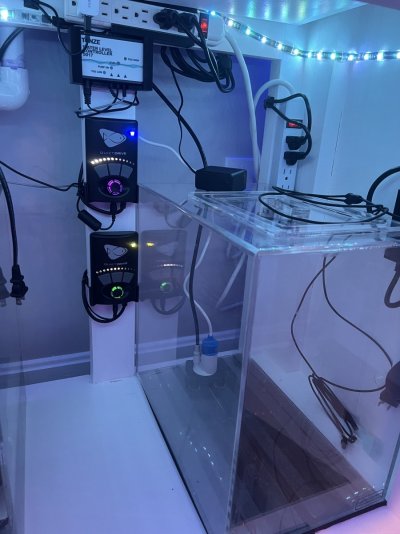
ATO: Tunze Osmolator 3155
- My favorite ATO on the market. Just missed out on the new pump and sensor version that just came out, but I don't really care. This thing is bullet proof and has been tested over time.
ATO Reservoir: Trigger Systems Crystal 10 Gallon
- Simple, high quality reservoir.
Controller: Neptune Systems Apex A3
- I thought I was getting this off of Facebook marketplace. The guy advertised it as the A3. Sent me the older version. He had character so he refunded me $50. I got the Apex A2, the Dos (doser), and the magnetic probe holder for $500. I turned around and sold the Apex A2 for $400, so got the Dos and the probe holder for $50!
- I'm gonna order the Apex A3 next time its on sale (hopefully on Black Friday/Cyber Monday).
Doser: Neptune Systems Dos
- Won't need to use it for a while but the deal was too good to pass up. Deal explained above.
Skimmer: Reef Octopus Classic 150SSS 6"
- This deal (explained above) was way too good to pass up. Probably would have chosen a different skimmer myself, but it works perfect with the space I have in the sump. And I respect Reef Octopus quality.
Heaters: Bulk Reef Supply Titanium Heating Element - 300 Watt (x2)
- Paired with the Inkbird Heater Controller by suggestion from BRS.
Heater Controller: Inkbird WiFi Heater Controller
- One heater will be controlled by the Inkbird. The other controlled by the Apex for redundancy, because heaters are often the first thing to fail.
Refugium Light: Innovative Marine ChaetoMax
- This is a leftover light from my last tank build. I'll use it for a bit, but I'm gonna get the Kessil H80 or the Neptune Systems Gro when I decide I need it. Prolly won't need a refugium for a bit though anyways.
Auto Feeder: Neptune Systems AFS
- Part of the tank automation requirement. Never used an automatic feeder before. Almost went with the Avast Marine one, but since I'm using an Apex this made sense.
Need To Get:
- Ecotech Marine Battery Backups (x2)
- Neptune Systems Apex A3
- Upgraded Refugium Light
Something cool that I'm doing is I am 3D printing holders for all the equipment. It is so much cheaper (especially with the price of 3D printers now) to print your own stuff. And with resources like Thingiverse, a lot of the brackets/mounts/etc are already modeled up. I am having to create some myself, but I like modeling. I love the Adaptive Reef controller board for the Apex, but not many people want to or can pay $380 for that.
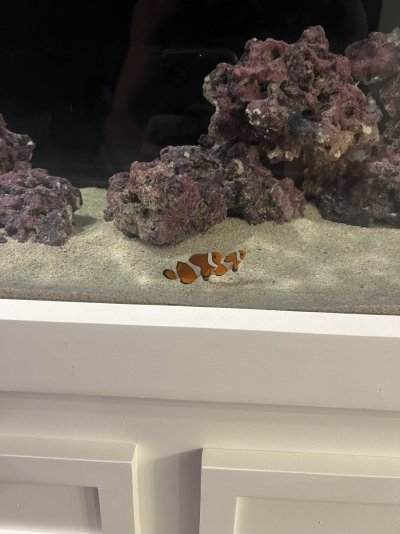
Inside the tank I am gonna use Caribsea Special Grade Arag-Alive live sand and the Caribsea Life Rock. I have about 20 lbs of the rock from my last build left over that is dead, but I got 40 lbs new that just came in. I'm gonna cycle the tank with Dr. Tim's and a pair of clownfish. I've done this for my last couple tanks and it has worked excellent. For salt, I've always used Instant Ocean Reef Crystals, but this time due to the testing BRS did I am switching to Tropic Marin Pro-Reef. The thing I didn't like about Instant Ocean was how dirty the mix seemed to be. It was fine, but I wanna do better if I can. And for cost you actually get basically the same money per gallon, but it is higher quality. For food I'm gonna try the Neptune Systems CD Crossover food. I wanna see if it can work for everything in the tank like it is advertised to do.
So far I've built the stand, collected most of the equipment, leak tested the tank, drilled the tank, started plumbing, and started 3D printing the accessories. Just waiting on the replacement overflow to come in early this next week to finish plumbing and get water in the tank. Hoping to have the tank in place and water in it by mid next week. Told the kids we would shoot to go get the fish this next weekend! Love this hobby!
I'm sure there is more I'm not thinking of right now, but I'll keep updating! Love to hear others' thoughts. I've been at it for a while and have done tons of research over the years, but I'm always open to learning and hearing other perspectives! I just wanna have fun and learn!


