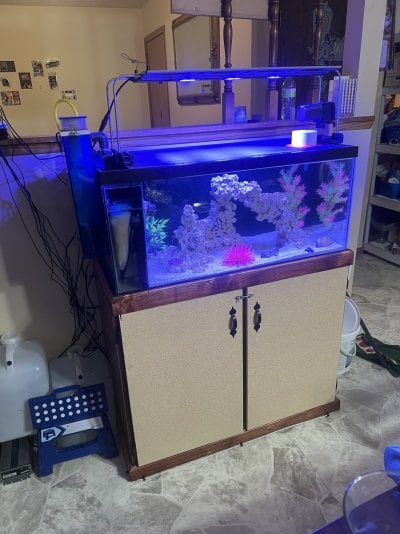
So I’ve already done quite a bit but I’ll explain what has happened so far in this build. So my son is about to turn 2 and I shut down my last tank right before he was born as I was going to be too busy with my first child. When we go to the aquarium at the zoo he loves looking at the fish and would be there for an hour if we let him. So I decided to set up a new tank just for him. I still had some of my equipment in the attic and could reuse it.
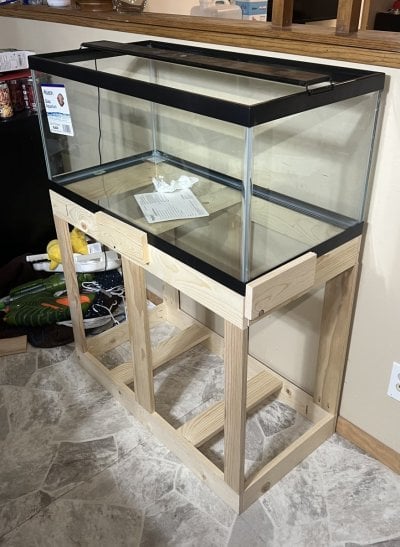
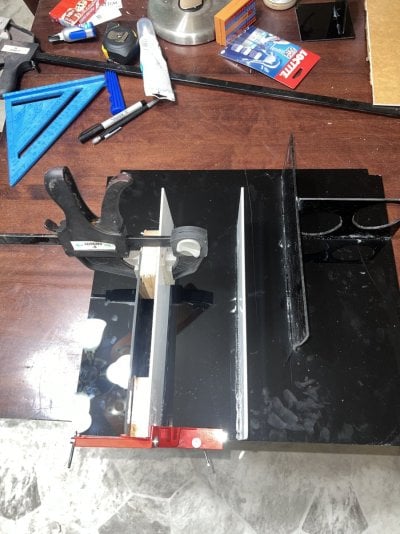
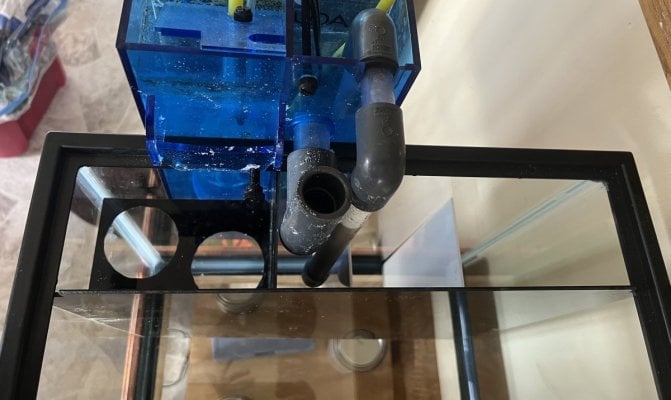
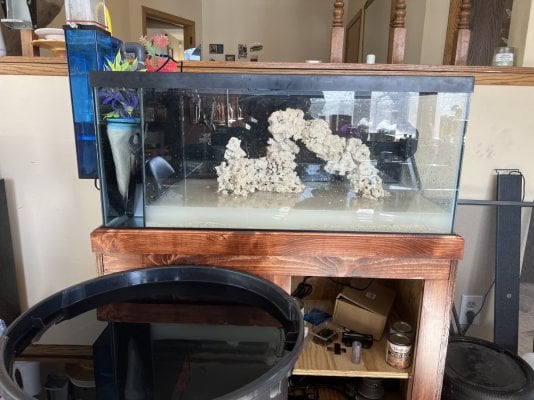
My last tank had all HOB equipment and I didn’t like it so I wanted an AIO tank but knew they were expensive so I got the idea to make my own. I found a kit through BRS to add a sump to a 40 breeder and just figured I could make my own which is what I did with superglue and some 100% silicone. It looked pretty similar to what I saw on the website and I saved $150 over what they charge so I felt impressed with myself at the time.
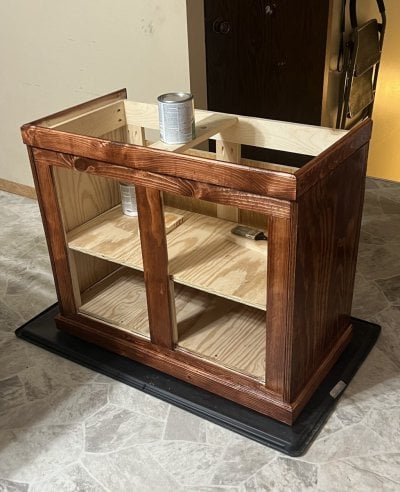
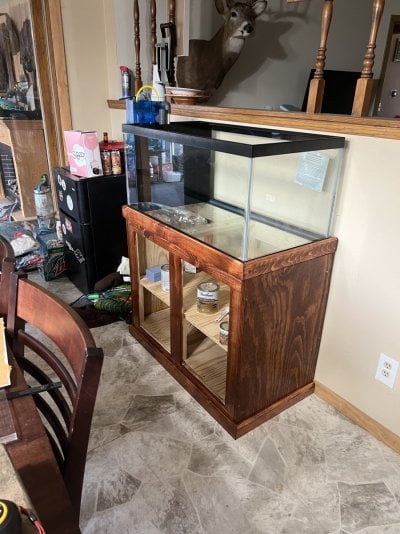
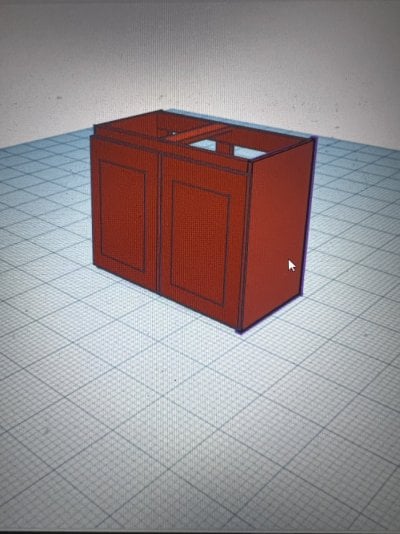
I do woodwork as a small hobby so when I went to go get a stand for the tank at Petco and saw the price I was like nope and went to Home Depot for some wood and some stain. I already had all the tools to make something that looked nice and just put them to work. I built the stand and rounded the edges with a router and went over the final product with 320 grit sandpaper before staining it to actually look nice. I have only made the stand and have not actually made the doors yet. I need to get the doors made soon since my toddler loves taking things out from the inside and walking away with them. Like fish food or my refractometer will disappear because he wanted to play with it.
Once the stand was done I got the RODI system and salt buckets out of the attic and put back together replacing all of the old filters. I got some water in the trash can that had been sitting in my basement empty for 2 years and added salt and let it sit till I needed it.
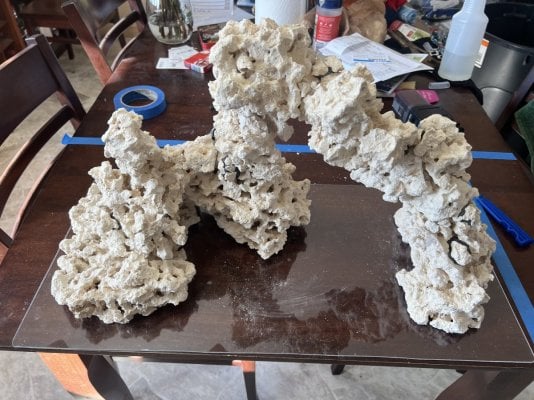
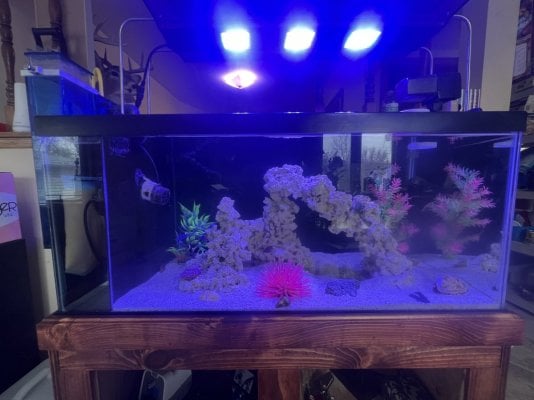
I knew I didn’t want just rocks piled like my last tank when I had seen some awesome negative space stuff popping up so I gave a shot with that. I picket up 2 flat pieces as anchor point and a bunch of larger chucks at my LFS and got to smashing them up into smaller pieces. I went and got some epoxy putty and some more silicone and used the putty and silicone to make something that I think looks artistic and gives space for fish to also hide at the same time. I know now I should have used mortar, superglue, and sand but I will have to take that knowledge for when I do my next build in my business office next year. The epoxy putty and the silicone were not crazy strong and would not survive the movement to the tank so I slowly slid it to a sheet of acrylic and used silicone to attach it in place. Once that was set I moved the acrylic into the tank and added the sand and slowly filled with water.
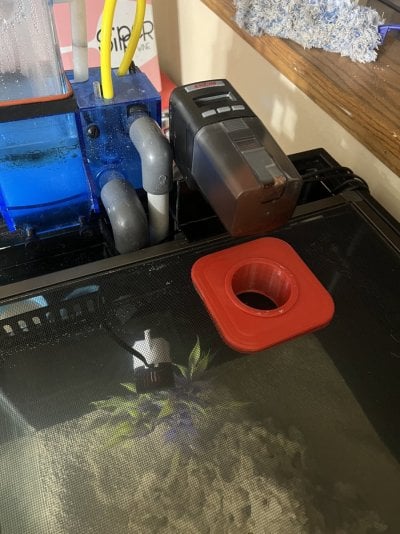
I added the heater, filter socks, return pump, bio blocks, and got my HOB skimmer, and auto feeder from the attic as my only piece of HOB equipment but will be off to the side. I kept the skimmer unplugged I added life bacteria while using the feeder to ghost feed 2 times a day for a month no lights.
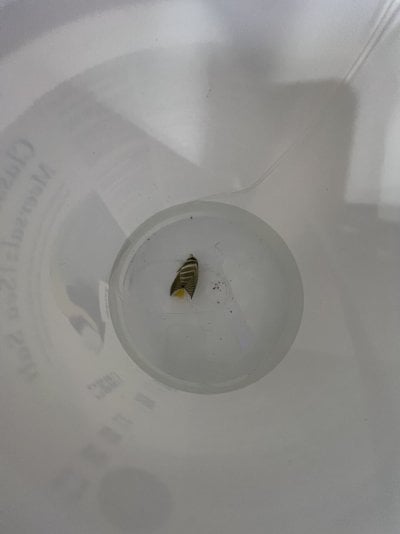
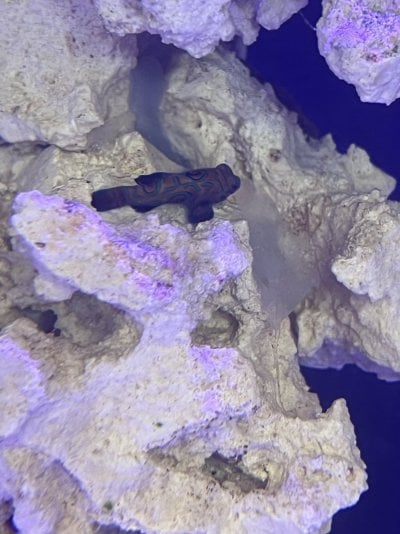
Once I got through the nitrogen cycle I added some fake plants to keep my son entertained and added the first fish which were 2 black clowns that we named Batman and Robin. Right after that we got a yellow watchman we named J’onn after martian Manhunter in DC comics who always is hanging out in the watchtower. If you can’t tell me and my wife are both big nerds. J’onn has his partner the pistol shrimp but he doesn’t have a name. A week after that we got four pajama cardinals, which we named Mysterio since I figure there’s really only one fish and the other three are just holograms. Then this last week I added a 6 line wrasse. Wrasse rhymes with butt and the biggest butt in comics I know is Deadpool so that that’s what we named him.
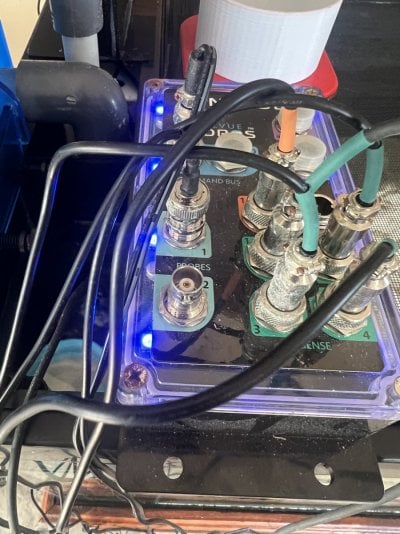
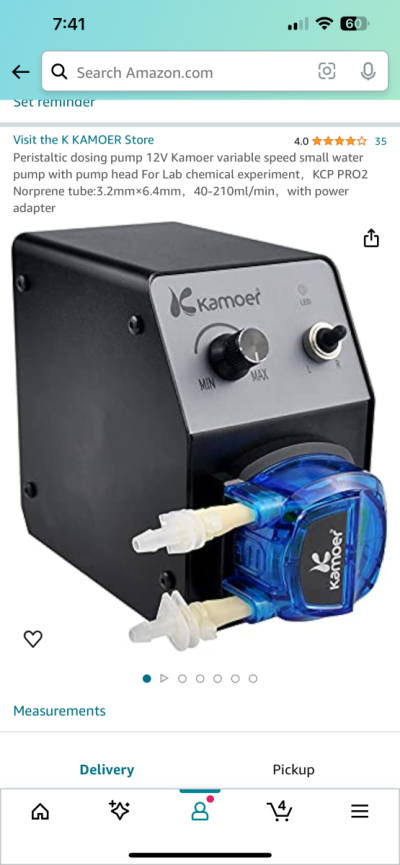
Going through some equipment I had planned on using for my 125 gallon tank that will eventually go in my office I found a control 4 by Hydros and honestly, I was given it for free as long as I purchased some MP10 pumps. Honestly, when I made the deal, I didn’t even know what it was until I did a little bit more research and realized that this could be a complete game changer for my set up. First thing I realized it could do was automate my top off when I had evaporation so I set that up with a 5 gallon bucket of water next to the tank. The holy grail for me was automating water changes using dosing pumps and water level sensors. I only had one level sensor so I needed to get another one and I needed two dosing pumps that were capable of pumping water from my trash bin filled with salt water down in the basement. I picked up from Amazon two pumps made by Kamoer doing 300 ML per minute and have it set up on a schedule of doing .85 gallons every single day using the control 4.
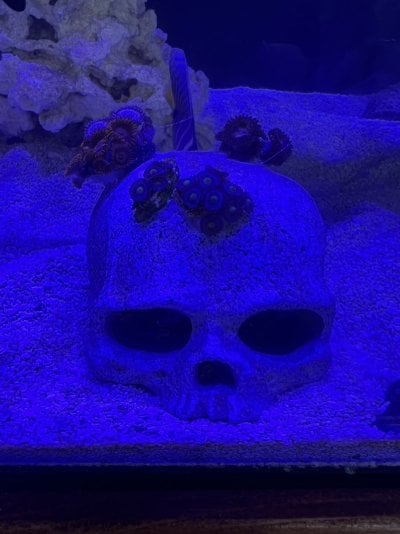
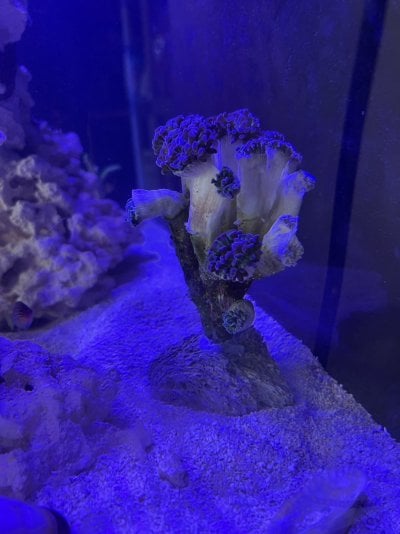
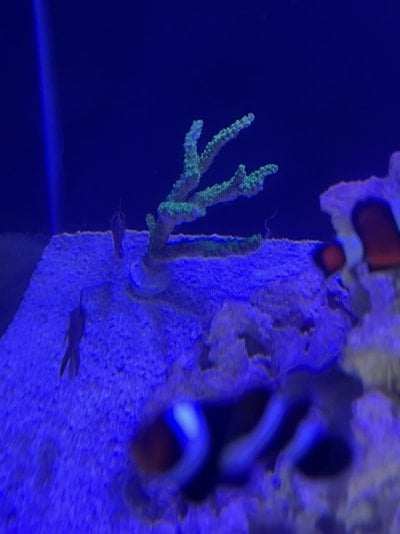
I found on Facebook marketplace, someone shutting down a tank, getting rid of some lights, and picked them up while borrowing a PAR meter from someone in my local club that way I could tune the LEDs so I was not putting in too much light for just some simple corals like what I want. More than likely Zoas and GSP. I may eventually do some thing a little bit fancier, but since this entire build has been dedicated to what my son finds entertaining, I want it very low maintenance.
I have heard people say that the fake anemone is not great, and can cause issues later, so I am actually making a mold with my 3-D printer to try and make my own out of pure silicone and glow in the dark filament which I know is reef safe. I’ve actually used my 3-D printer for a few things with this tank like the funnel that goes directly through the screen underneath the automatic feeder.
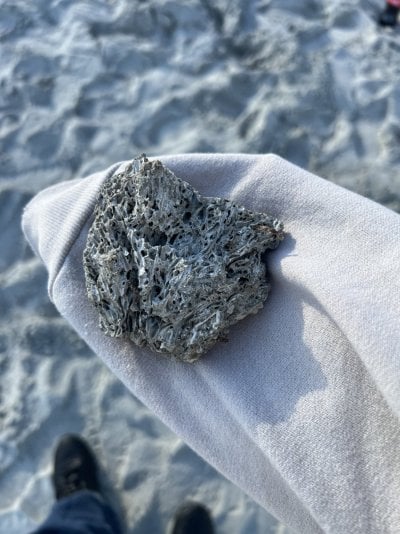
Last month me and my family went to Myrtle Beach in South Carolina and picked up some shells and other things on the beach and when I got home, cleaned them up by putting them in boiling water and then baking them for a few hours to kill anything that may have been on them still. Once that was done, I put the shells in the tank as a few more decorations.
So that is where I am up until this point I have plans for corals and I am thinking two more fish and will try and keep things updated.


