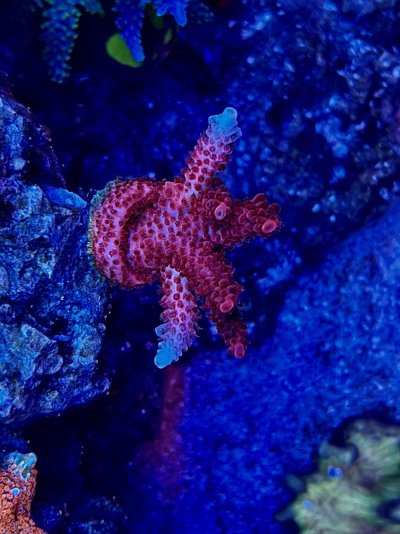
I've been in the hobby now for almost 15 years, which sounds crazy when I hear myself say that. I have had a lot of different tanks over the years, but frequently opted for smaller tanks for "less maintenance". Which is all fine and good, but as I began getting fonder and fonder of SPS, a small tank presented its own challenges to have a successful SPS dominant tank. Now I know many of you have done that, and the tanks speak for themselves, I'm just speaking from my own personal experience. I moved into my current house a little over 3 years ago and set up a JBJ45 a little while after moving in. The tank was fairly successful for me, but I knew I wanted something bigger. Below is a picture of that tank during the build of my Cade (my camera skills are horrible so I apologize in advance.....)

Over a decade ago their was a LFS that had one of the most stunning tanks I had ever seen. It was about a 180G rimless mixed reef. I always wanted to set a tank like that up when the time was right. I spent weeks/months deciding on what tank to go with. Waterbox, RedSea Reefer, Cade, custom tank and custom stand, etc. My tank was planning to go in my office on the main level of my house and due to my house layout, plumbing into the basement wasn't a viable option so I needed a tank that could house the sump. After much deliberation I decided on the Cade. The few items that put Cade out front for me where the extruded aluminum stand, large sump, ATO reservoir being housed in the back of the display (freeing up space below), built in electrical, and stand accessibility from all sides. It was a tough pill to swallow when you consider the cost but I didn't want to compromise. So, I ordered the tank and began procuring all of the remaining equipment. I purchased everything through my LFS. They were able to price match what I could get online and I would rather support a small business. Below is a list of equipment I chose for the build:
Cade 1500 tank/stand/sump
Reef Octo Regal 200int
3x Radion XR15's
61" Aquatic life hybrid fixture (2x blue plus, true actinic, fiji purple)
3x MP40QD with battery backup
Bubble magus filter roller
AquaUV Sterilizer (plumbed through return)
Apex system with DOS and flow meters
Varios S4 return pump (going to be upgrading soon, not powerful enough)
I had to laugh when the tank showed up. The top crate was the tank, that crate weighed over 600#. How exactly do they think a home owner is going to get that crate down? Ended up need 6 guys, but we got it on the ground safely.

Right away you could see the quality of the tank when I opened it. Very sleek, clean lines.

Based on the weight of the tank I had to add a post to a floor joist. Unfortunately the tank ran parallel with them and really only spanned 2.

Got the tank in place without incident. It was a lot, and I mean a lot heavier than I originally had anticipated.

I ended up using Marco rock and epoxy to create my aquascape. I wanted a more minimalist look to allow for coral to grow in and ease of creating adequate flow throughout the tank. Right out of the gate I modified the sump. It comes with filter socks and I really wanted to use a filter roller in this set up. A little bit of fishing line and elbow grease and I was able to remove the sections of glass. So far I am extremely impressed with the filter roller. Not sure I will ever go back to socks.


I filled the tank in early February and began the cycle. I used a mixture of Dr Tim's, Live Rock Enhance, and pink fusion/purple helix. The cycle went extremely smooth, had to deal with diatoms for about 8 weeks, but other than that, almost textbook. I also seeded the tank with about 25# of live rock from a 7 year old tank in the sump.

I moved my livestock over from my JBJ in early June. Since the tank has been great. Parameters have been extremely stable. I am struggling a bit to keep nitrates and phosphates above zero, but I'm working through that. The sump set up is about as simple as it gets, filter roller, skimmer, some LR, a powerhead, and pond matrix. I'm not running and Carbon or GFO currently.

This portion of the cabinet is a bit cluttered lol. But figuring out a way to plumb in the sterilizer was a quite difficult. However, everything is accessible and I've had no issues.

Again, this feature was a major selling point for me. The built in electrical panel and control housing was huge. It gives a really nice clean look and easy to manage. I put a kindle fire in their that constantly displays my Apex parameters mainly for my wife if she has to do something with the tank when I'm not around.

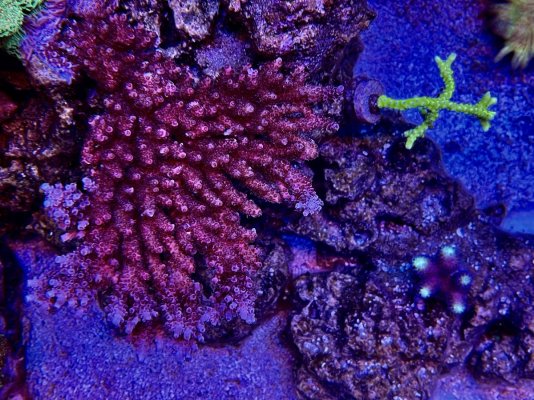
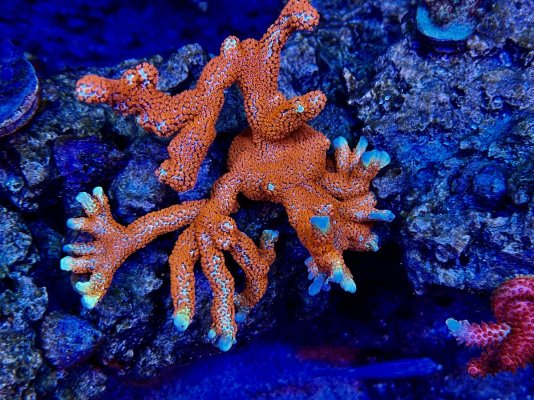
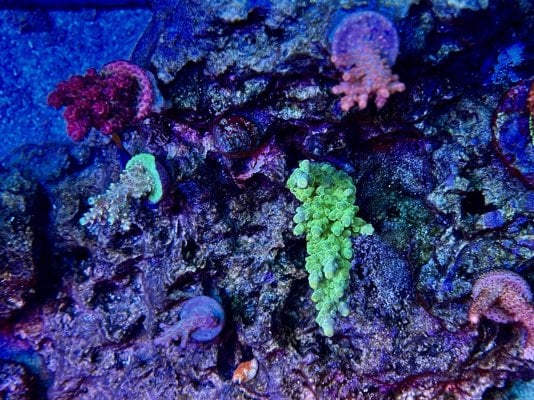
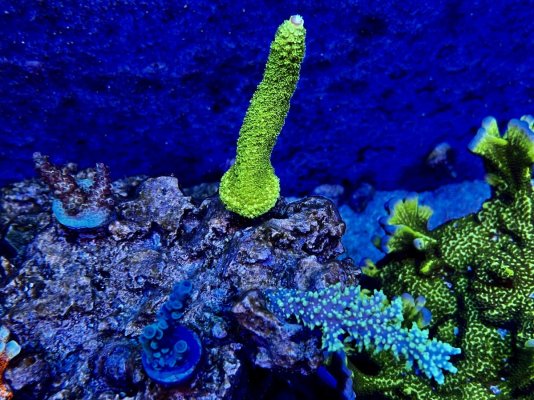
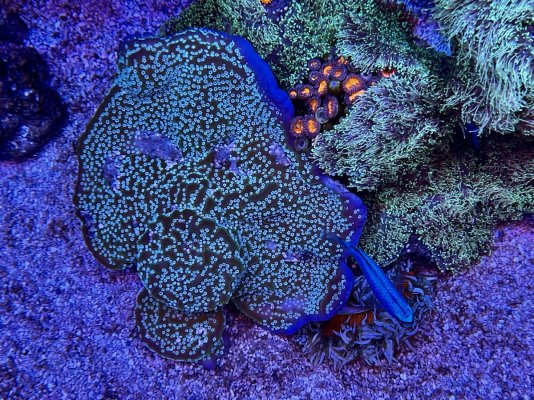
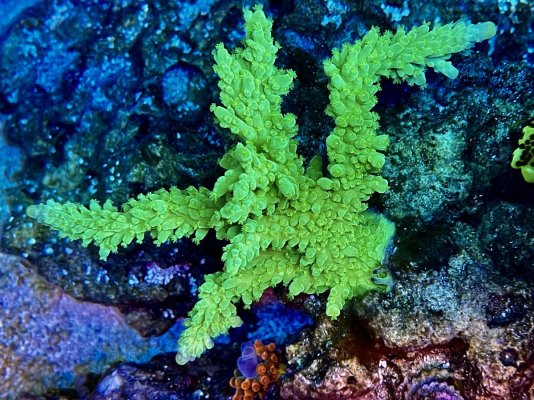
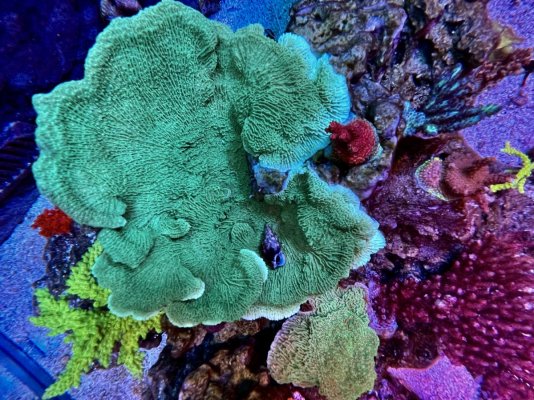
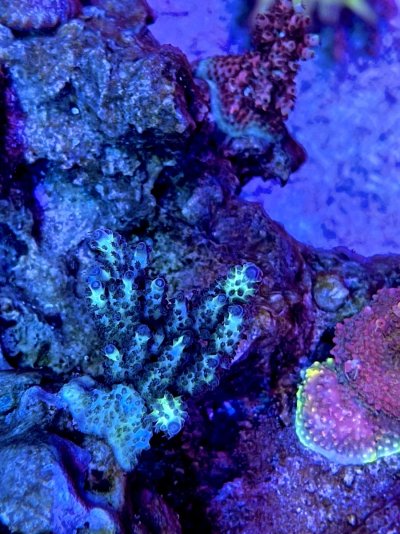
Here are a few pics of the tank today. So far everything is settling in nicely. I have zero regrets with my decision to go with Cade. It achieved the sleek rimless look I was going for, but most importantly is functional enough to perform the way I want.


Over a decade ago their was a LFS that had one of the most stunning tanks I had ever seen. It was about a 180G rimless mixed reef. I always wanted to set a tank like that up when the time was right. I spent weeks/months deciding on what tank to go with. Waterbox, RedSea Reefer, Cade, custom tank and custom stand, etc. My tank was planning to go in my office on the main level of my house and due to my house layout, plumbing into the basement wasn't a viable option so I needed a tank that could house the sump. After much deliberation I decided on the Cade. The few items that put Cade out front for me where the extruded aluminum stand, large sump, ATO reservoir being housed in the back of the display (freeing up space below), built in electrical, and stand accessibility from all sides. It was a tough pill to swallow when you consider the cost but I didn't want to compromise. So, I ordered the tank and began procuring all of the remaining equipment. I purchased everything through my LFS. They were able to price match what I could get online and I would rather support a small business. Below is a list of equipment I chose for the build:
Cade 1500 tank/stand/sump
Reef Octo Regal 200int
3x Radion XR15's
61" Aquatic life hybrid fixture (2x blue plus, true actinic, fiji purple)
3x MP40QD with battery backup
Bubble magus filter roller
AquaUV Sterilizer (plumbed through return)
Apex system with DOS and flow meters
Varios S4 return pump (going to be upgrading soon, not powerful enough)
I had to laugh when the tank showed up. The top crate was the tank, that crate weighed over 600#. How exactly do they think a home owner is going to get that crate down? Ended up need 6 guys, but we got it on the ground safely.
Right away you could see the quality of the tank when I opened it. Very sleek, clean lines.
Based on the weight of the tank I had to add a post to a floor joist. Unfortunately the tank ran parallel with them and really only spanned 2.
Got the tank in place without incident. It was a lot, and I mean a lot heavier than I originally had anticipated.
I ended up using Marco rock and epoxy to create my aquascape. I wanted a more minimalist look to allow for coral to grow in and ease of creating adequate flow throughout the tank. Right out of the gate I modified the sump. It comes with filter socks and I really wanted to use a filter roller in this set up. A little bit of fishing line and elbow grease and I was able to remove the sections of glass. So far I am extremely impressed with the filter roller. Not sure I will ever go back to socks.
I filled the tank in early February and began the cycle. I used a mixture of Dr Tim's, Live Rock Enhance, and pink fusion/purple helix. The cycle went extremely smooth, had to deal with diatoms for about 8 weeks, but other than that, almost textbook. I also seeded the tank with about 25# of live rock from a 7 year old tank in the sump.
I moved my livestock over from my JBJ in early June. Since the tank has been great. Parameters have been extremely stable. I am struggling a bit to keep nitrates and phosphates above zero, but I'm working through that. The sump set up is about as simple as it gets, filter roller, skimmer, some LR, a powerhead, and pond matrix. I'm not running and Carbon or GFO currently.
This portion of the cabinet is a bit cluttered lol. But figuring out a way to plumb in the sterilizer was a quite difficult. However, everything is accessible and I've had no issues.
Again, this feature was a major selling point for me. The built in electrical panel and control housing was huge. It gives a really nice clean look and easy to manage. I put a kindle fire in their that constantly displays my Apex parameters mainly for my wife if she has to do something with the tank when I'm not around.
Here are a few pics of the tank today. So far everything is settling in nicely. I have zero regrets with my decision to go with Cade. It achieved the sleek rimless look I was going for, but most importantly is functional enough to perform the way I want.


