What's up everyone!
I've been lurking around the forums for a few years now and held off on starting a build thread because I felt like I didn't have much to contribute since I'm new to the hobby. I now realize that should've been the biggest reason to start one sooner as it would've saved me a ton of headaches and money.
Brief history of the tank
It's been "set up" for a couple of years but it's been through a few moves and I tried to take so many shortcuts when it comes to maintenance and equipment. I was thinking I'm a smart guy I'll figure out whatever hurdles I face while still giving the tank 50% effort. After a green hair algae outbreak, coral, and fish loss I decided to start the tank over. I know this is frowned upon but I just needed the reset.
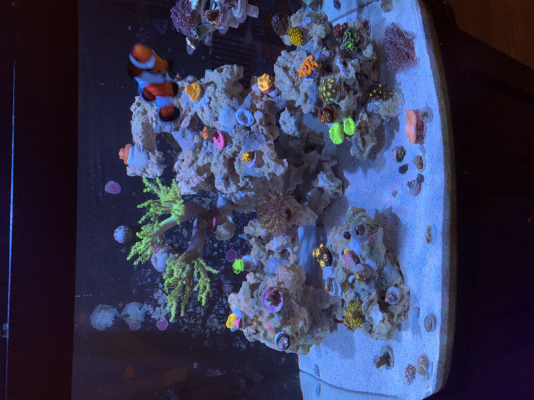
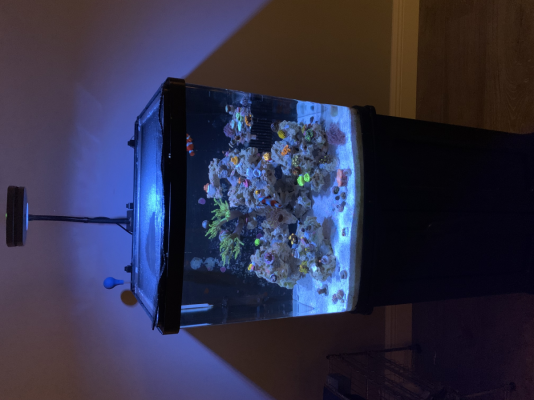
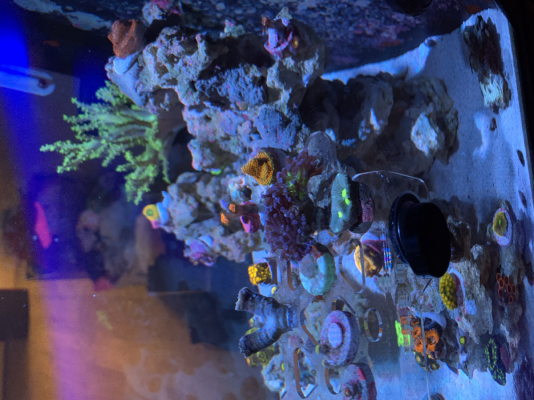
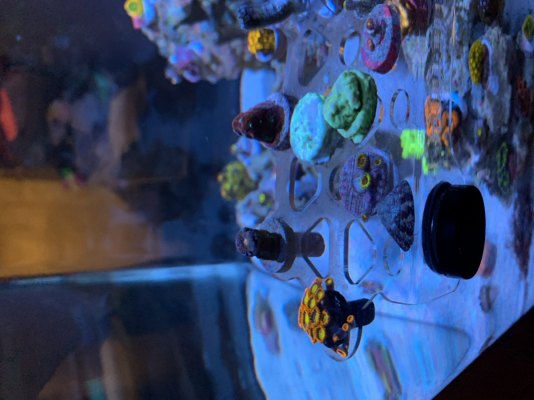
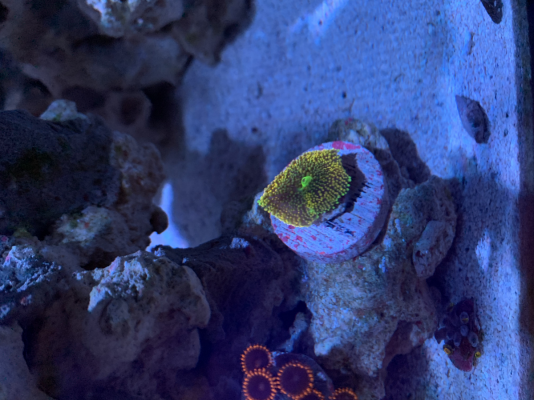
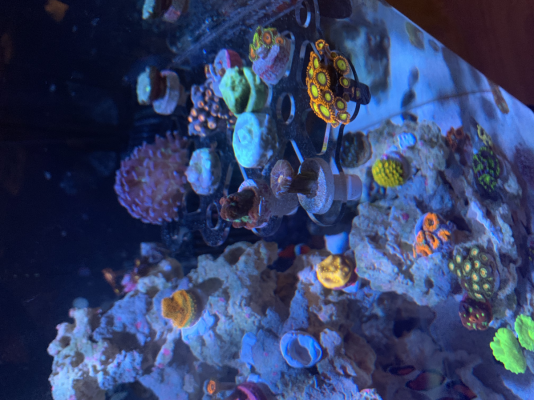
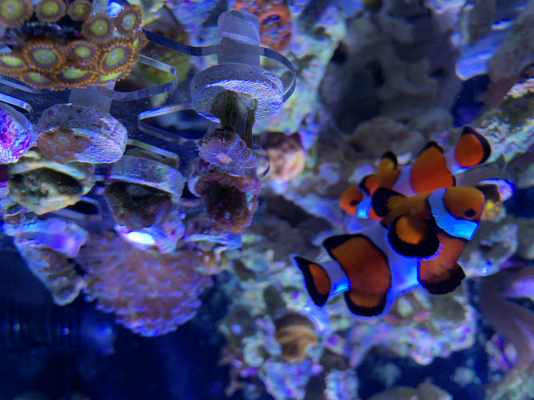
Below are a few images of the tank before starting over.


About 10 days ago I used some extra dry rock I had and bought some Marco mortar to completely redo my aquascape. The mortar was pretty straight forward but there was a little learning curve in getting the mixed consistency right. Here are my first attempts using only superglue and insta-set. I had the dimensions of the tank lined out on the cloth I was using as well as the measuring tape to determine overall height of the structure.


After bumping my scape and knocking everything apart I restarted and came up with something I like a lot better. My goal was to create plenty of ledges for me to glue down frags and swim throughs for the livestock. I used the @Bulk Reef Supply NSA video to help with using the glue, insta-set, and mortar combo. I even attempted to add sand on top of the mortar to hide the joints but figured over time this will be covered by coralline or corals. I also gave the rocks 3 day to cure before even attempting to move.


Since this post is getting pretty long I'll post my next steps shortly.
Thanks for viewing!!!!
I've been lurking around the forums for a few years now and held off on starting a build thread because I felt like I didn't have much to contribute since I'm new to the hobby. I now realize that should've been the biggest reason to start one sooner as it would've saved me a ton of headaches and money.
Brief history of the tank
It's been "set up" for a couple of years but it's been through a few moves and I tried to take so many shortcuts when it comes to maintenance and equipment. I was thinking I'm a smart guy I'll figure out whatever hurdles I face while still giving the tank 50% effort. After a green hair algae outbreak, coral, and fish loss I decided to start the tank over. I know this is frowned upon but I just needed the reset.
Below are a few images of the tank before starting over.
About 10 days ago I used some extra dry rock I had and bought some Marco mortar to completely redo my aquascape. The mortar was pretty straight forward but there was a little learning curve in getting the mixed consistency right. Here are my first attempts using only superglue and insta-set. I had the dimensions of the tank lined out on the cloth I was using as well as the measuring tape to determine overall height of the structure.
After bumping my scape and knocking everything apart I restarted and came up with something I like a lot better. My goal was to create plenty of ledges for me to glue down frags and swim throughs for the livestock. I used the @Bulk Reef Supply NSA video to help with using the glue, insta-set, and mortar combo. I even attempted to add sand on top of the mortar to hide the joints but figured over time this will be covered by coralline or corals. I also gave the rocks 3 day to cure before even attempting to move.
Since this post is getting pretty long I'll post my next steps shortly.
Thanks for viewing!!!!